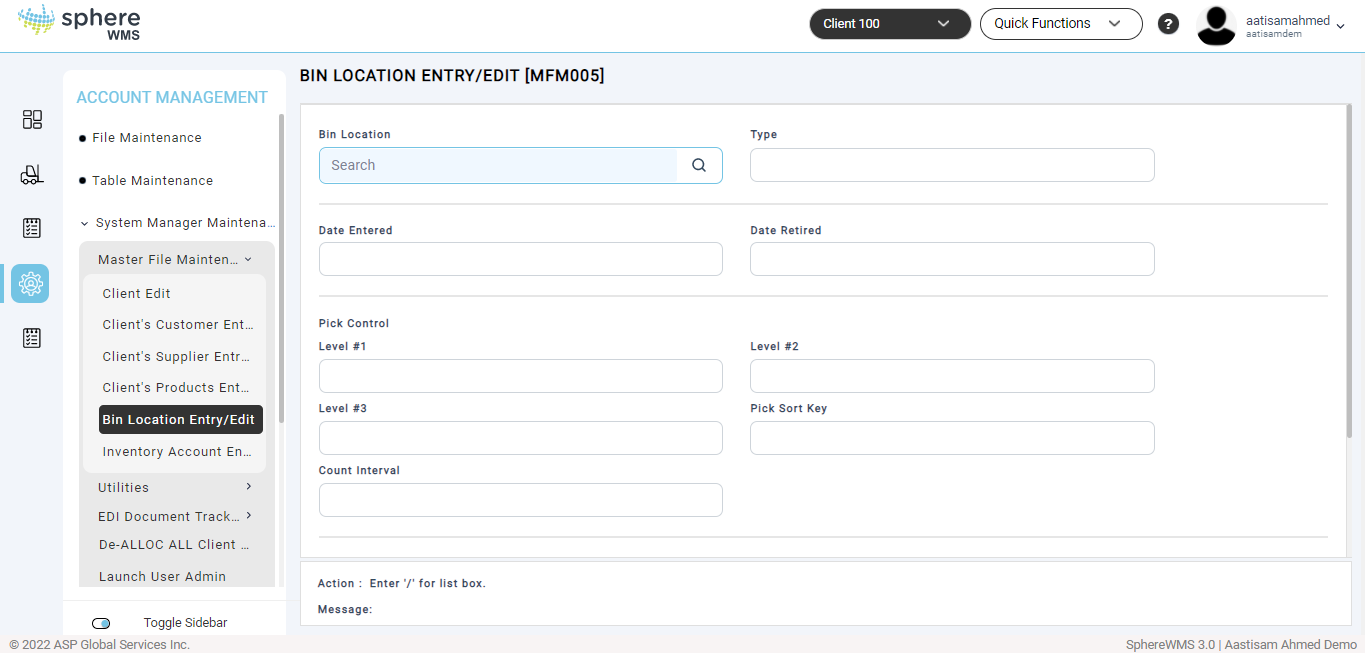
1. Navigate to Account Management > System Manager Maintenance > Master File Maintenance > Bin Location Entry/Edit.
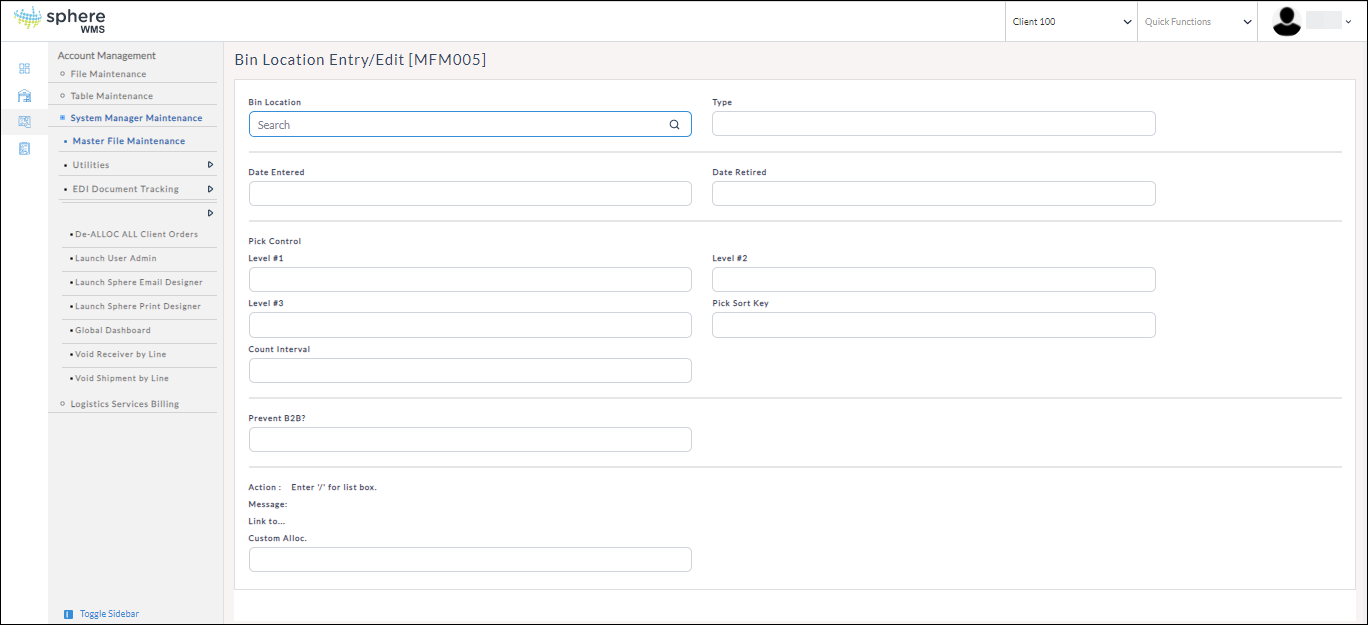
The Bin Location Entry/Edit page will display.
Adding a Bin Location
2. To add a bin location, enter the Bin Location, Type, and Date Retired.
The Date Entered field will be auto-populated.
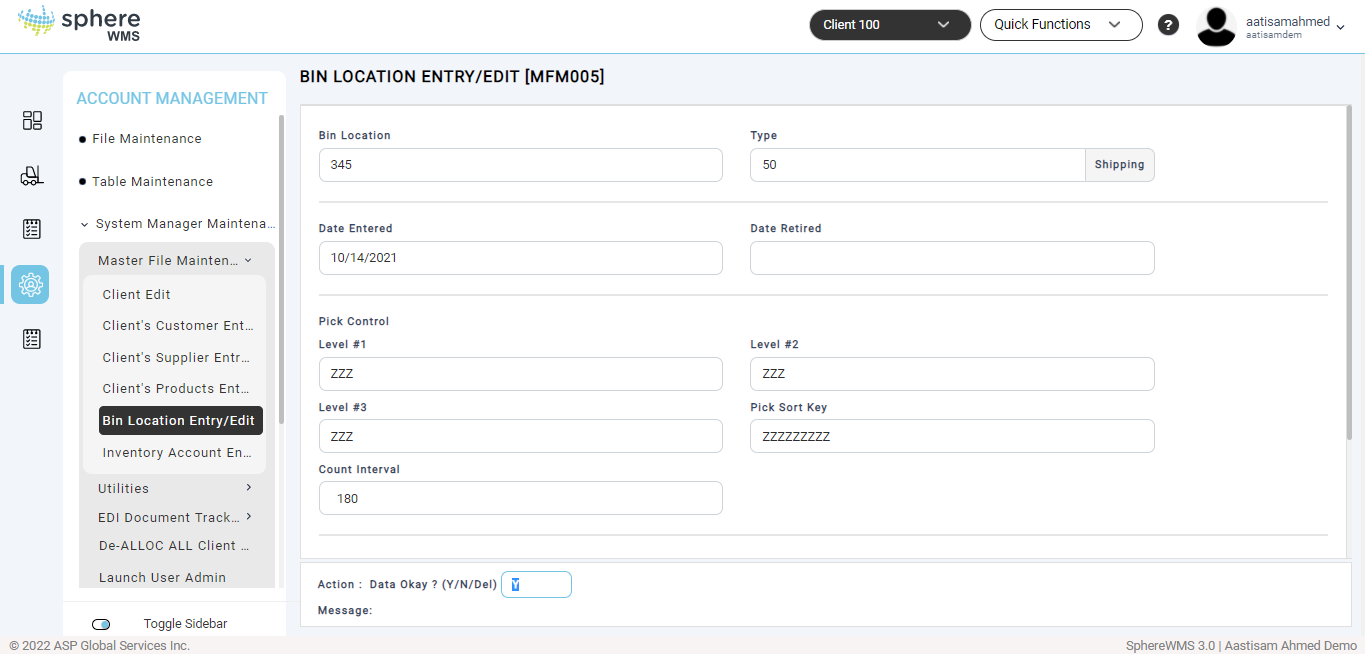
If every bin location's pick control priority is not adjusted and the default "ZZZ…" is accepted, the Pick Tickets will be printed in alphabetical order of the Bin Location. To improve picking efficiency, each bin can be assigned an alternate Pick Sort Key that will override the sort order by Bin Location ID. Assign Bin Locations' Pick Control Levels #1-3 with alpha-numeric codes in the preferred sorting order of the Pick Tickets.
3. Enter Level #1 (level 1 of pick sort), Level #2 (level 2 of pick sort), and Level #3 (level 3 of pick sort).
The Pick Sort Key field will be auto-populated.
4. Enter the Count Interval.
5. If you want the bin to be prevented from being used in bin-to-bin tool enter Y in the Prevent B2B? field; else enter Y.
6. Enter Y in the Action field and press Enter.
The bin location will be added.
Editing a Bin Location
7. To edit the bin location, enter the Bin Location and press Enter.
The details of the selected bin location will display.

8. Edit the values of the required fields, enter Y in the Action field, and press Enter.
The bin location details will be updated.
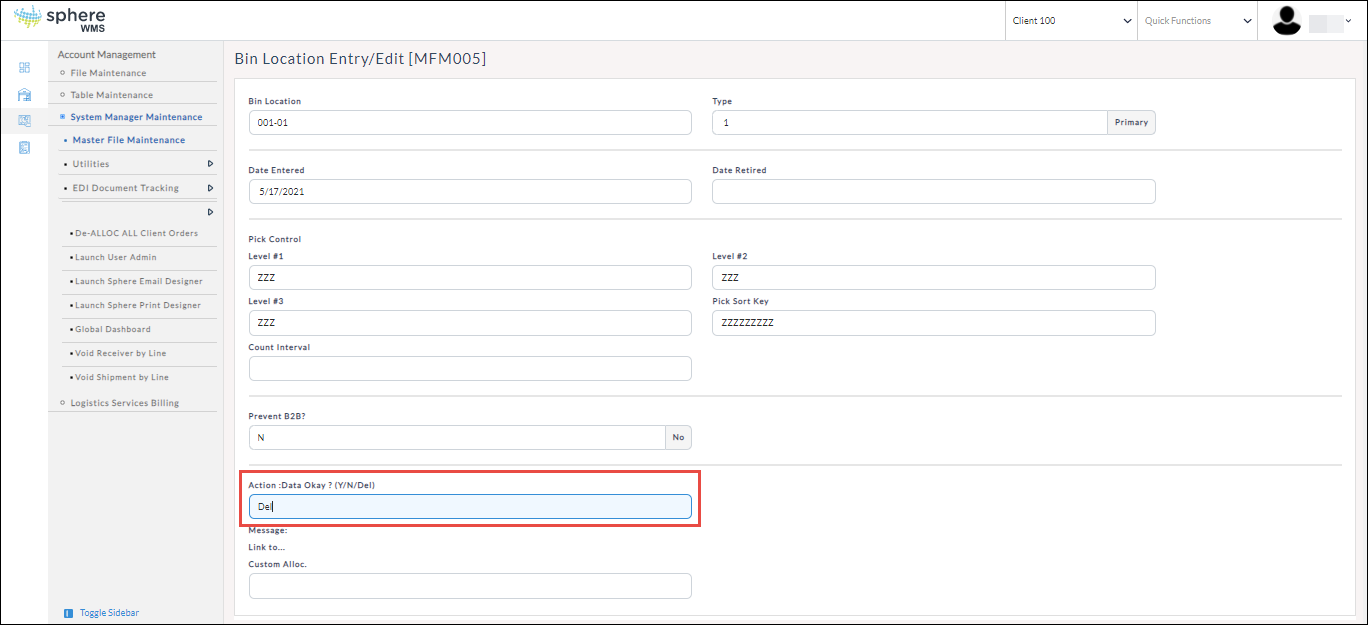
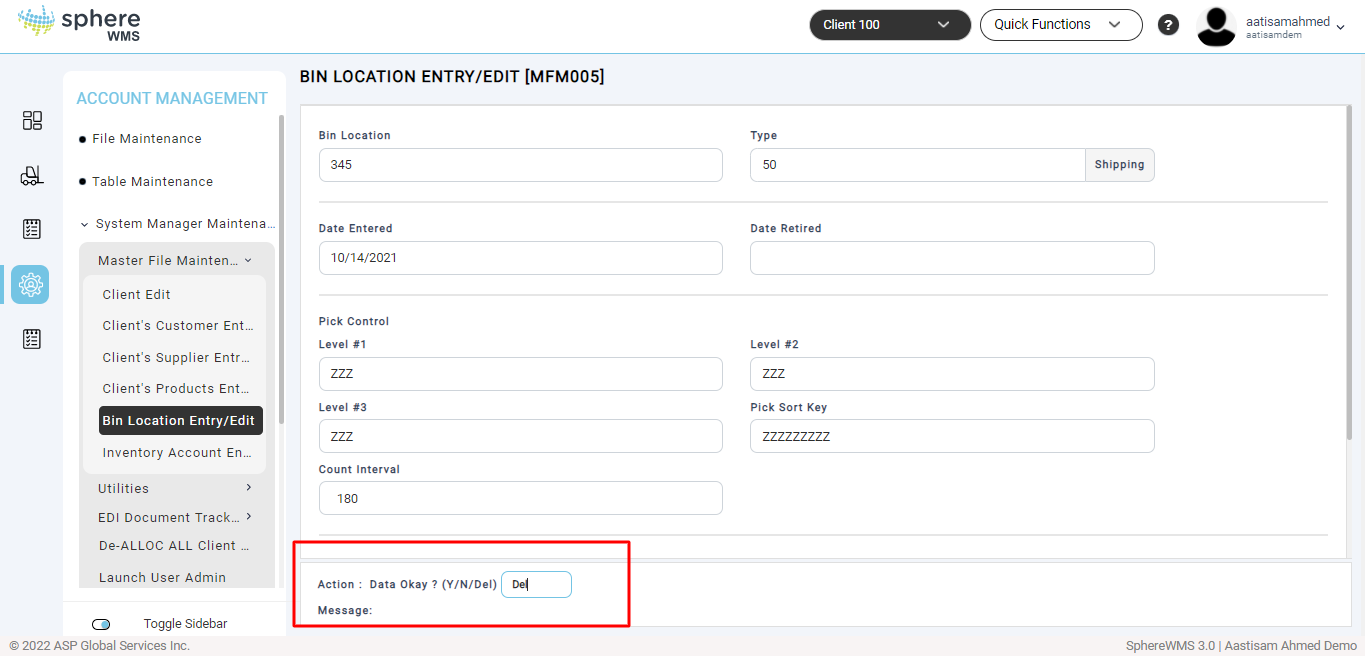
Deleting Bin Location’s Entry
9. To delete a bin location, enter the Bin Location and press Enter.
The details of the selected bin location will display.

10. Enter Del in the Action field and press Enter.
The Bin Location will be deleted.