To print ARN documents:
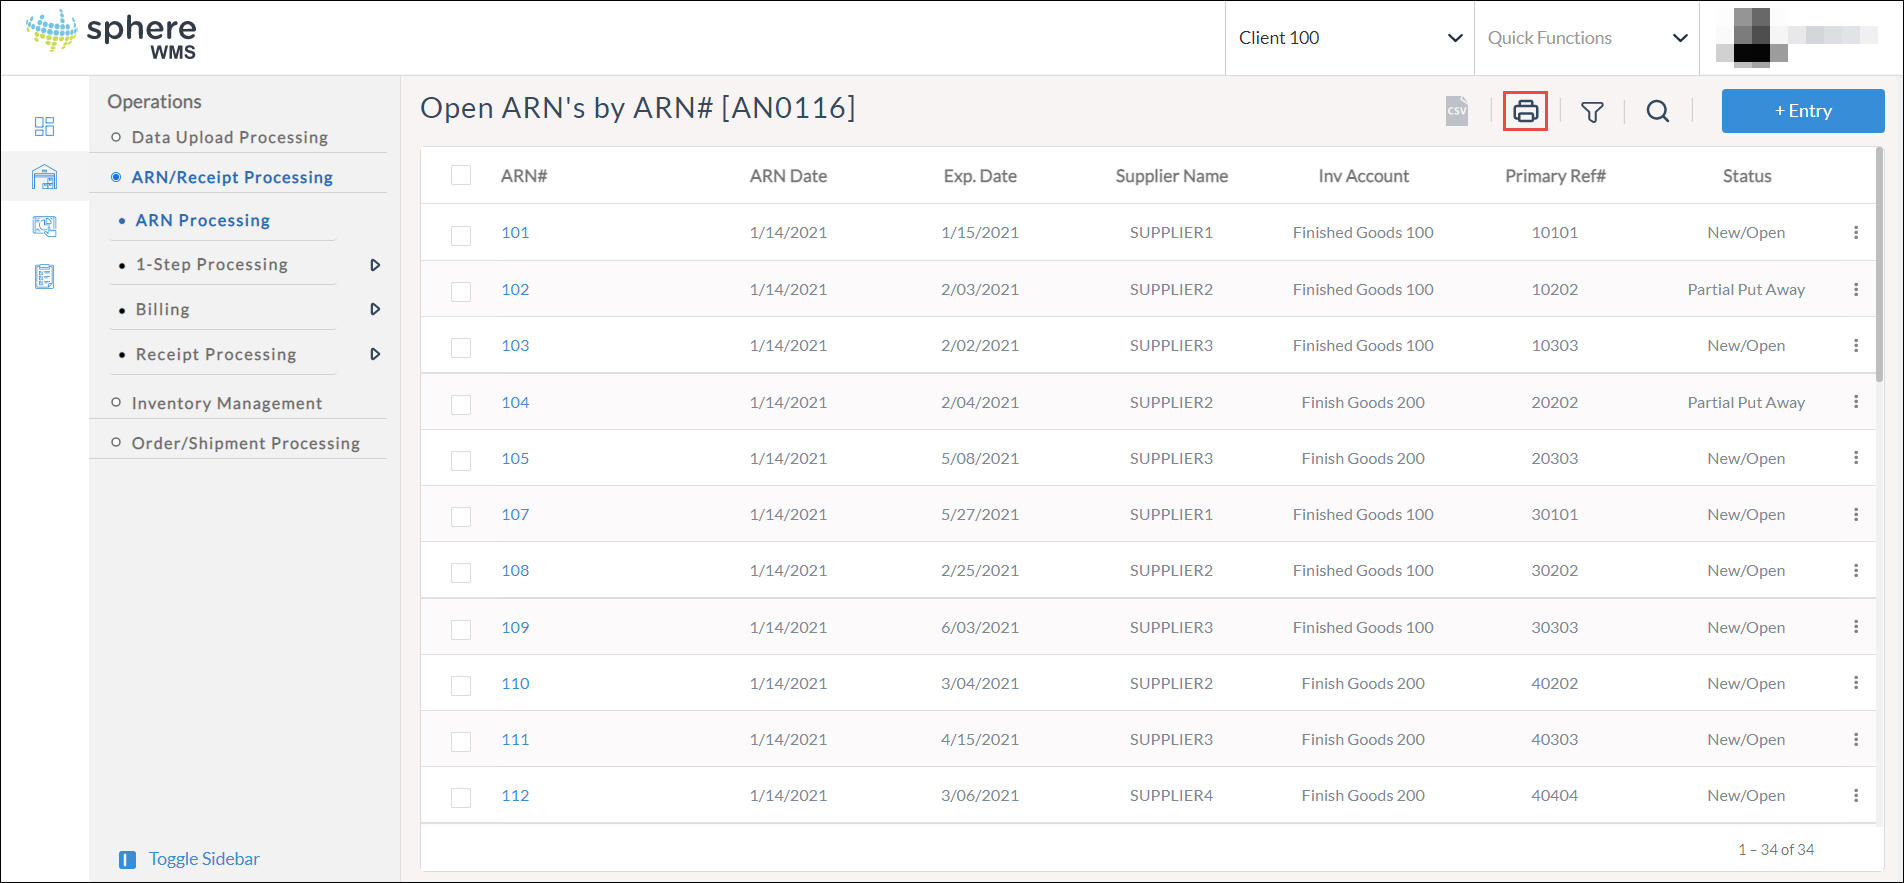
1. Navigate to Operations > ARN/Receipts Processing > ARN Processing.
The Open ARN’s by ARN# page showing all the ARNs will display.
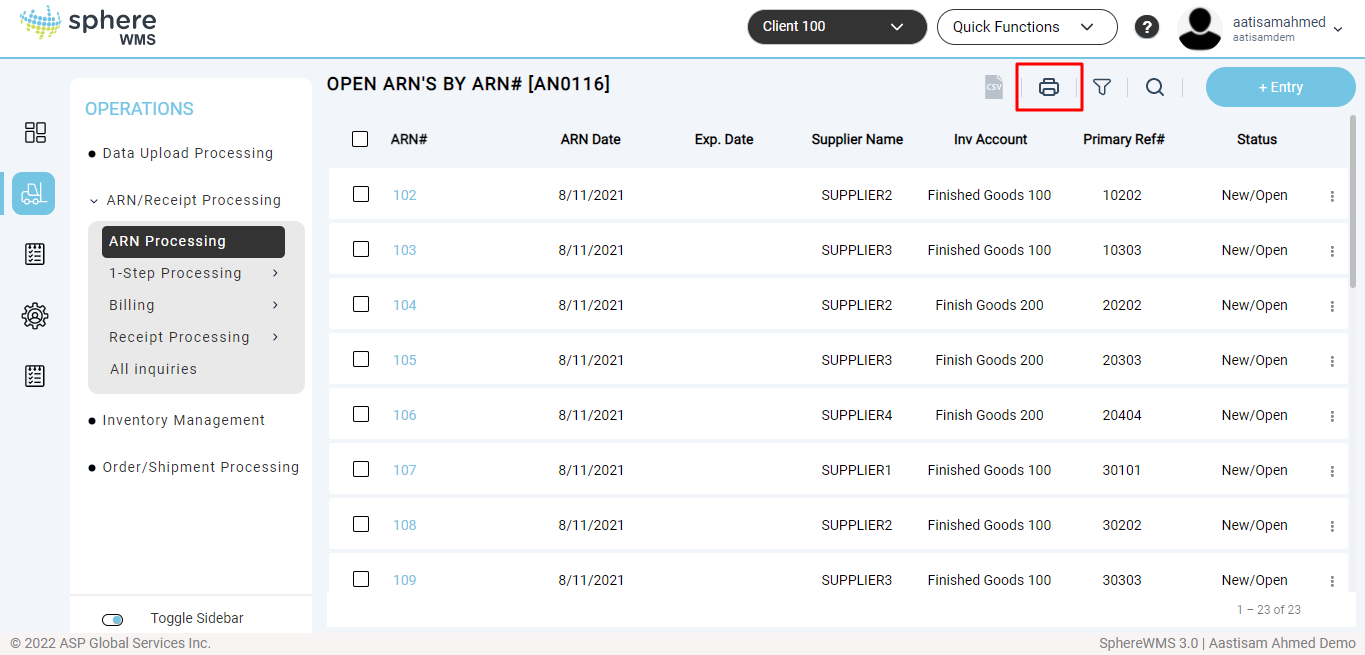
2. Click the print icon on the top right.
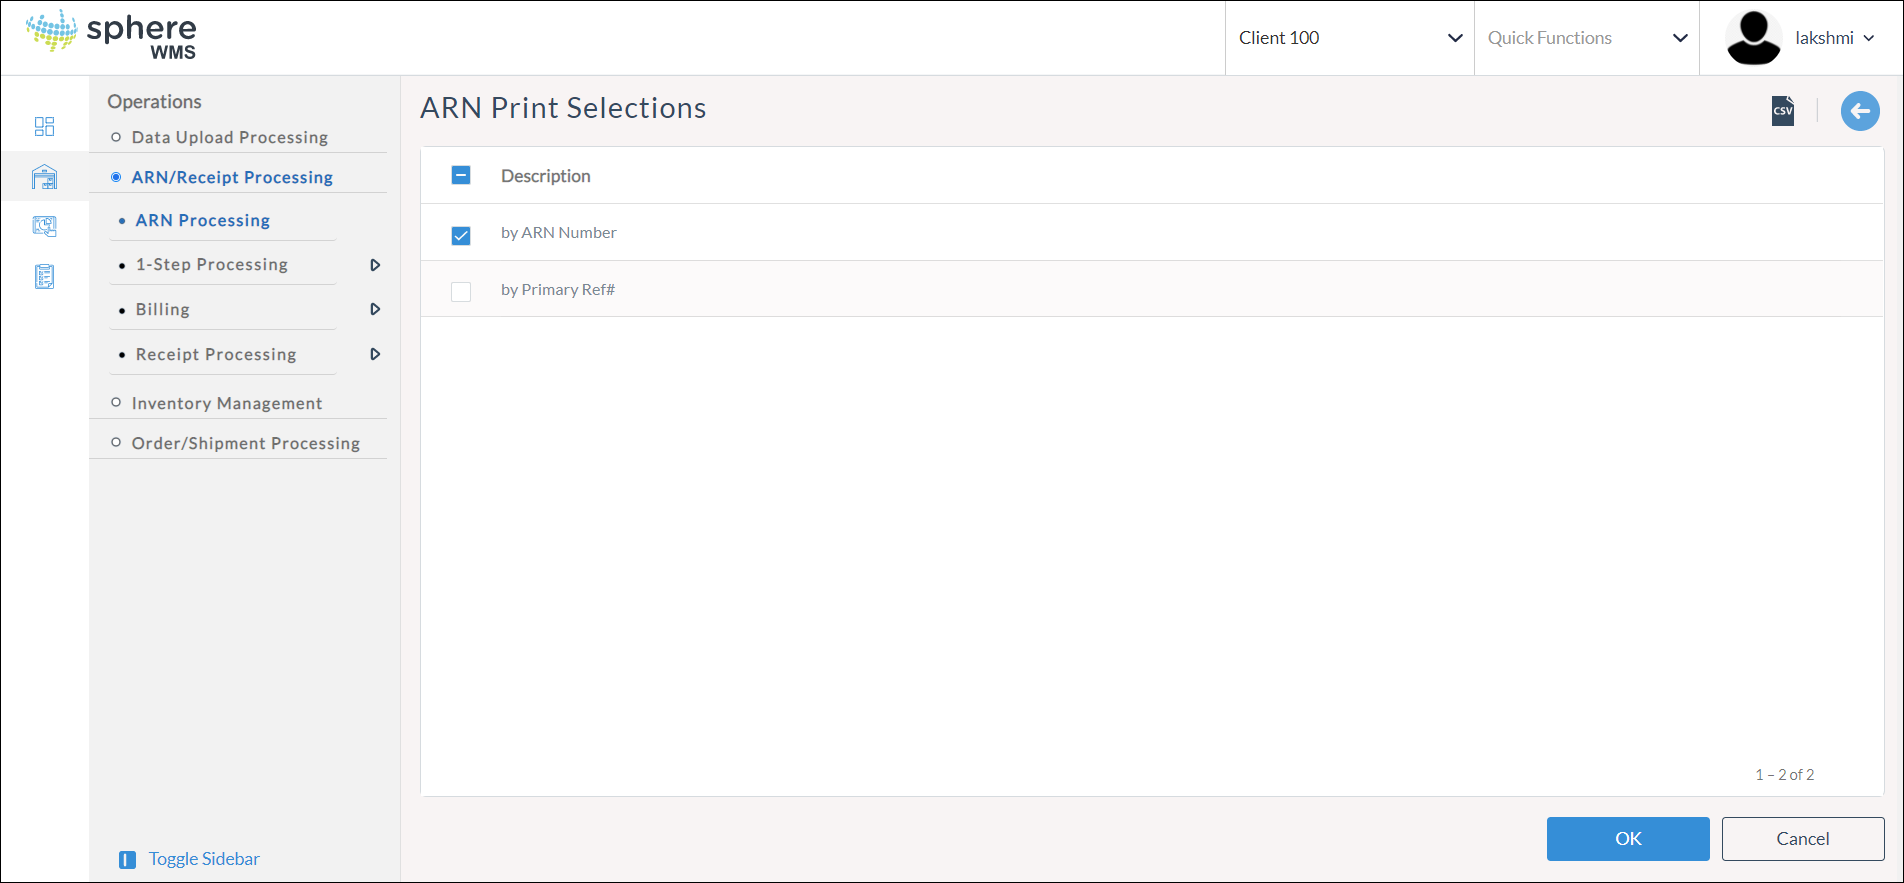
The ARN Print Selections page will display. Users can print the ARN by ARN Number or by Primary Ref#.
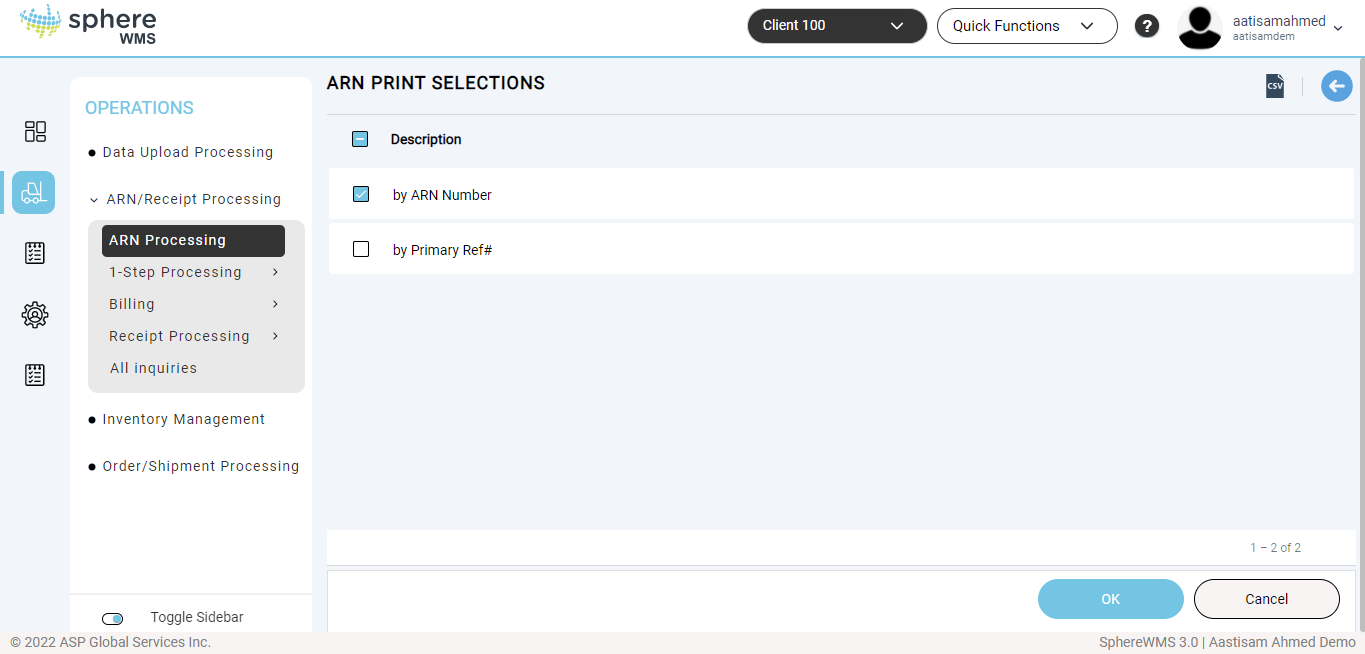
3. Select the required print option and click OK.
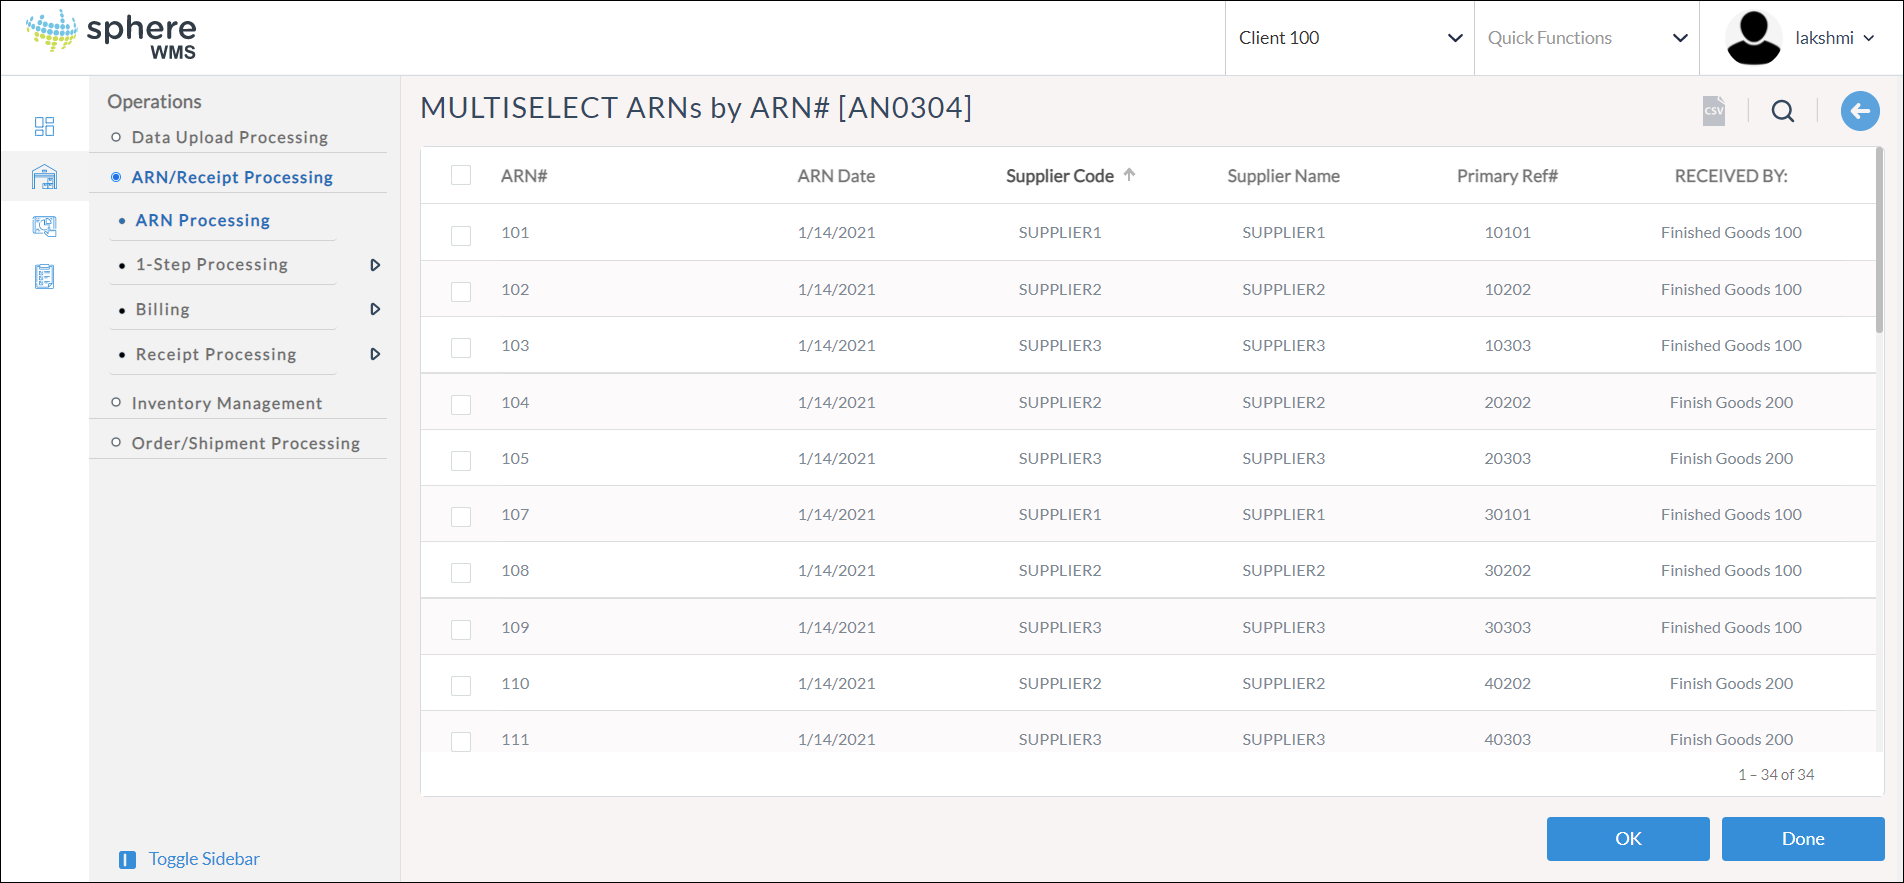
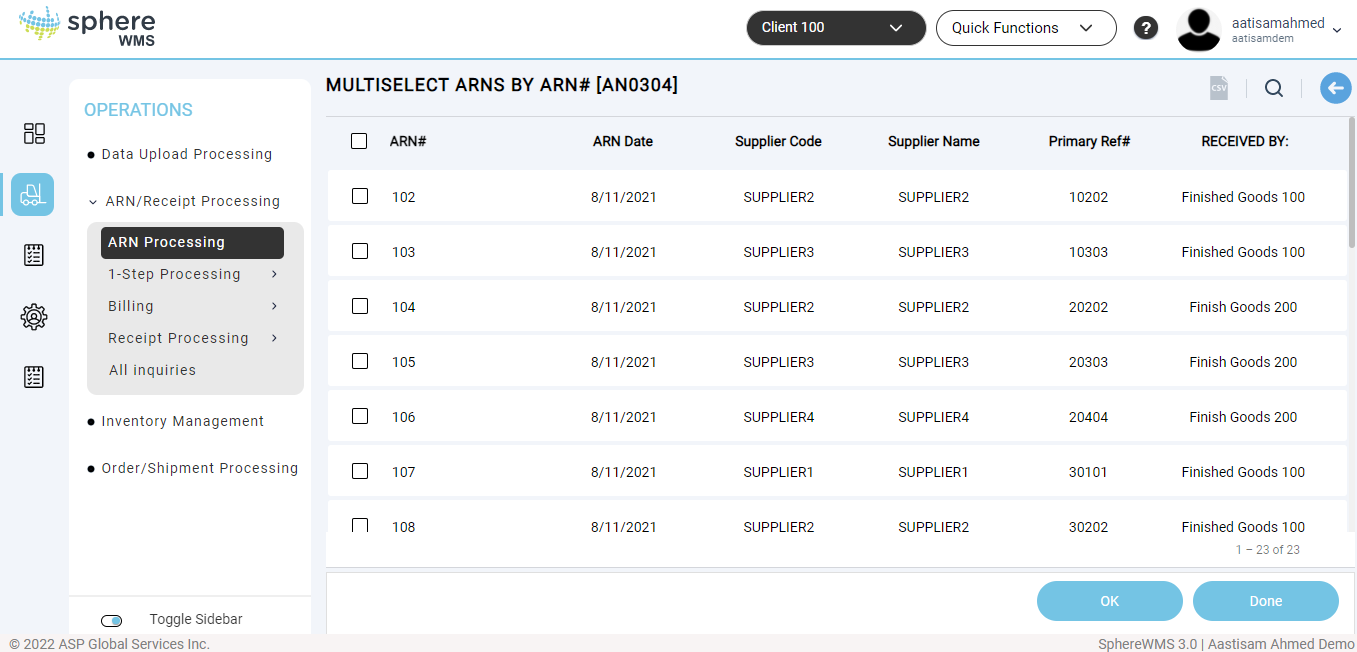
The MULTISELECT ARNs by ARN# page will display where you can select the multiple ARNs to print.

How to Multi-Select
Some inquiries have the ability to trigger a process (print a document, or post a transaction) when an item in the inquiry is selected. Multi-Select Inquiries, however, allow more than one item to be selected for processing.
After the Multi-Select Inquiry is displayed, select one or more items in the inquiry. To do so, follow these guidelines:
-
To select a range of items, click the topmost item, then hold down the SHIFT key and click the bottommost item. The entire range of items will be highlighted. Click the OK button to process all of the highlighted items. Or, click Done to exit the screen without processing.
-
To select individual items hold down the CTRL key and click each item to highlight. After all of the items to process are highlighted, click the OK button to begin processing. Or, click Done to exit the screen without processing.
A combination of the SHIFT and CTRL item selections may be used to select and deselect items.
4. Select the ARNs that you want to print and click Done.
To select an ARN, check the box in the row of the ARN.
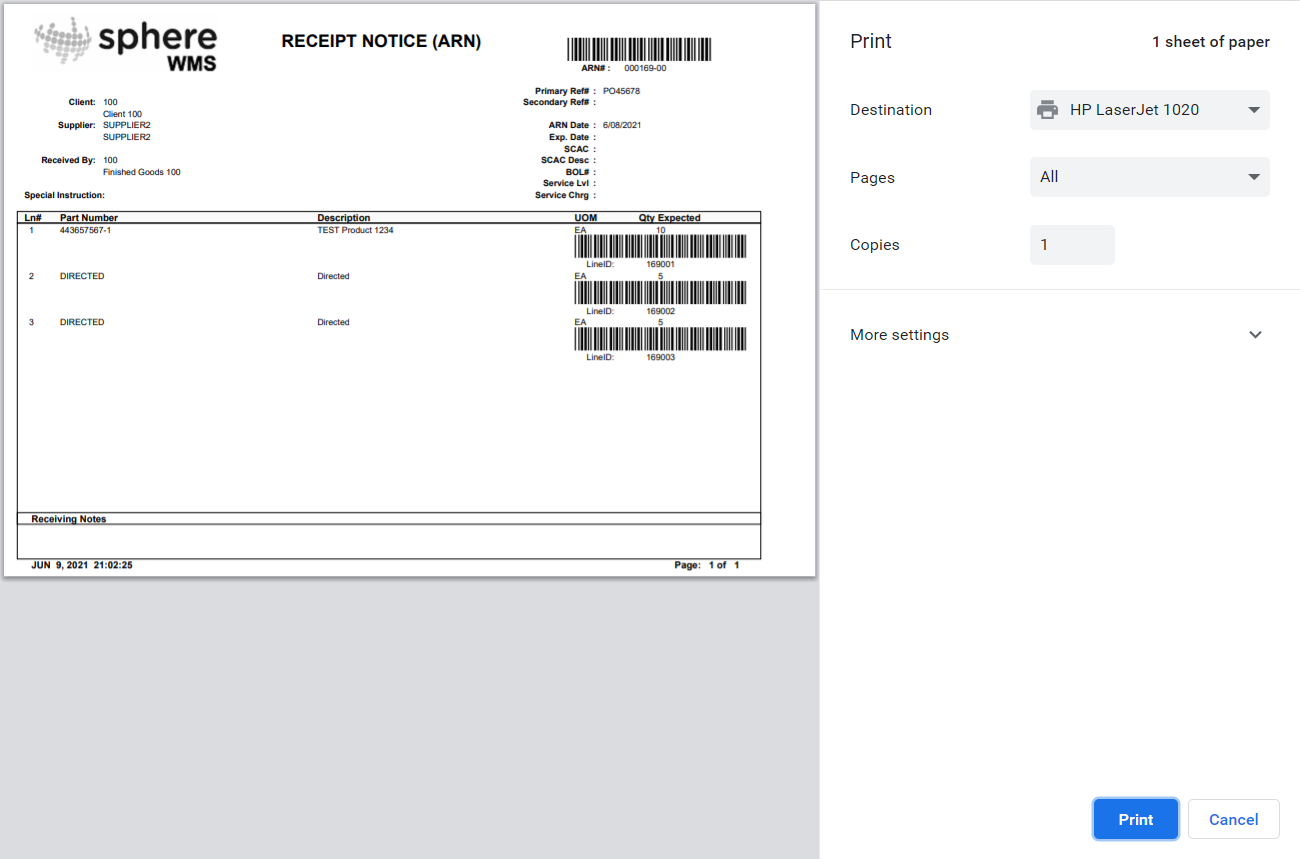
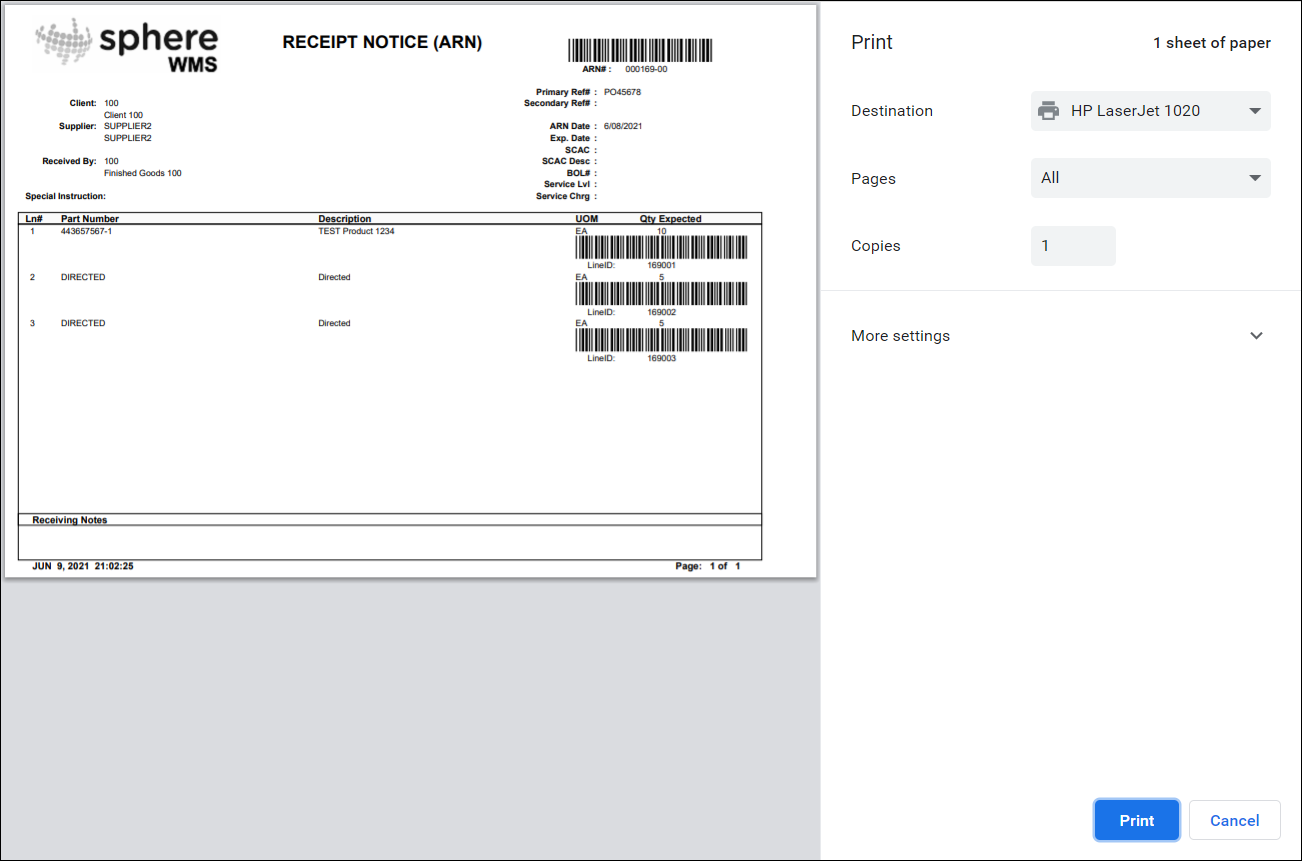
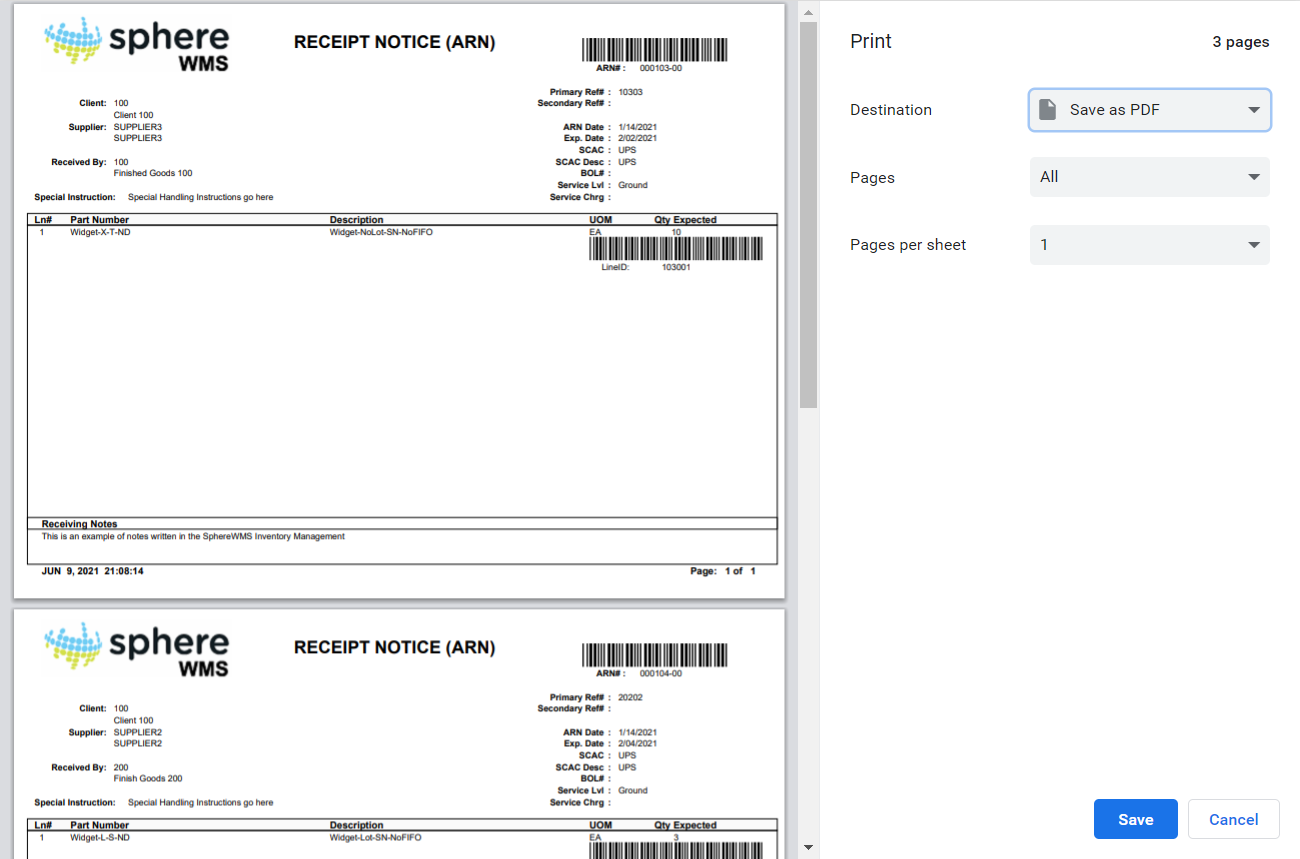
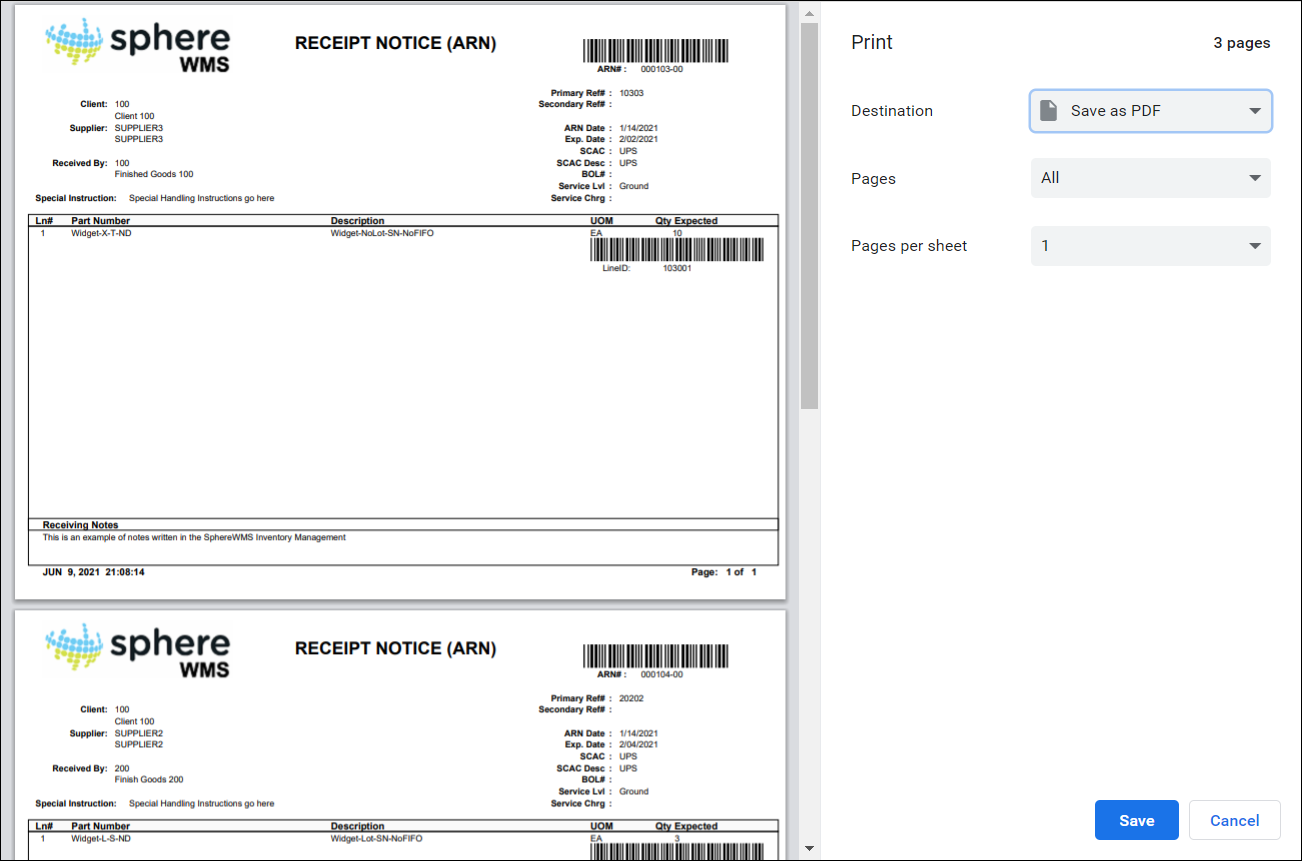
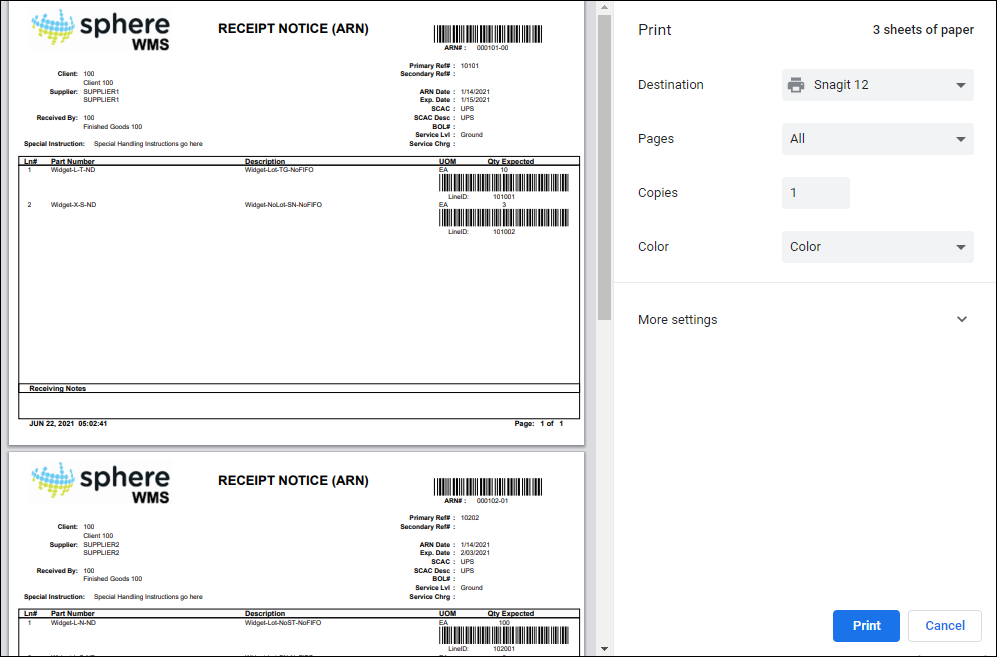
The print preview screen will display.

5. Select the printer, enter the number of copies to be printed, and then click Print.
The selected ARN(s) will be printed.