The normal receipt processing involves three steps - ARN Entry, Put Away Entry/Edit, and FINAL RECEIPT POST. The 1-Step Processing > Receipt Entry/Edit allows you to complete all these three steps in just one step. You can enter / edit receipts quickly in one step using this option. To enter/edit a receipt in one step:
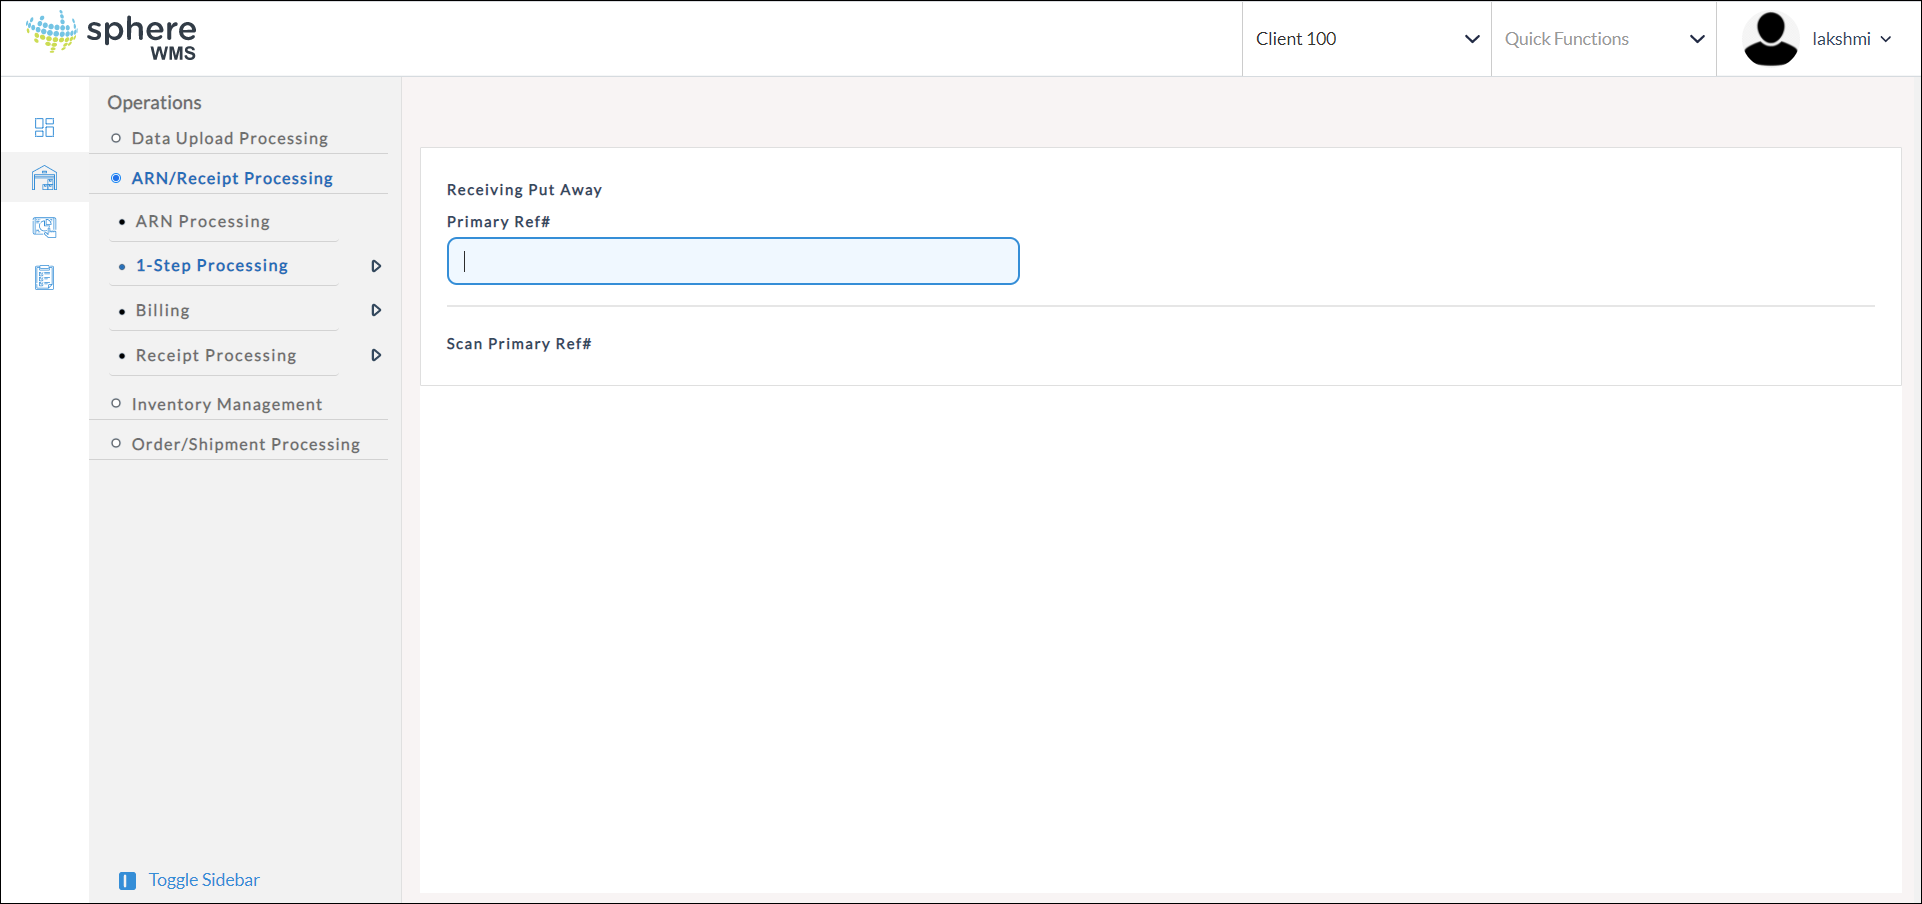
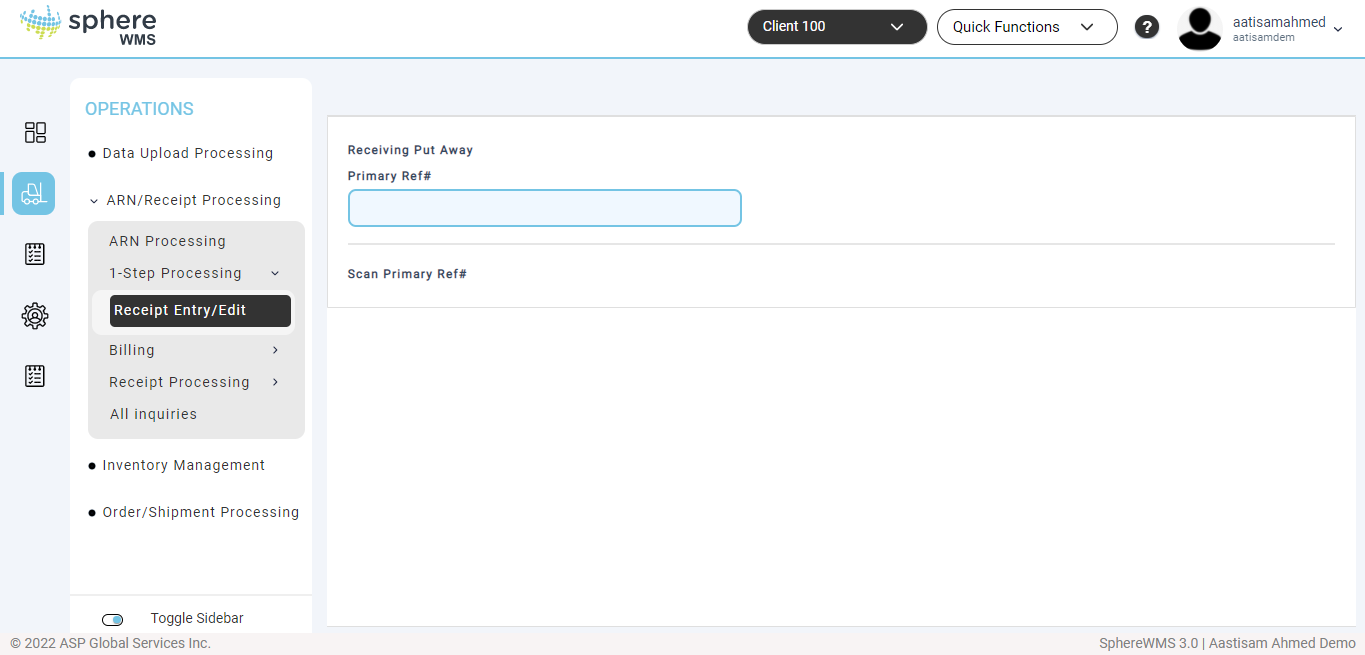
1.Navigate to Operations > ARN/Receipt Processing > 1-Step Processing > Receipt Entry/Edit.
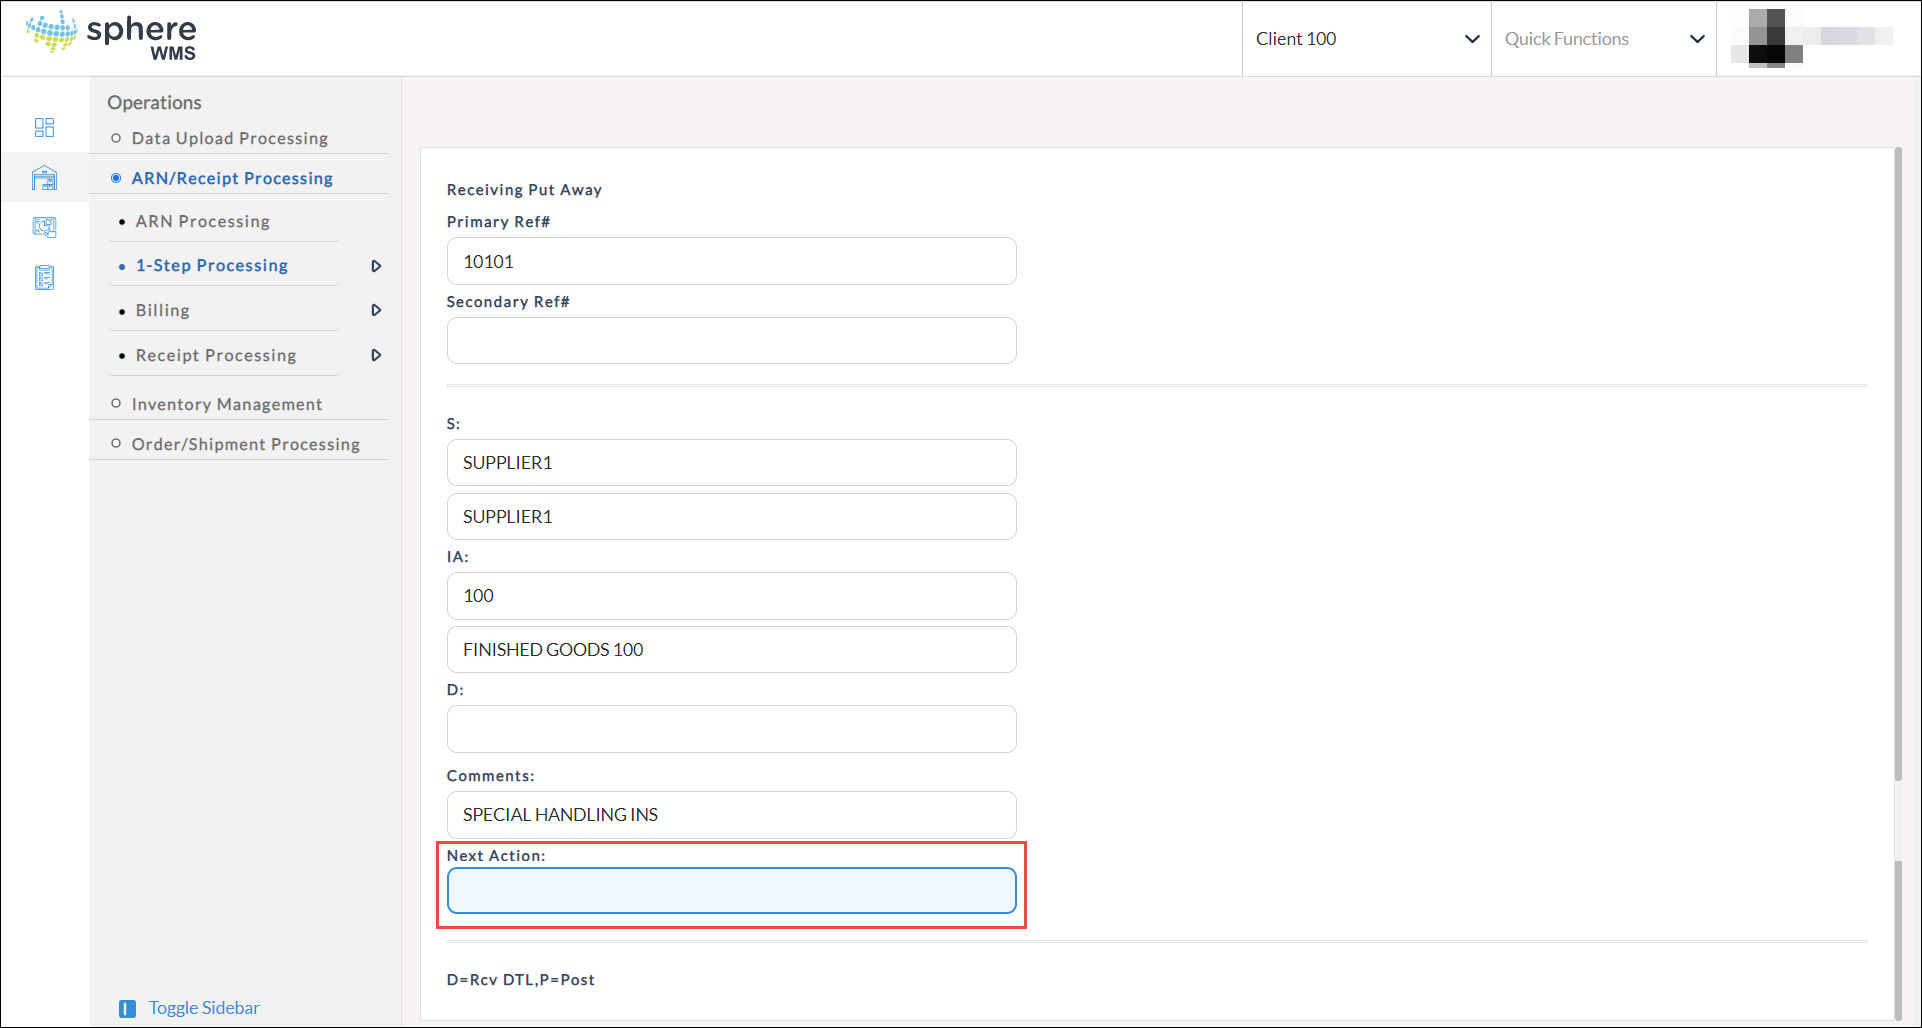
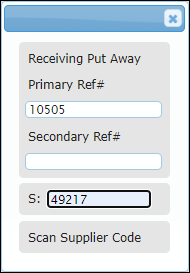
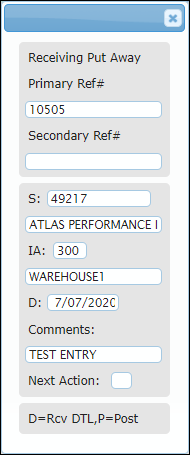
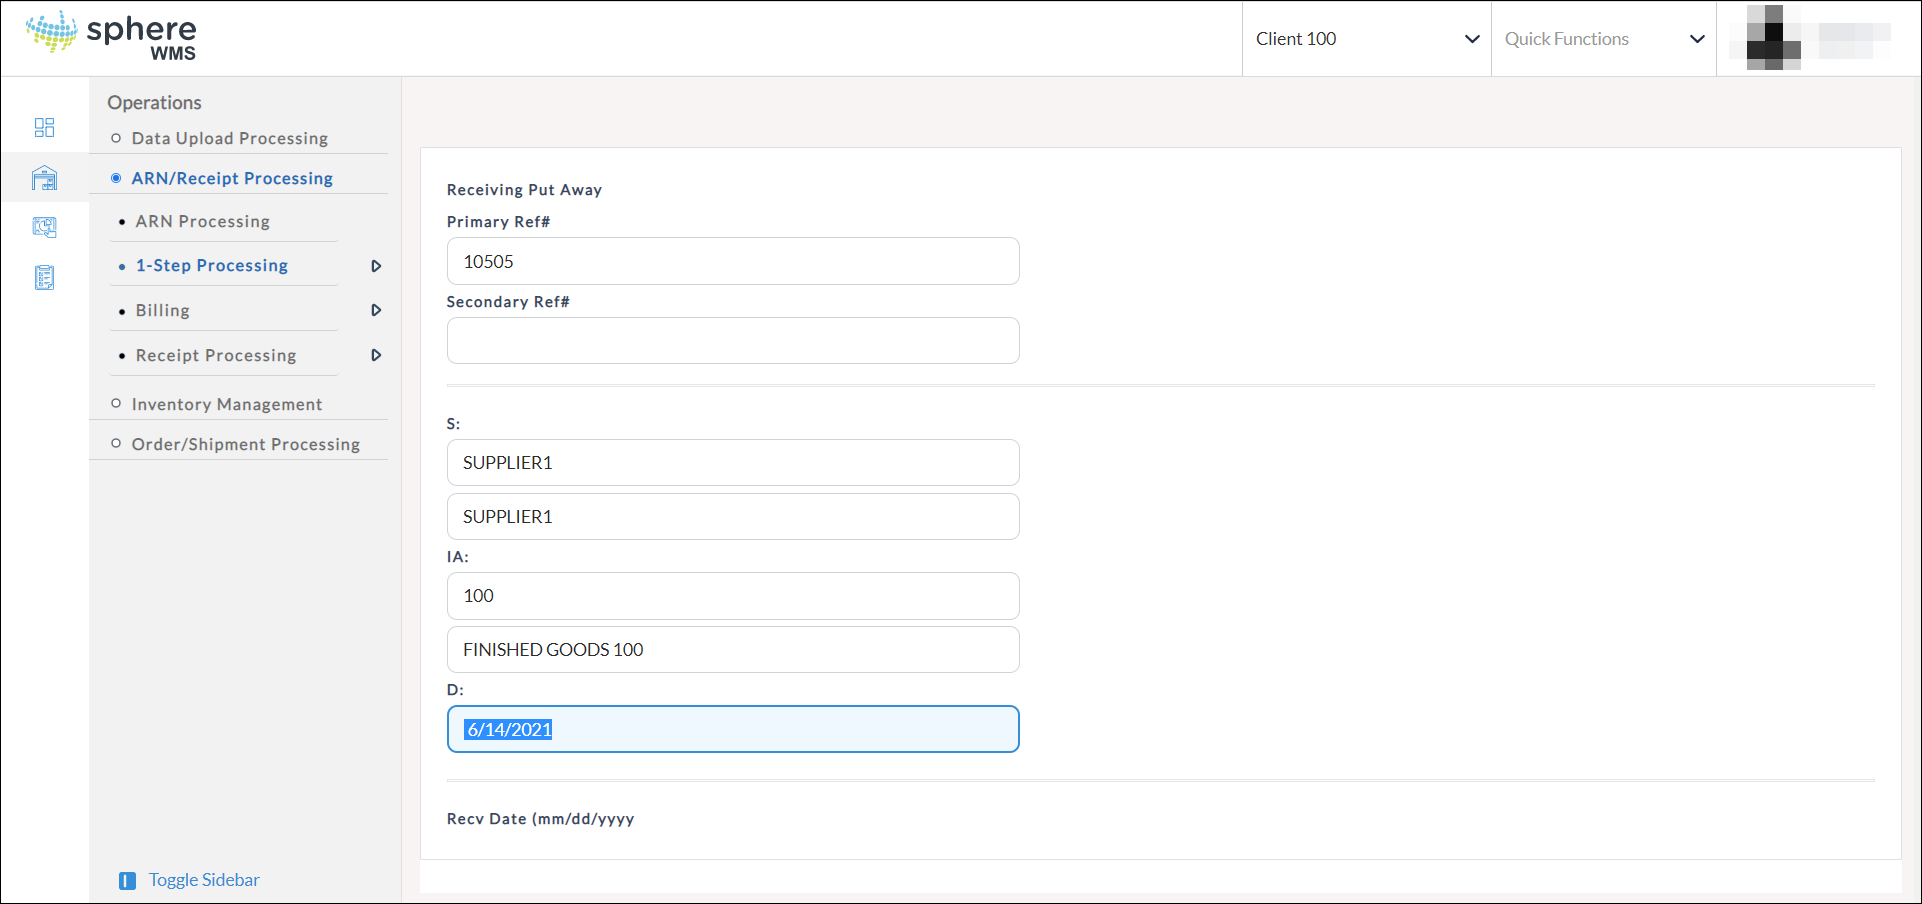
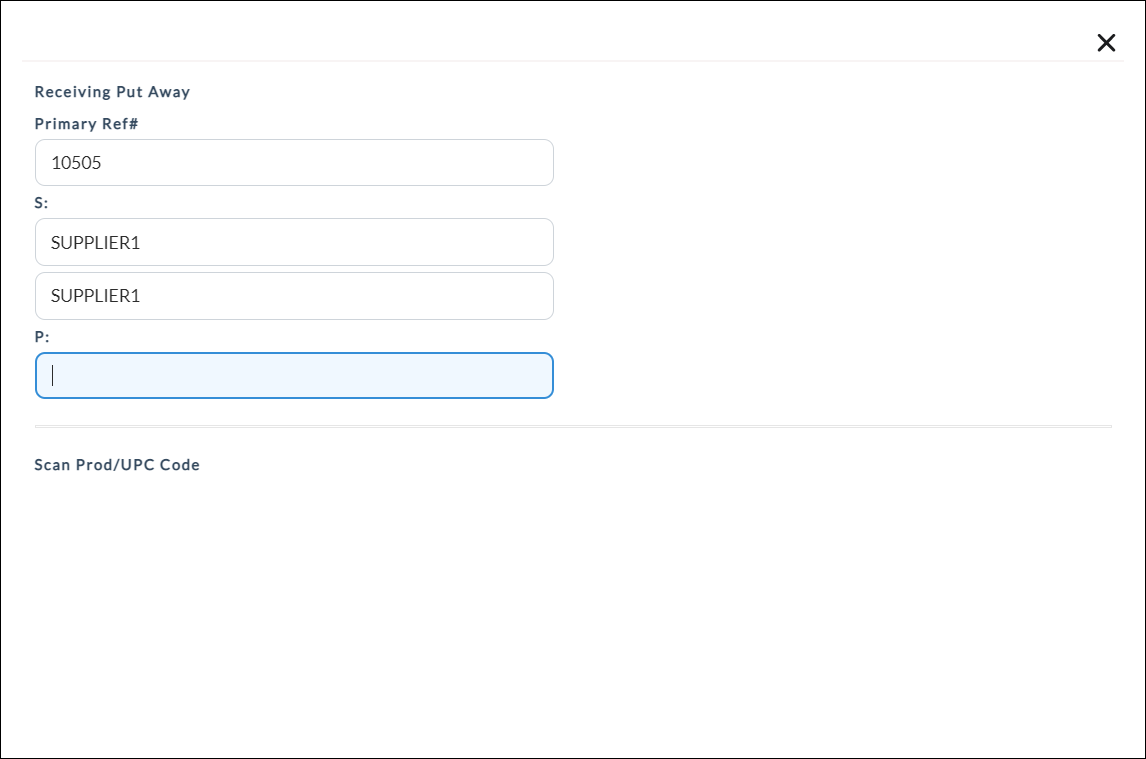
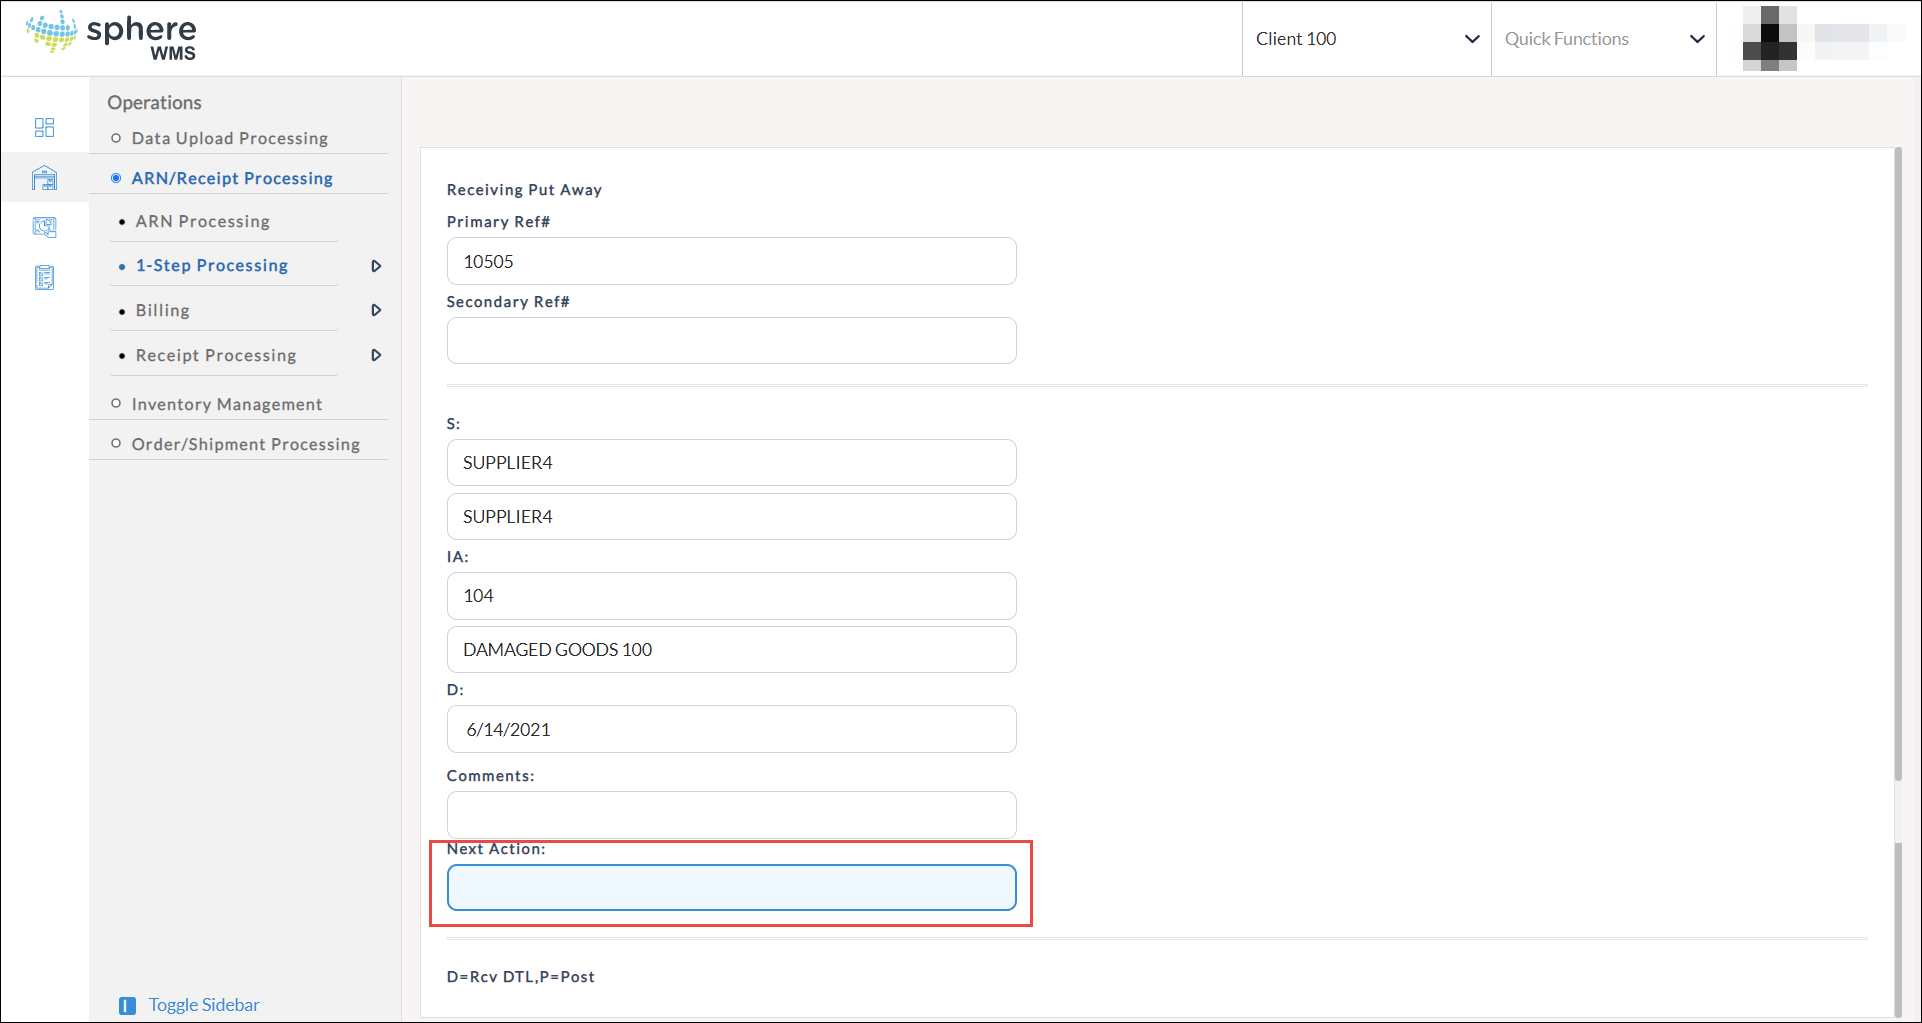
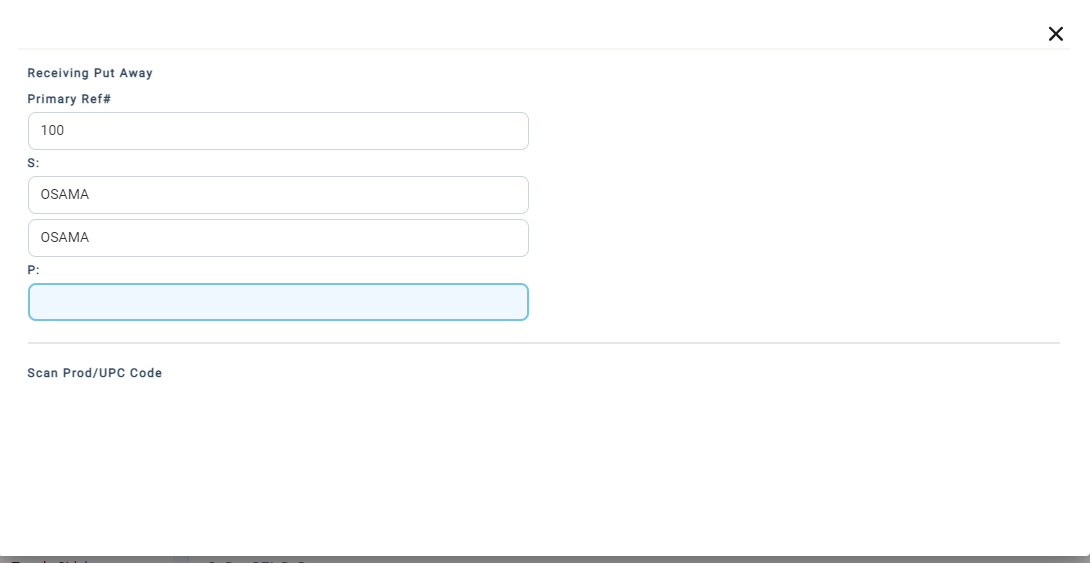
The Receiving Put Away page will display.

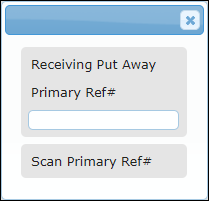
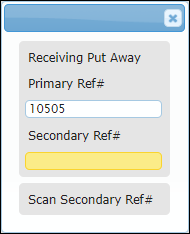
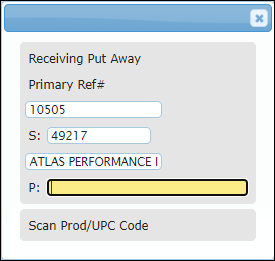
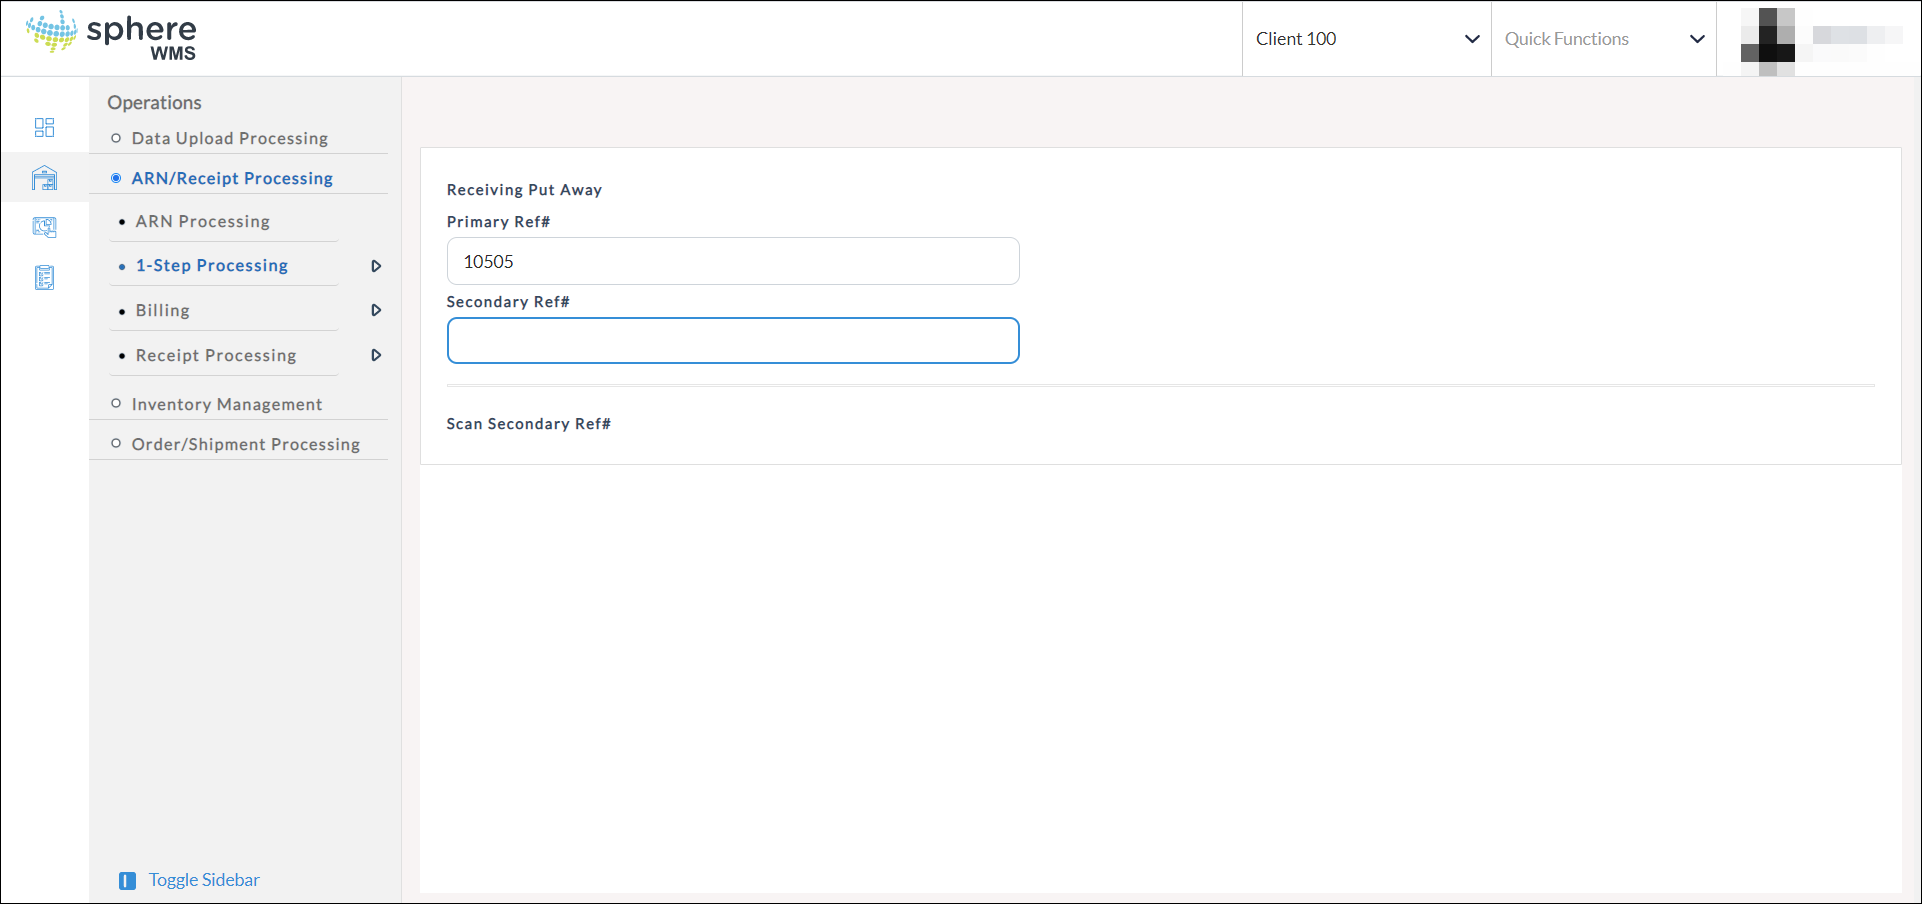
2. Enter the Primary Ref# or select one from the look-up table.
To move to the next field in the form, press Enter or Tab on your keyboard after entering the value in each field. For more information, refer to Form Data Entry.

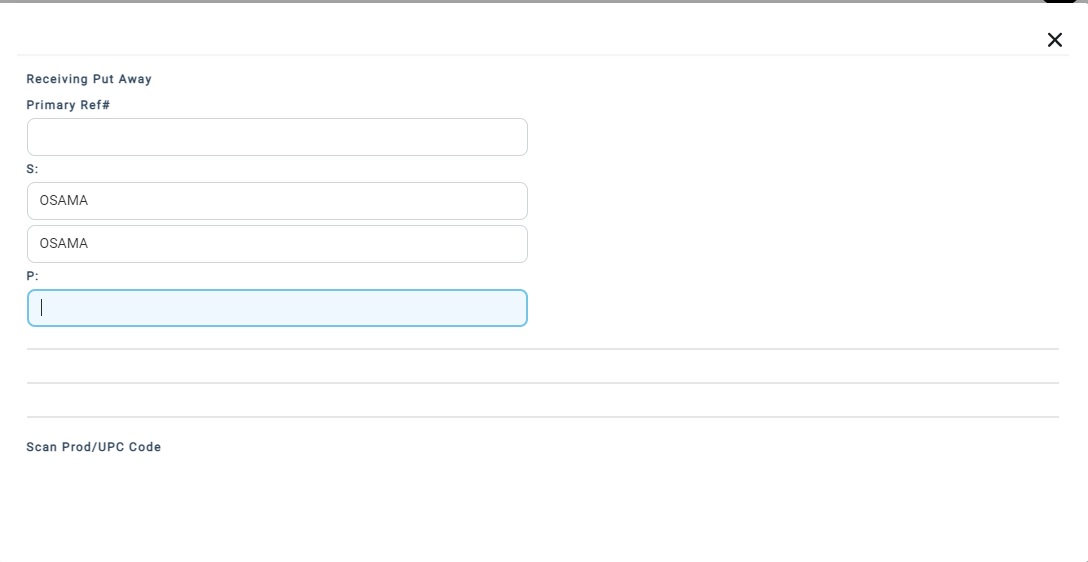
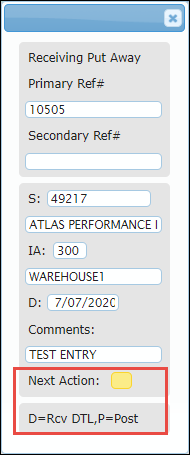
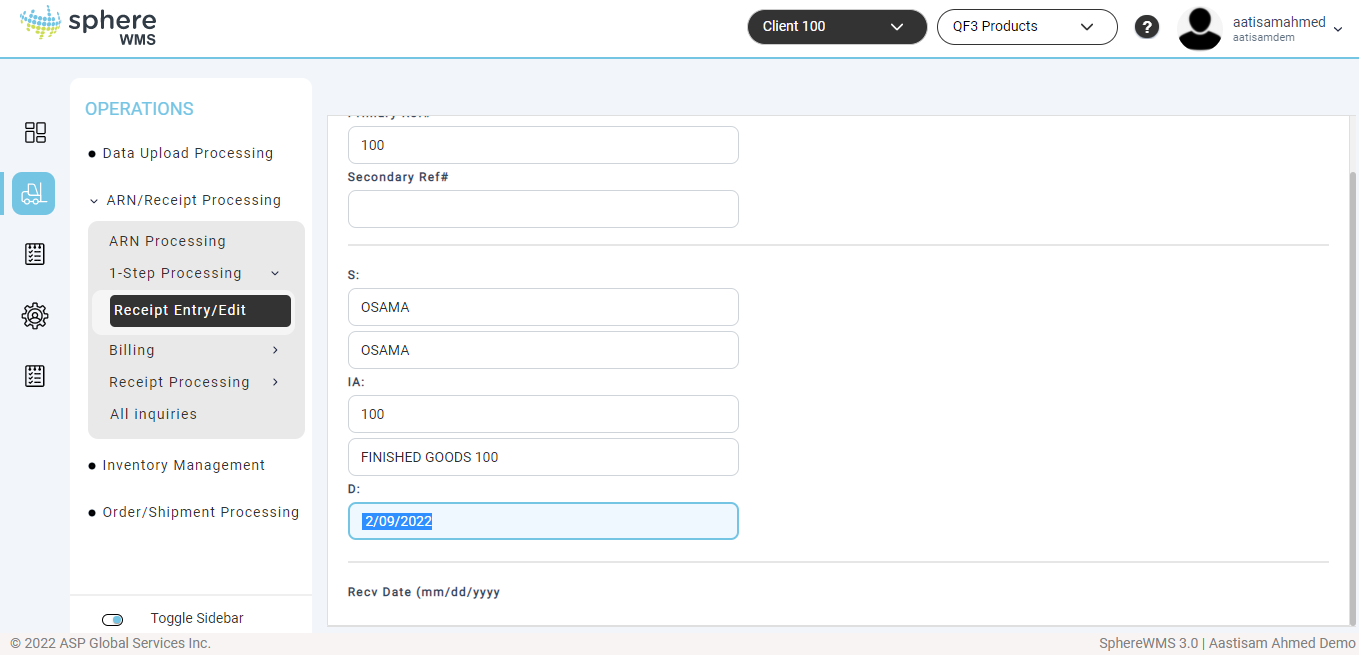
3. Enter the Secondary Ref#. This is an optional field.
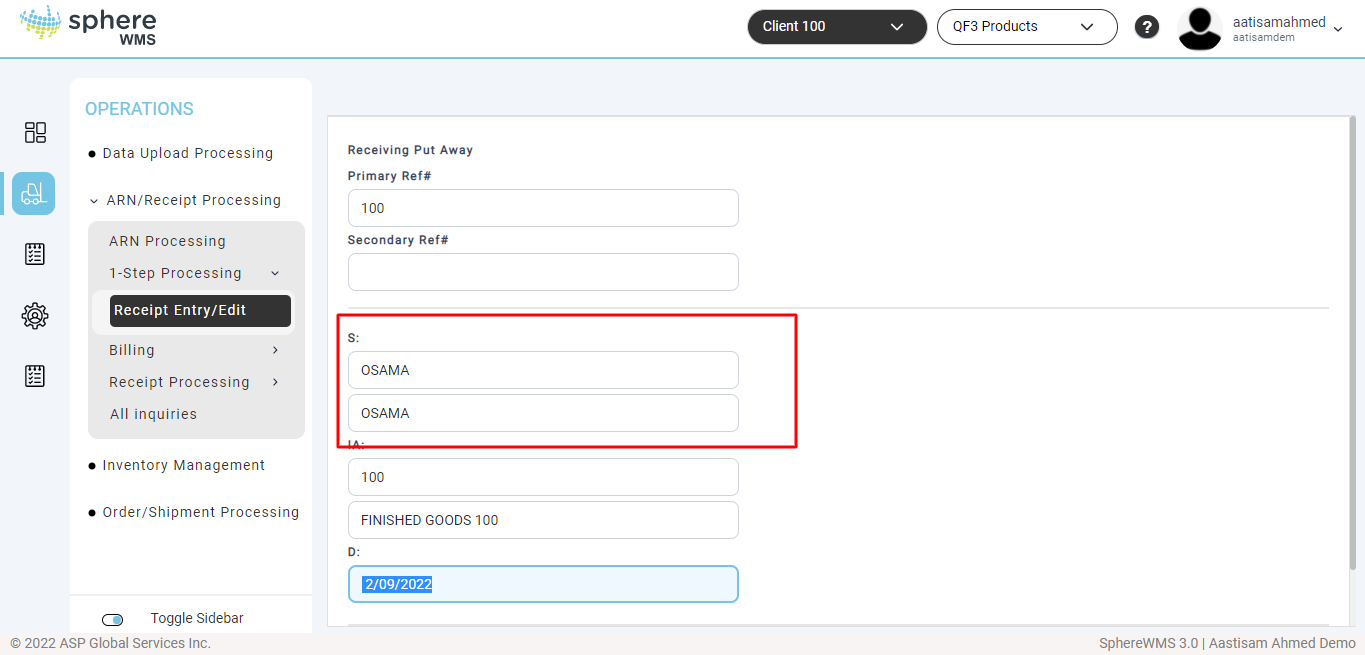
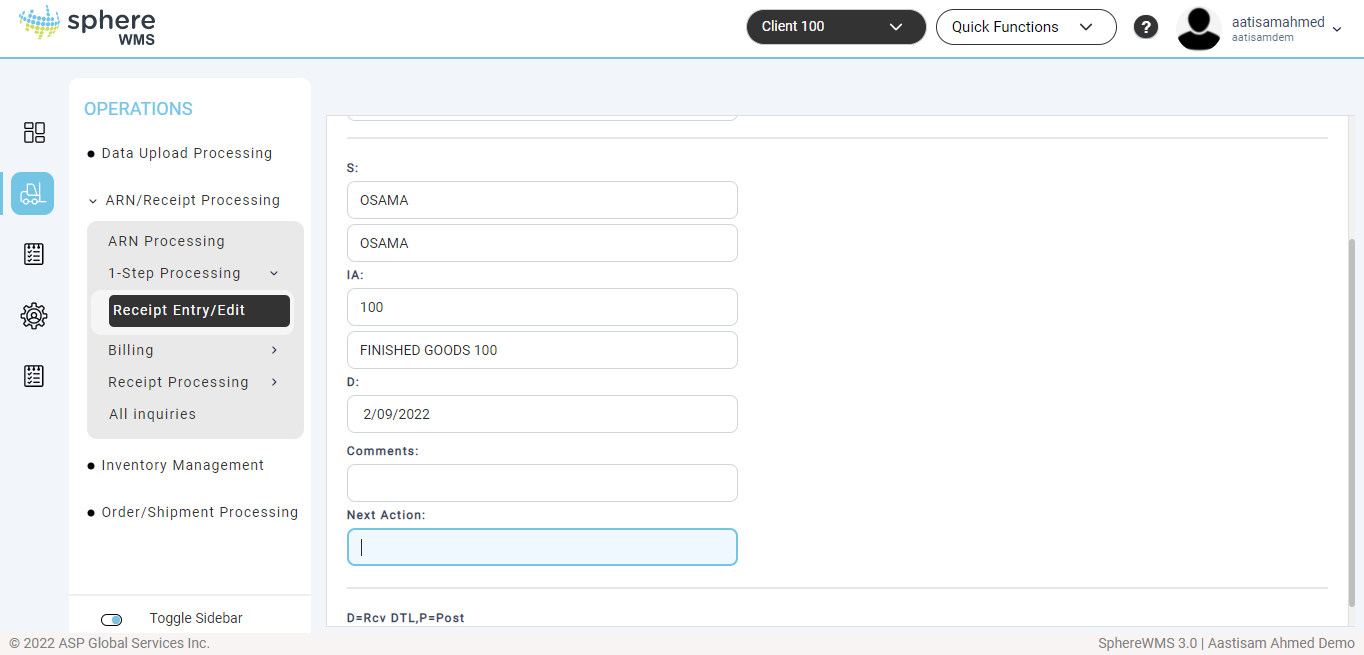
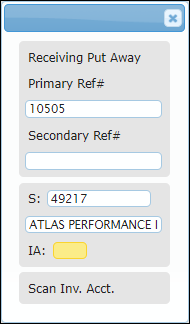
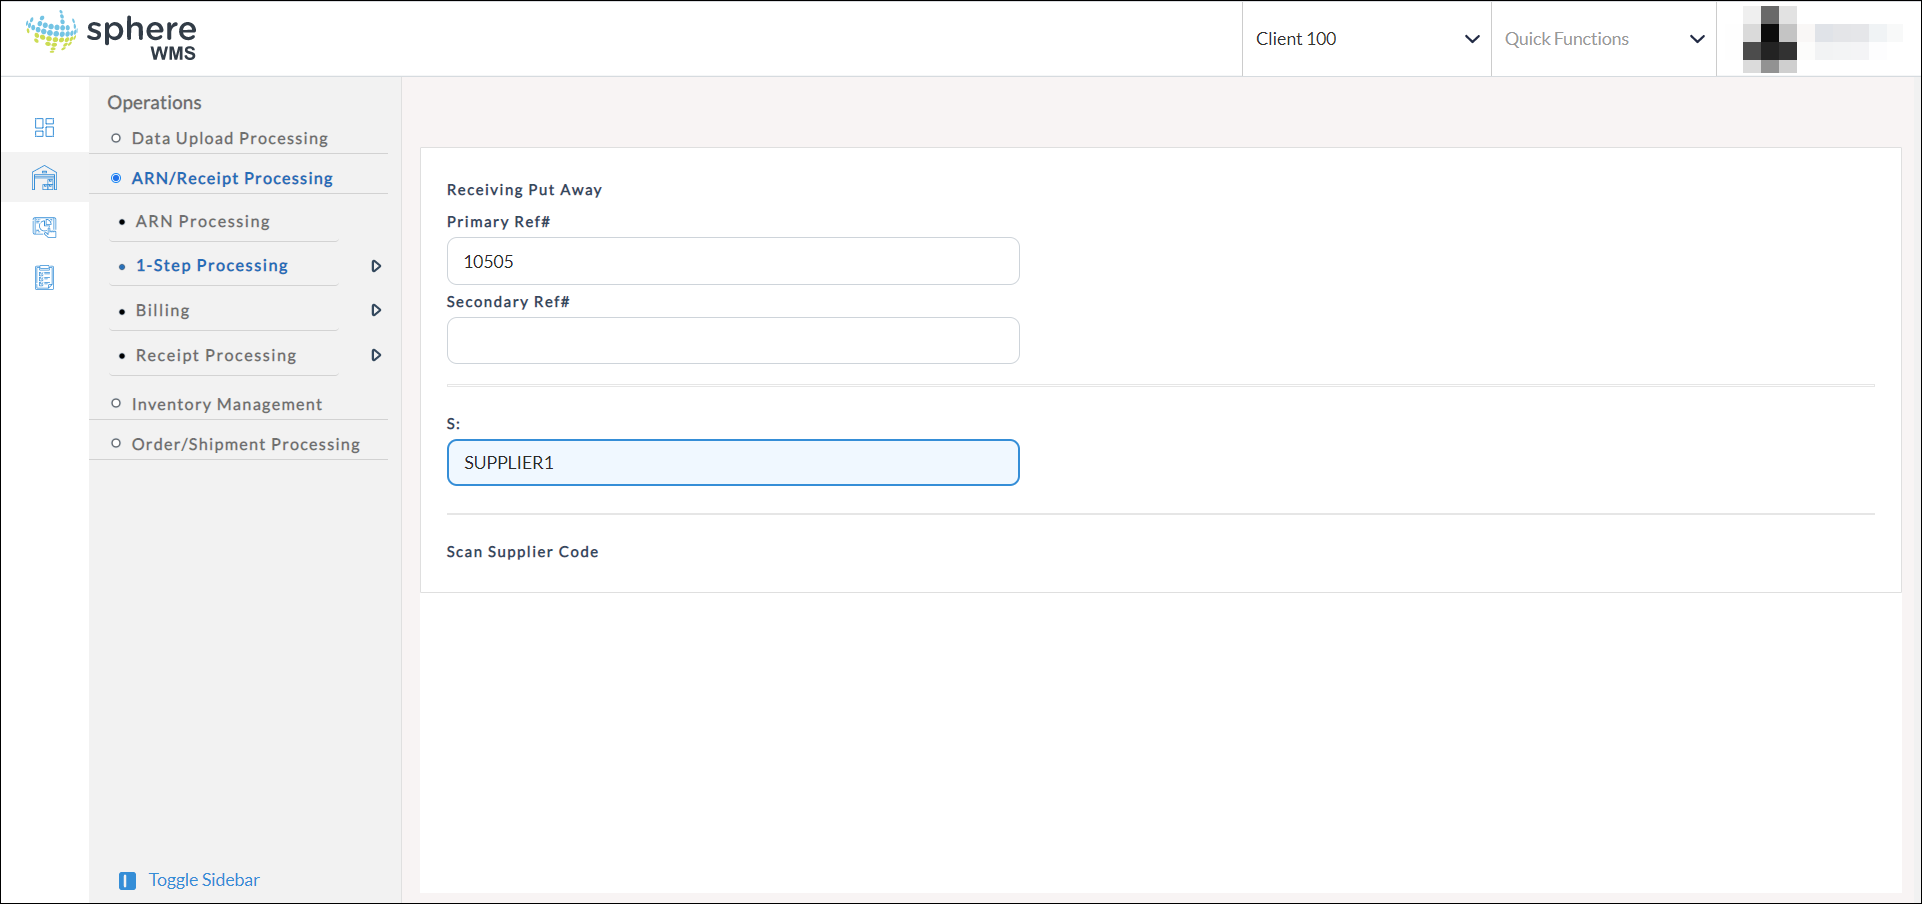
4. Enter the Supplier Code.

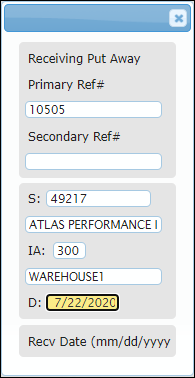
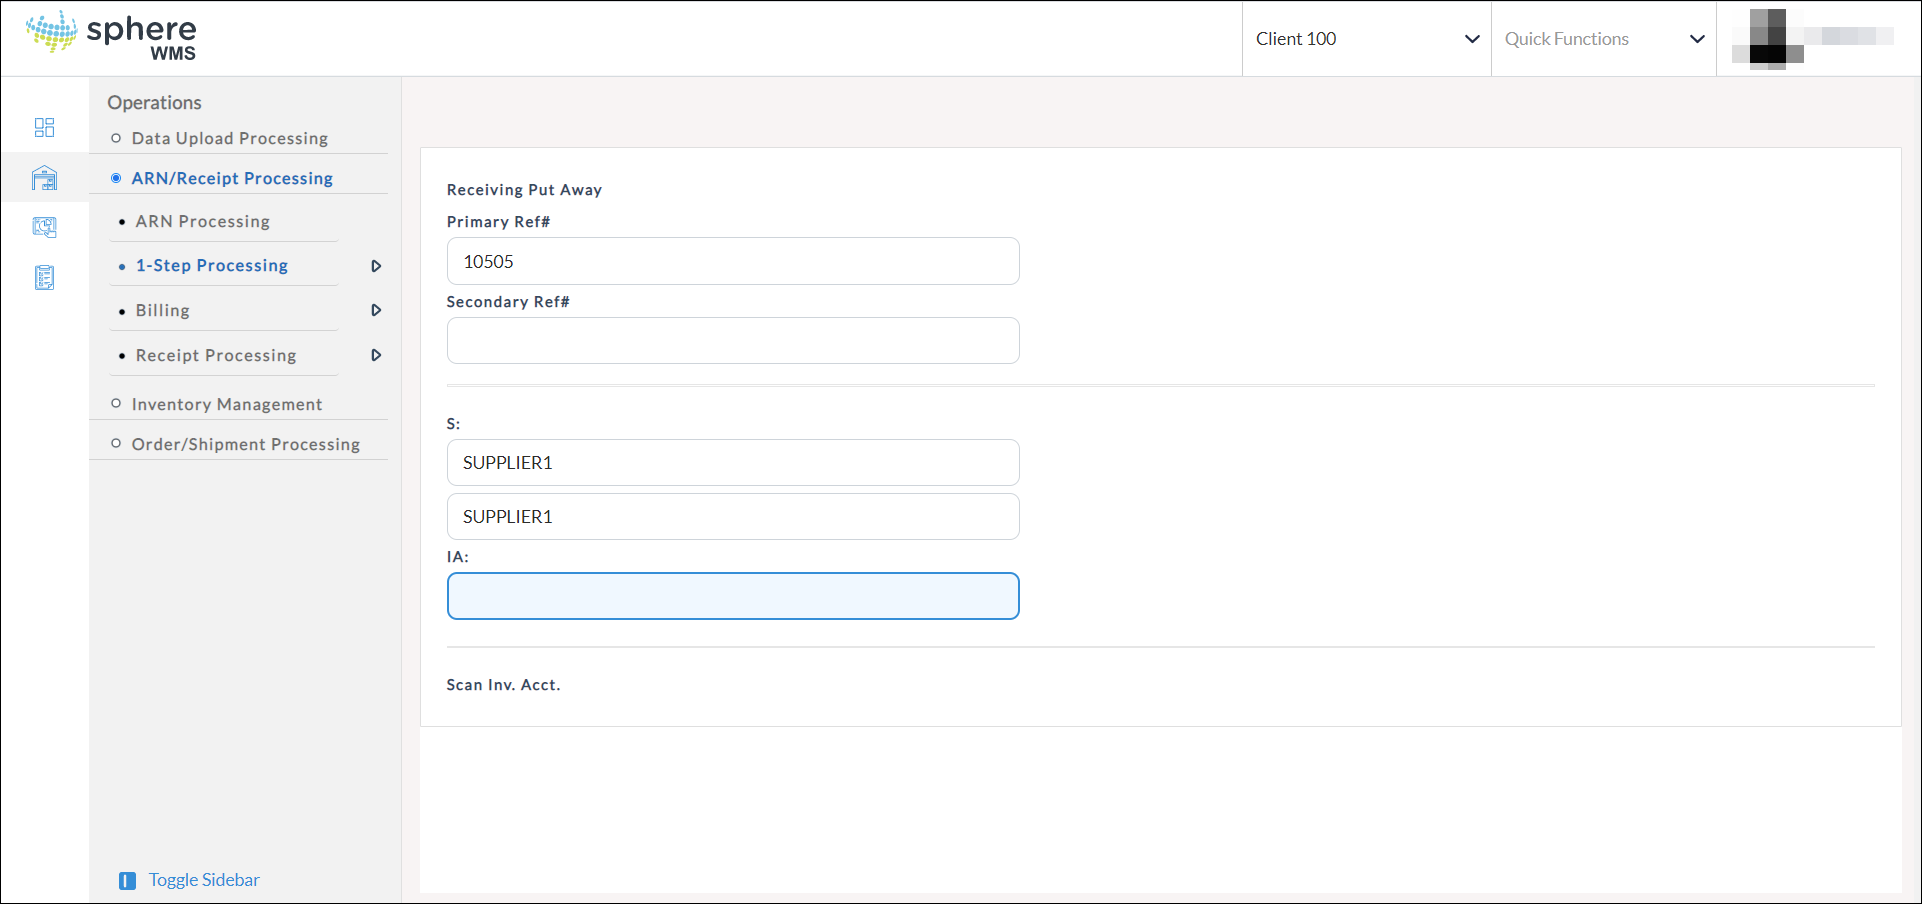
5. Enter Inventory Account No.

6. Enter the Received Date. By default, the current day’s date will be loaded. You can edit it.
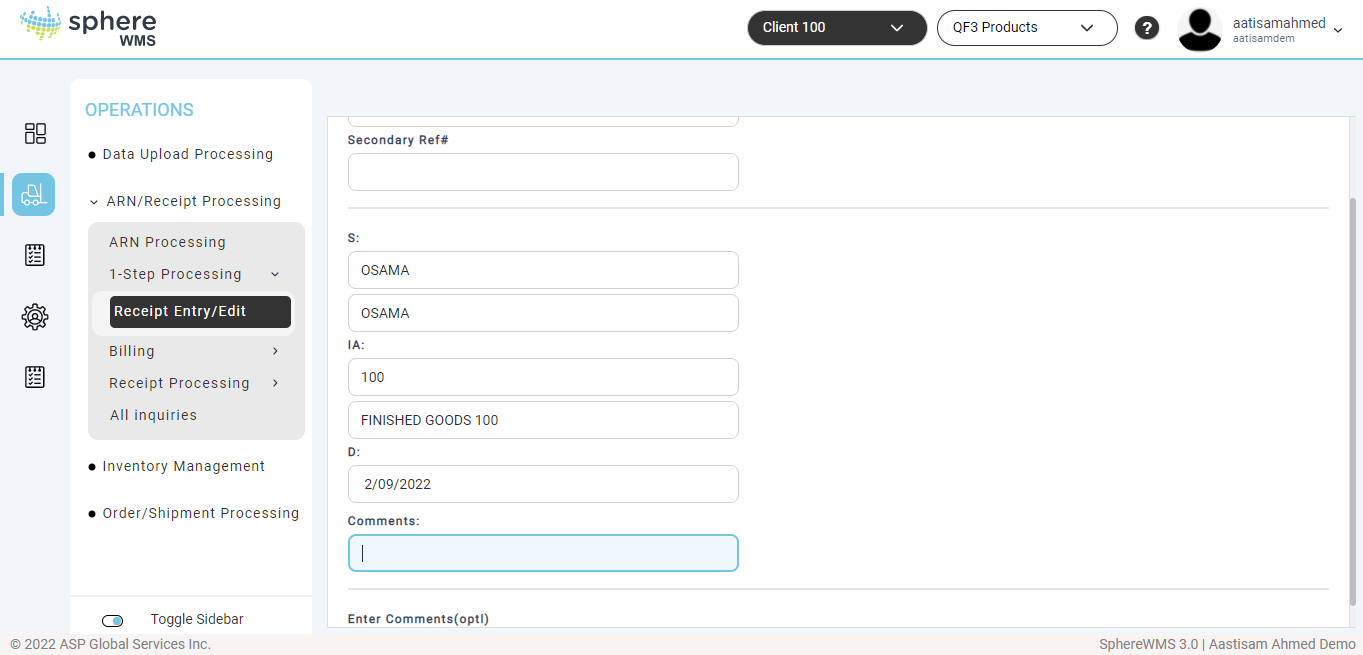
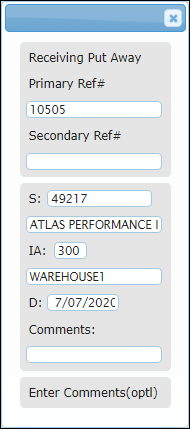
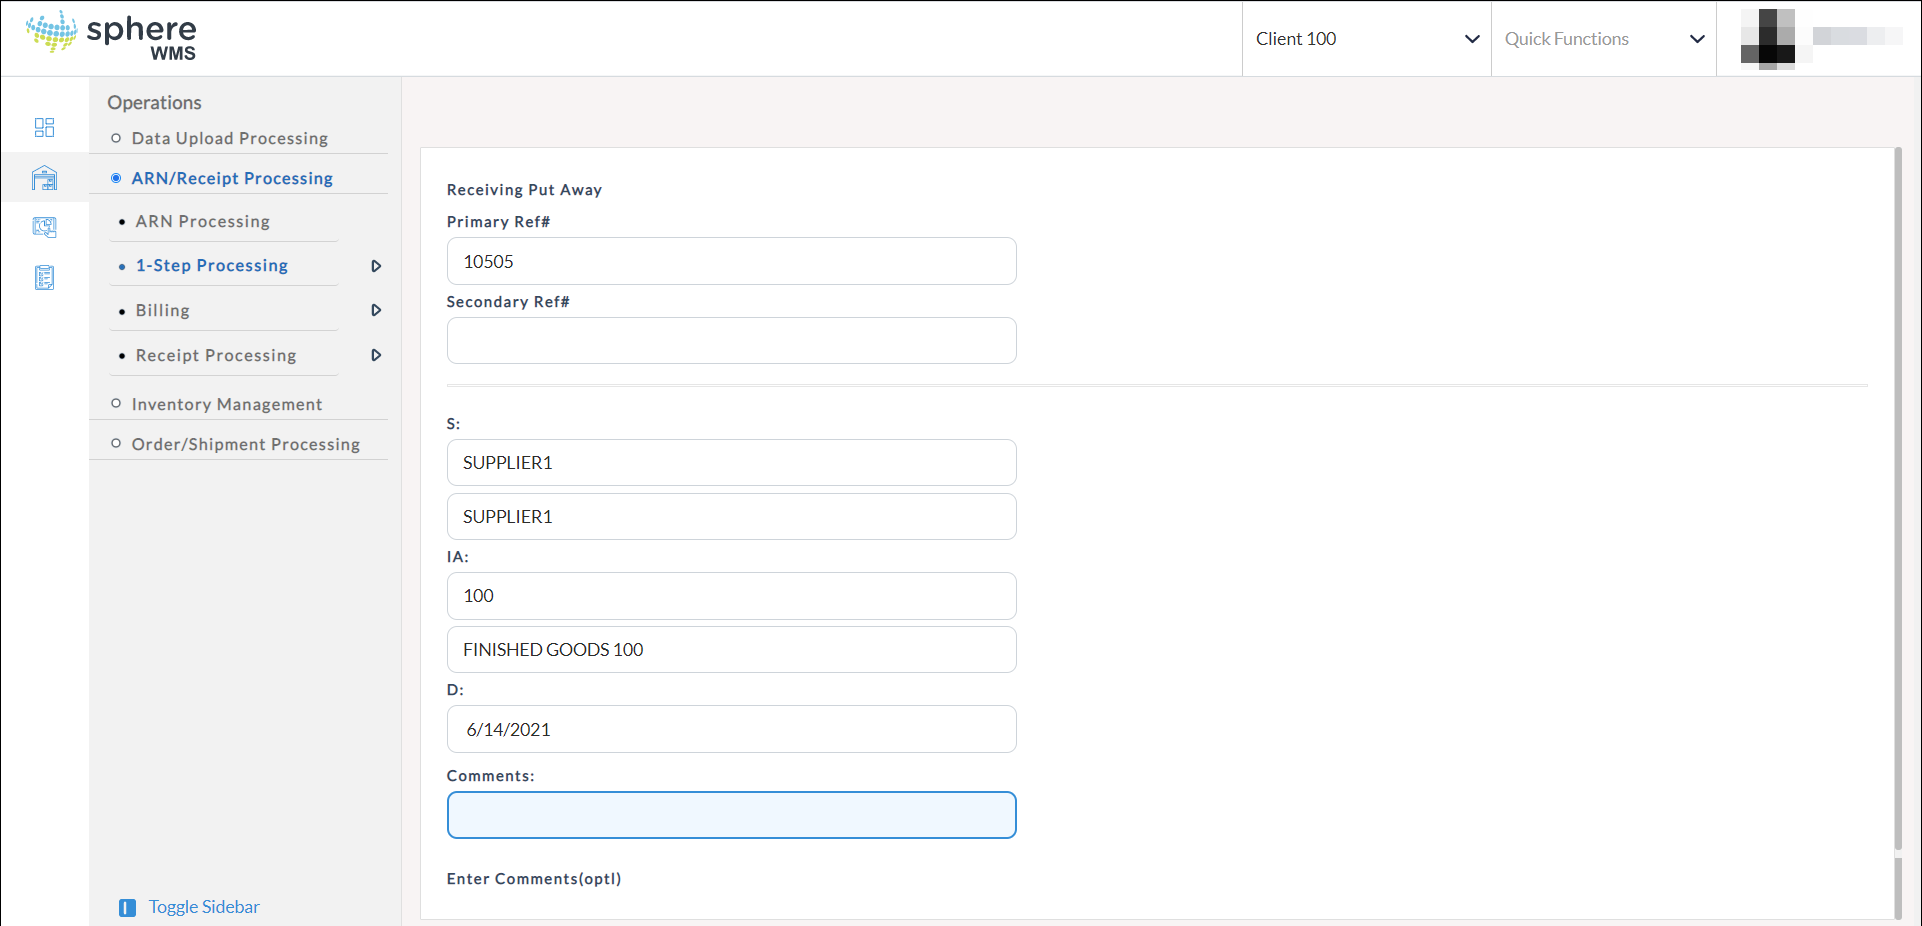
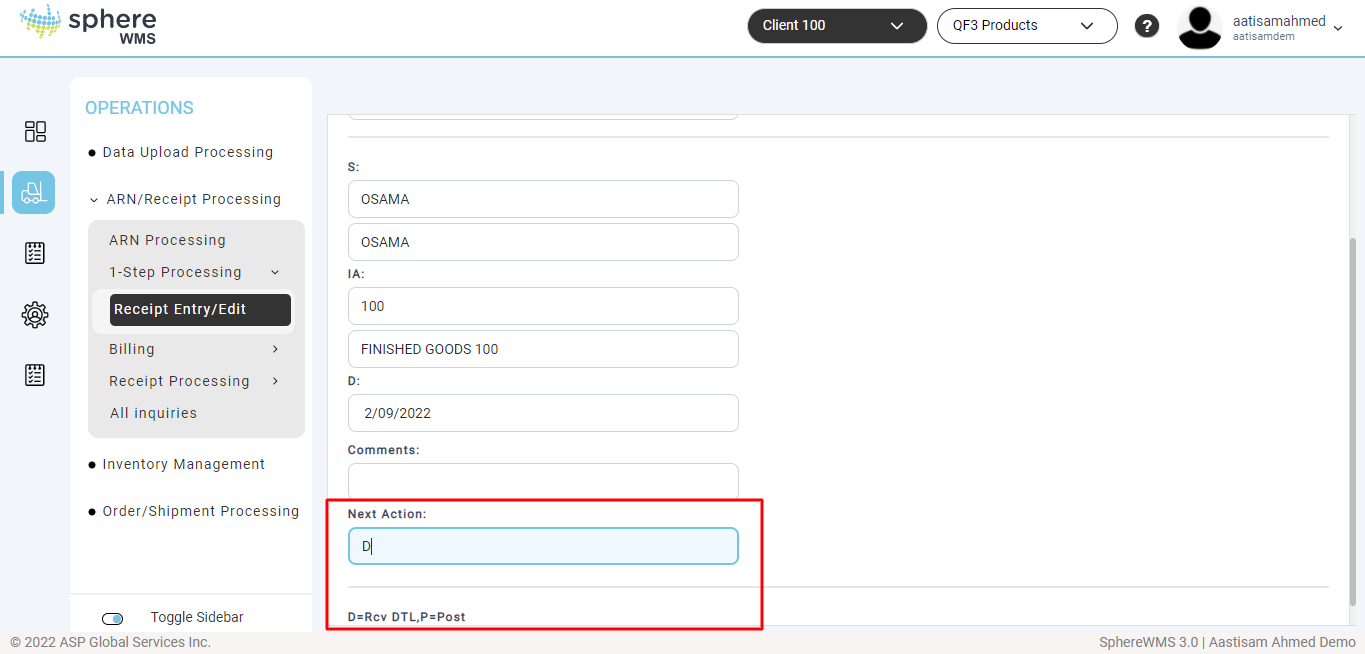
7. Enter the Comments. This is an optional field.

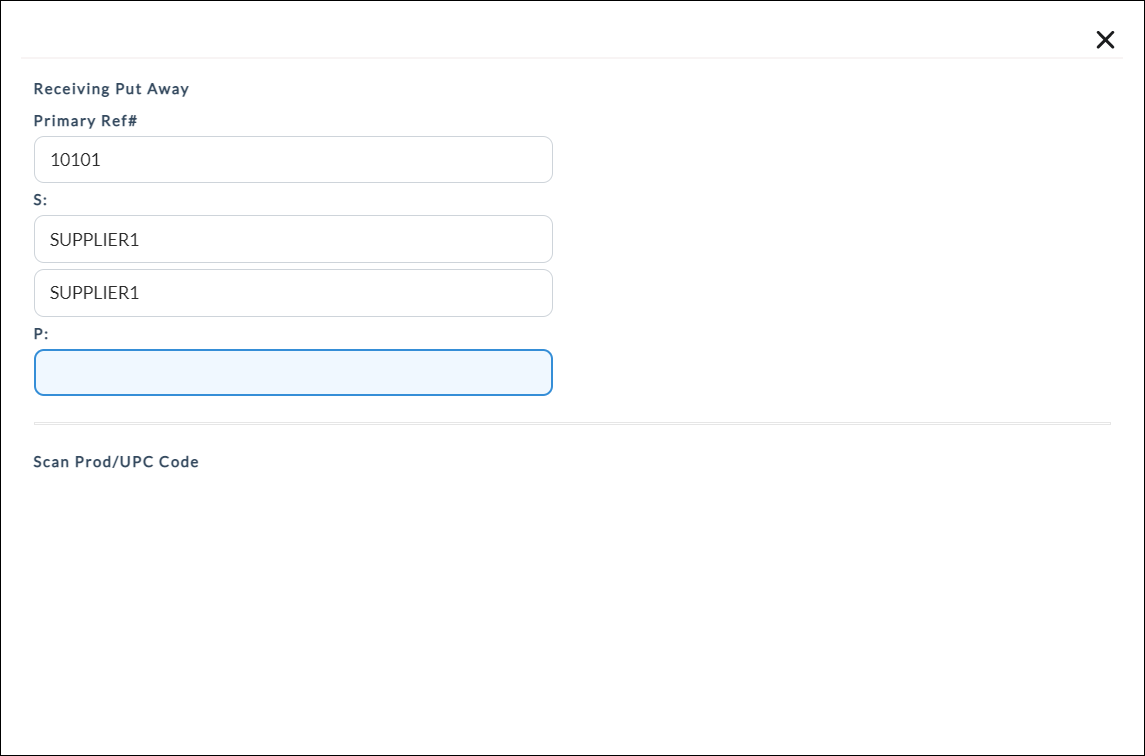
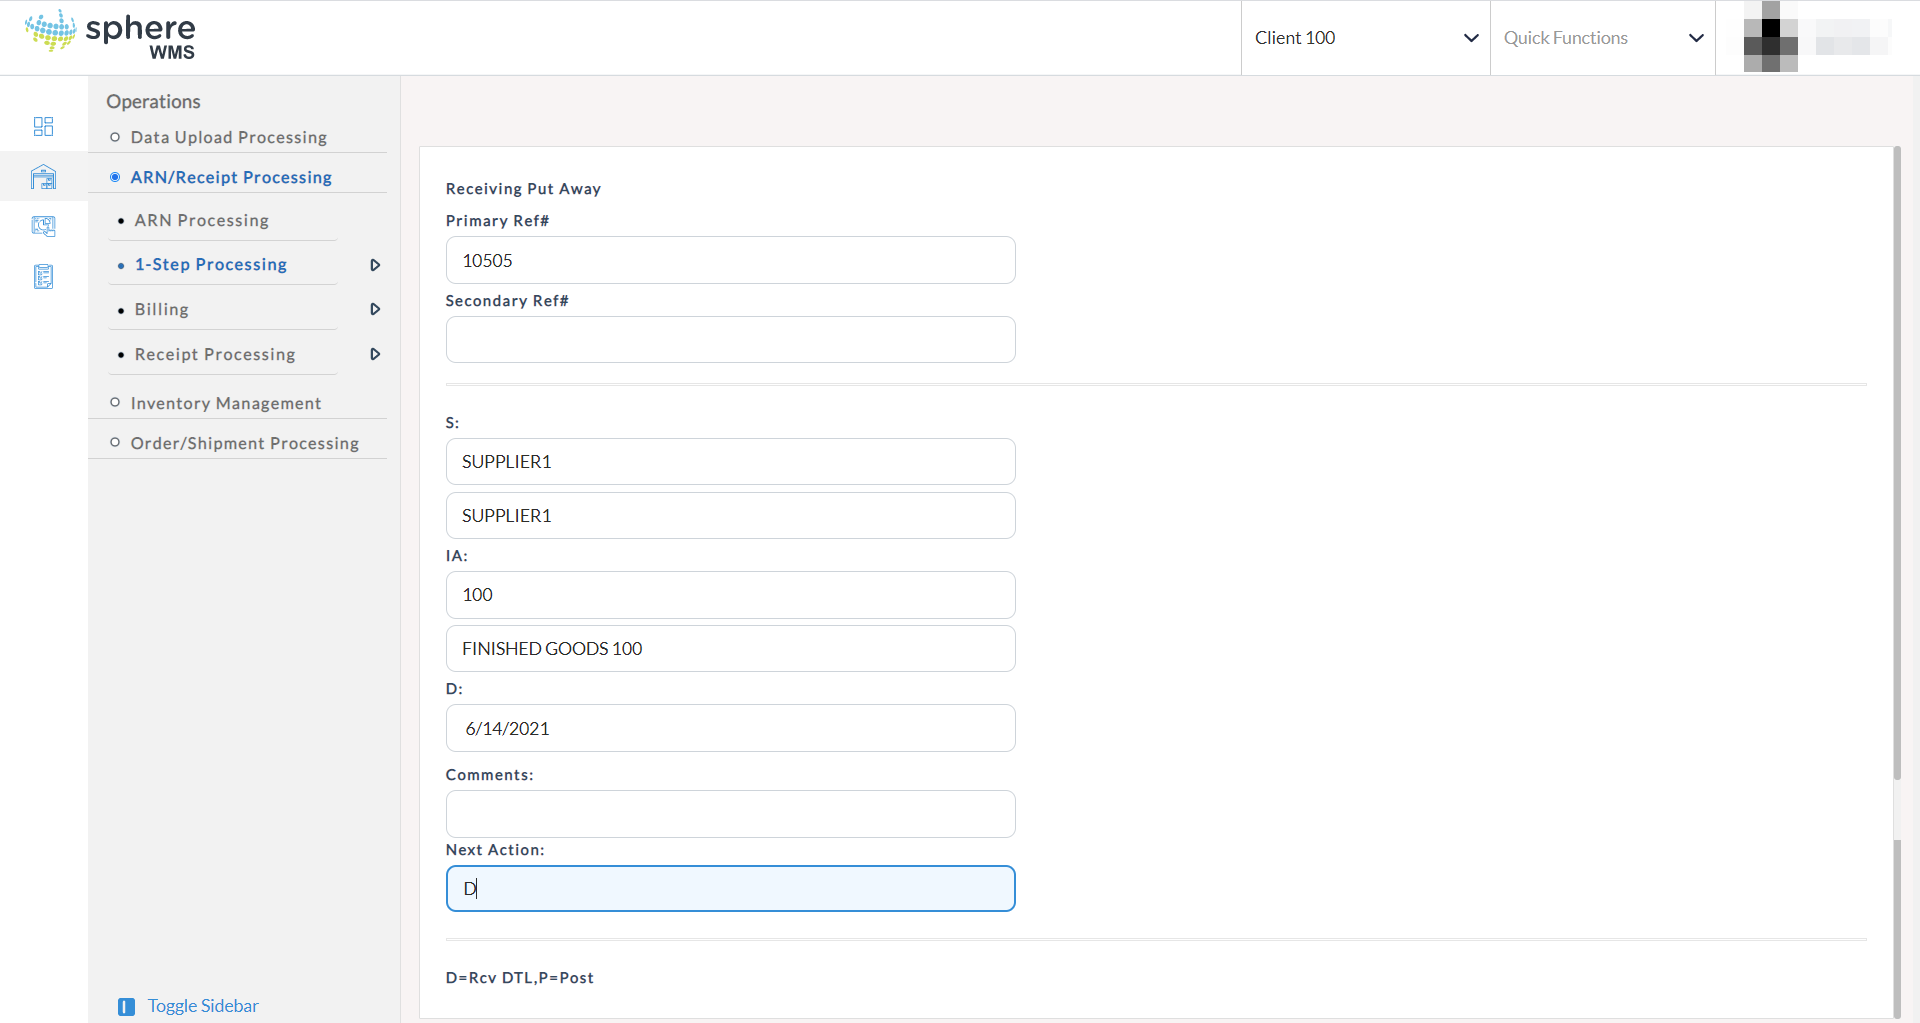
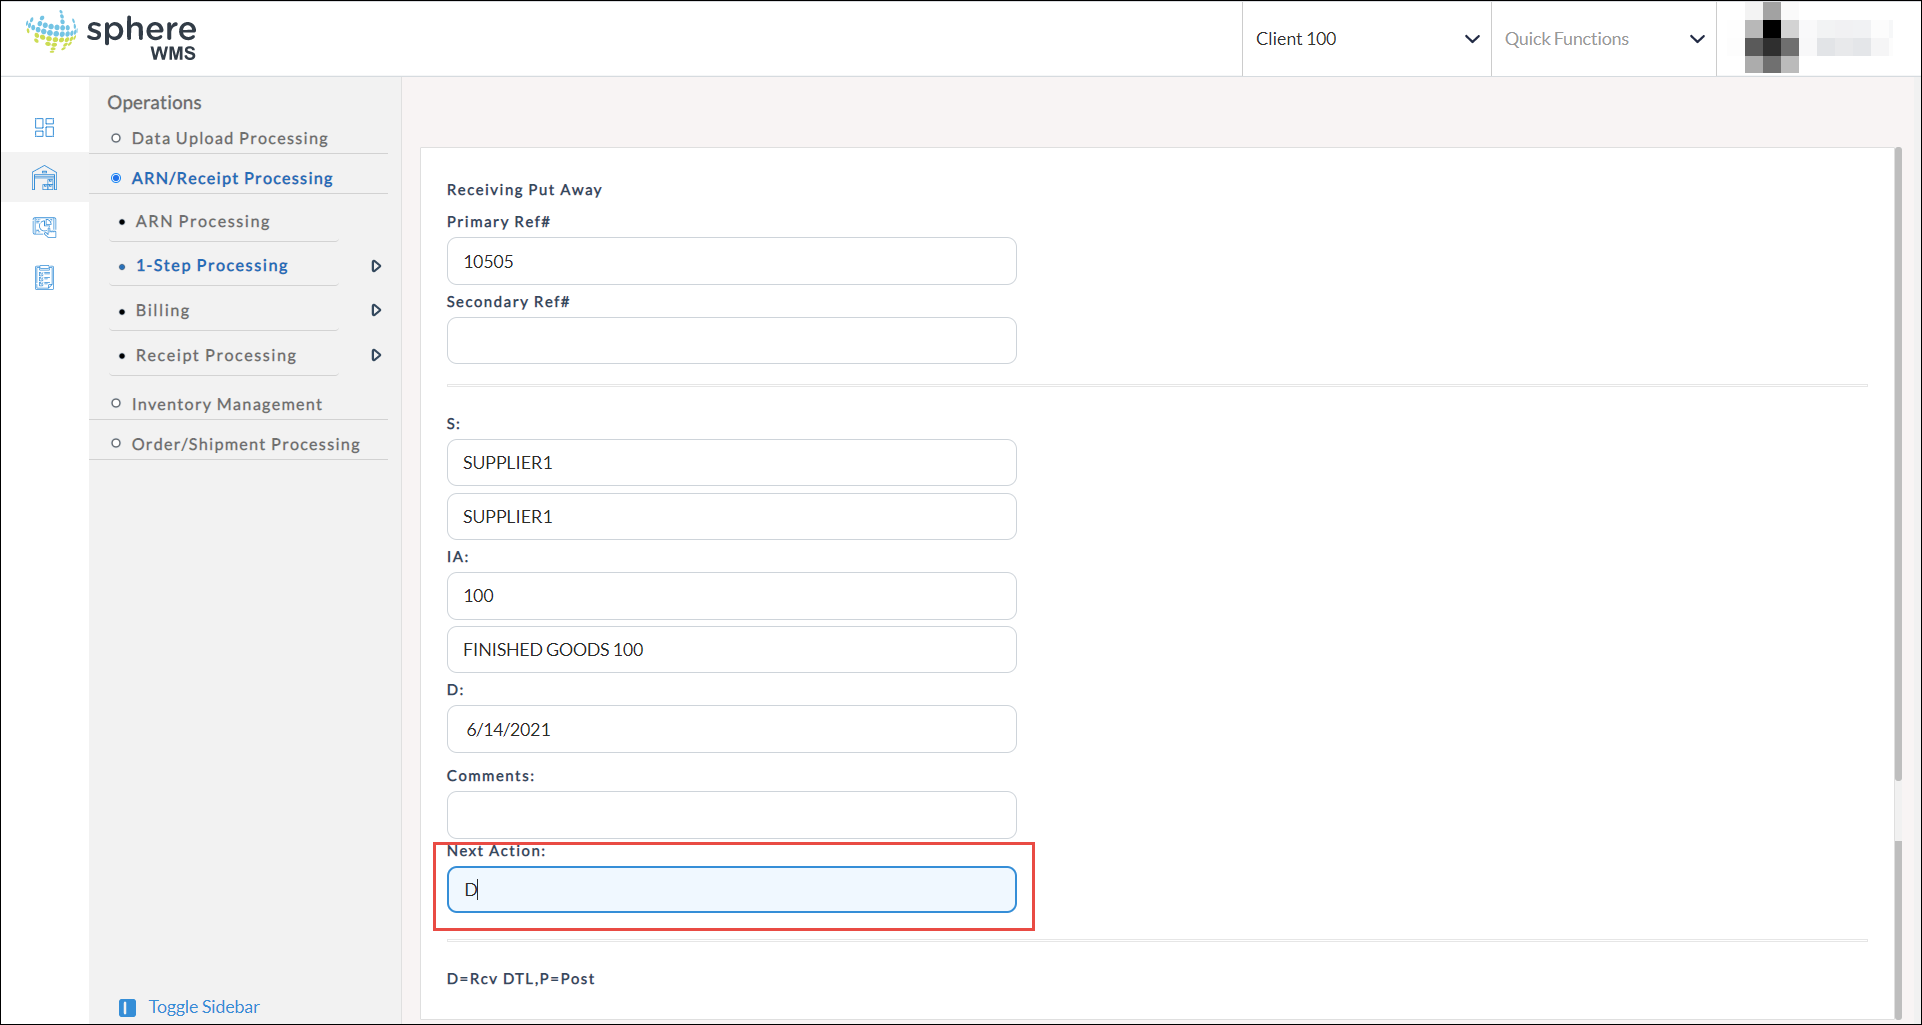
8. Next you will be prompted to enter receiving details or post the receipt. To enter the receiving details, enter D in the Next Action field.

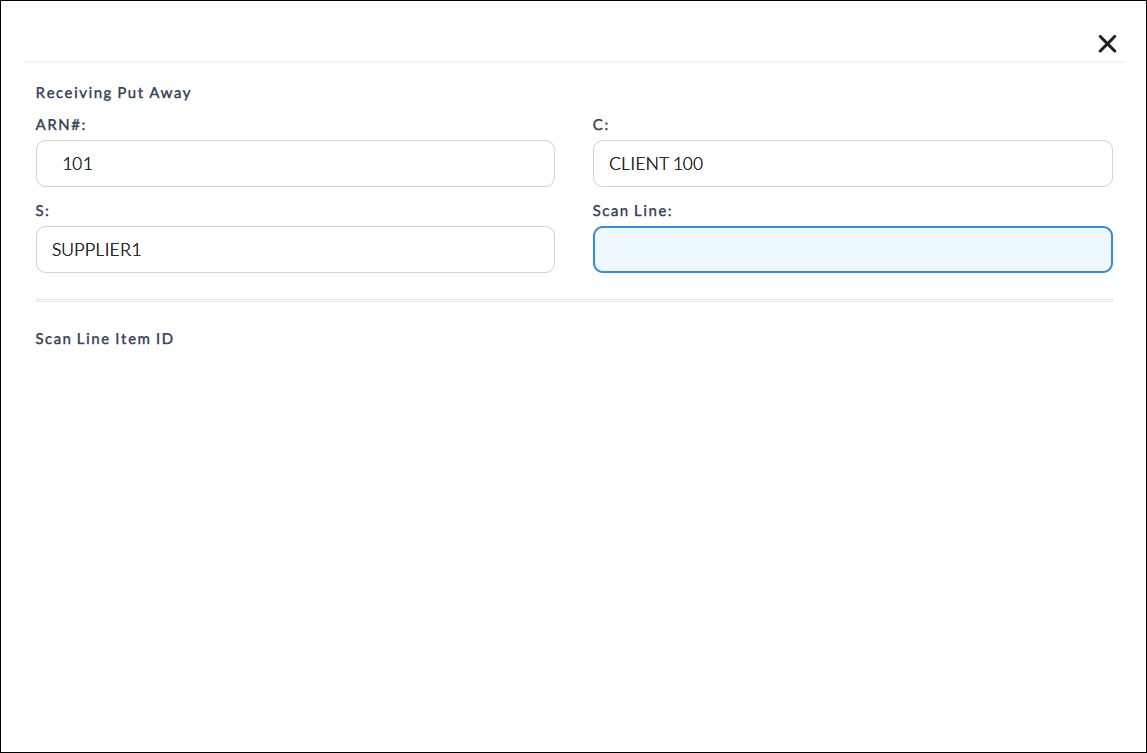
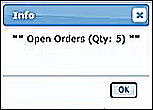
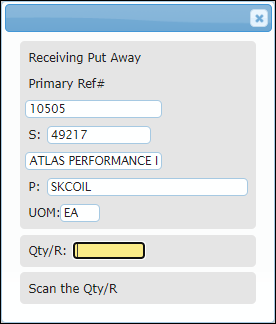
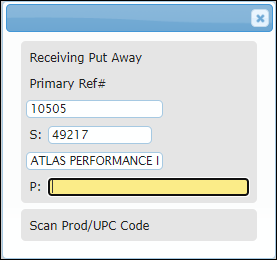
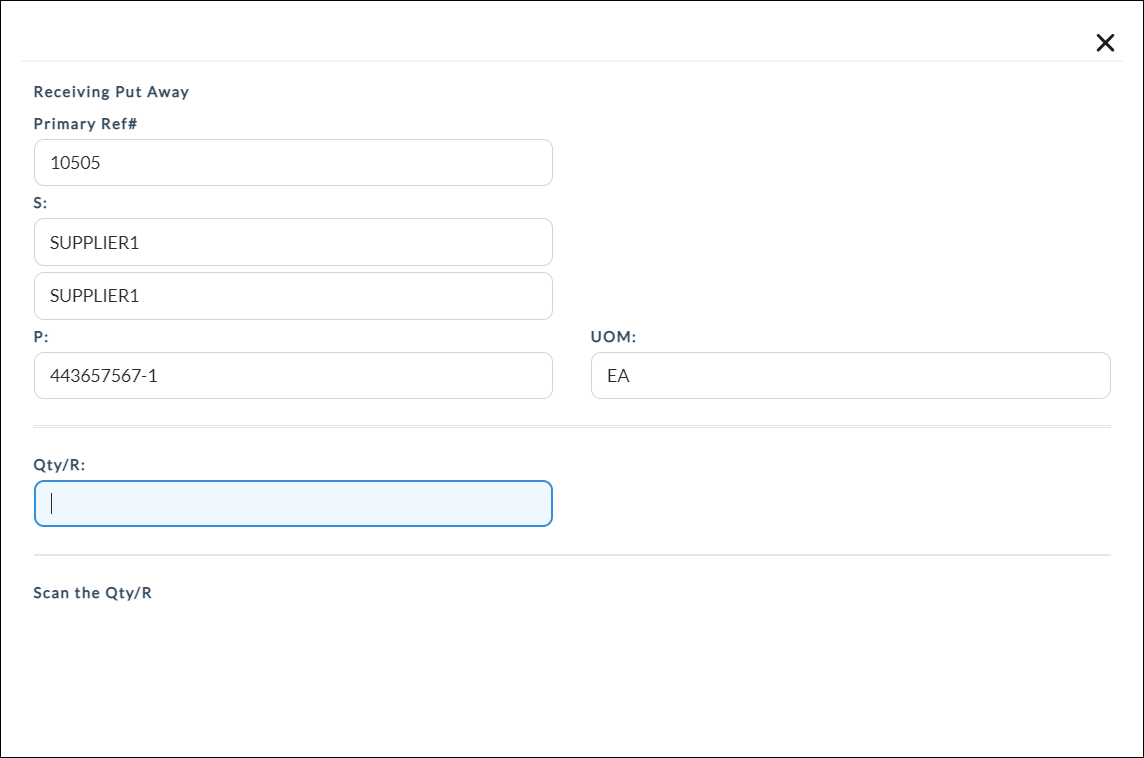
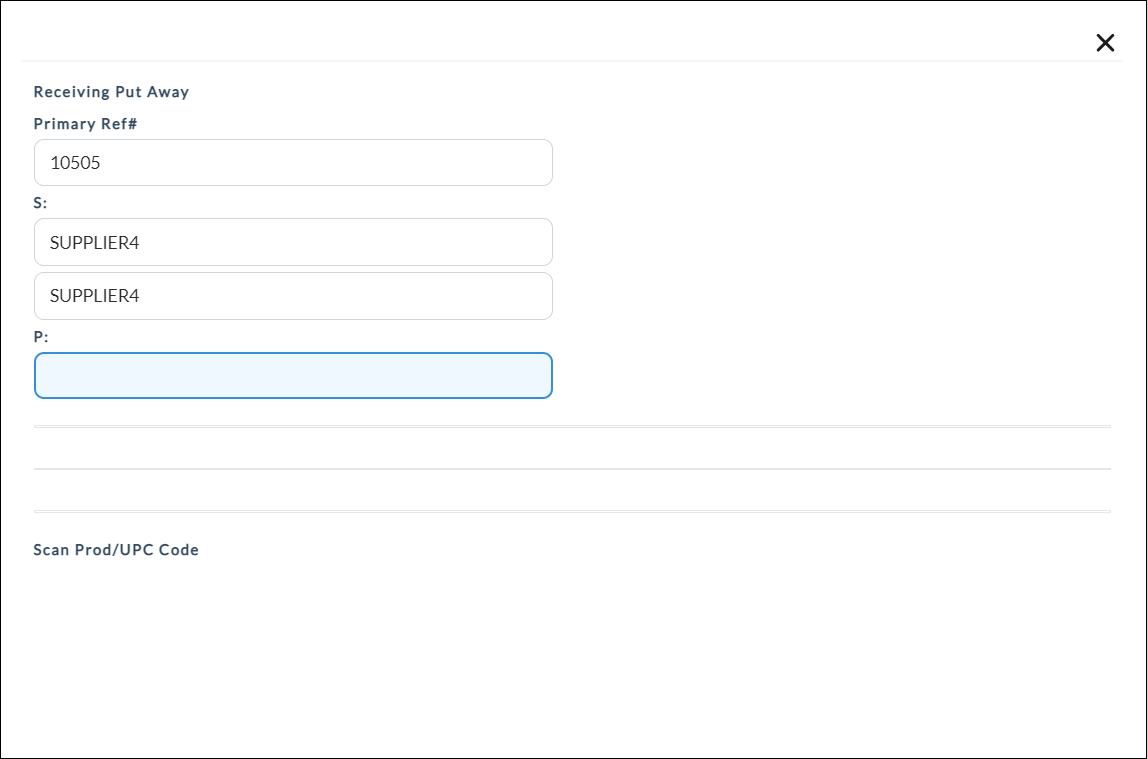
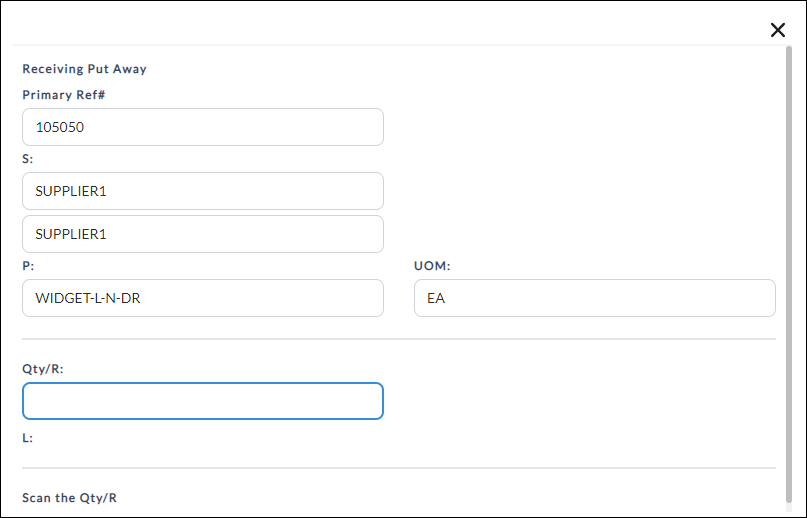
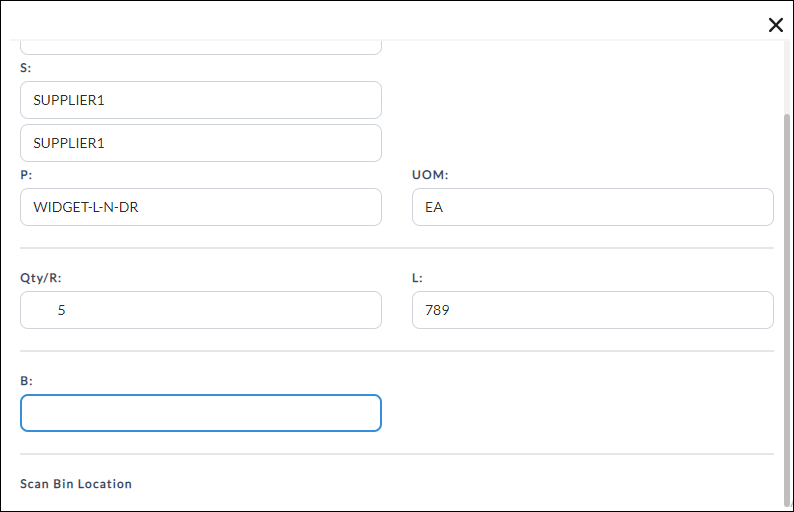
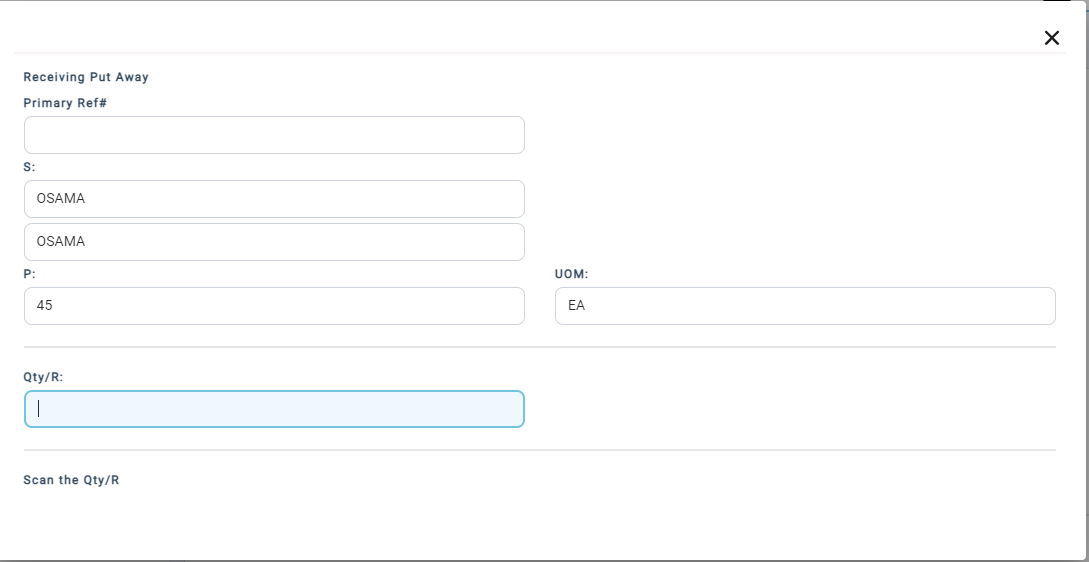
9. Enter the Product/UPC Code. If there are any open orders for the selected product code, it will be displayed.
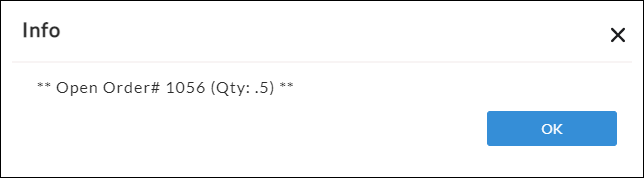
10. Click OK.

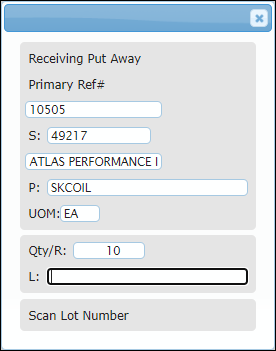
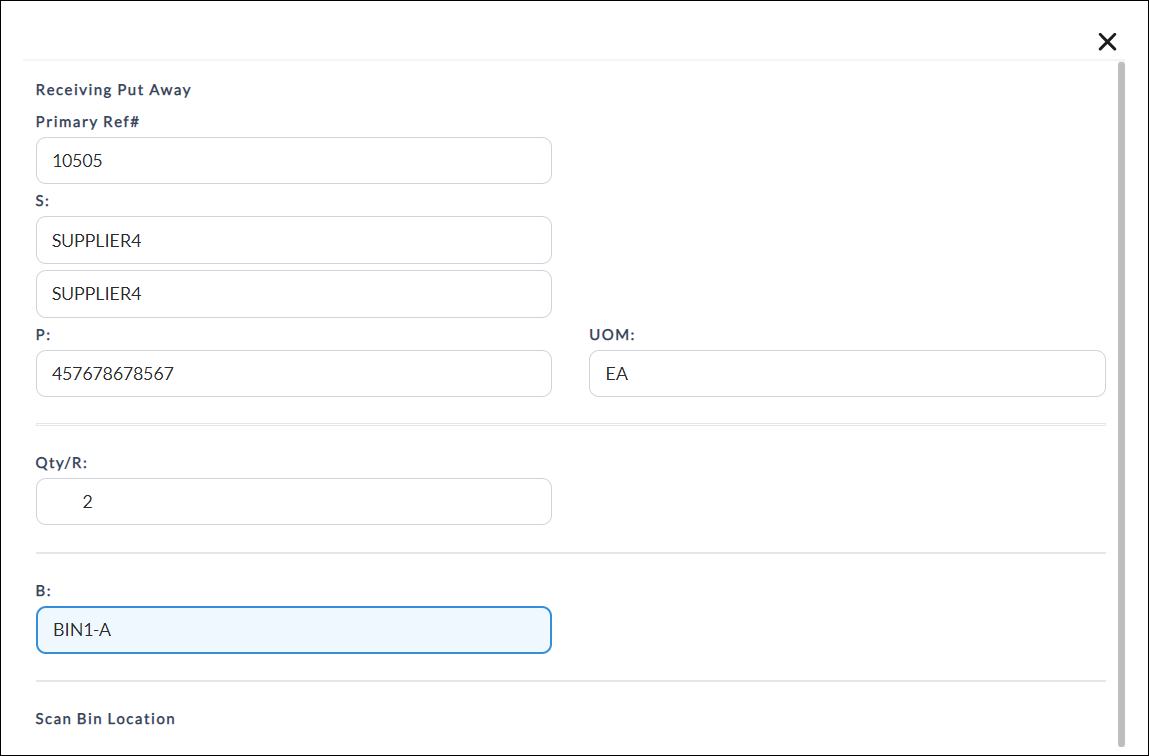
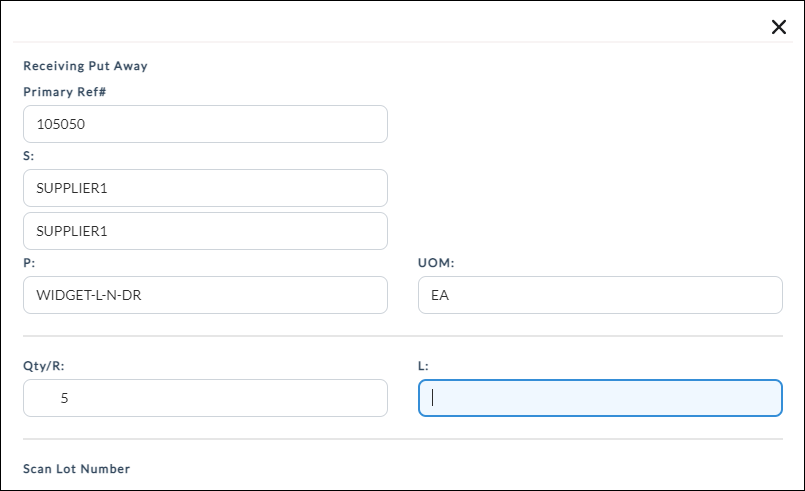
11. Enter the quantity received in the Qty/R field.

12. Enter the Lot Number.
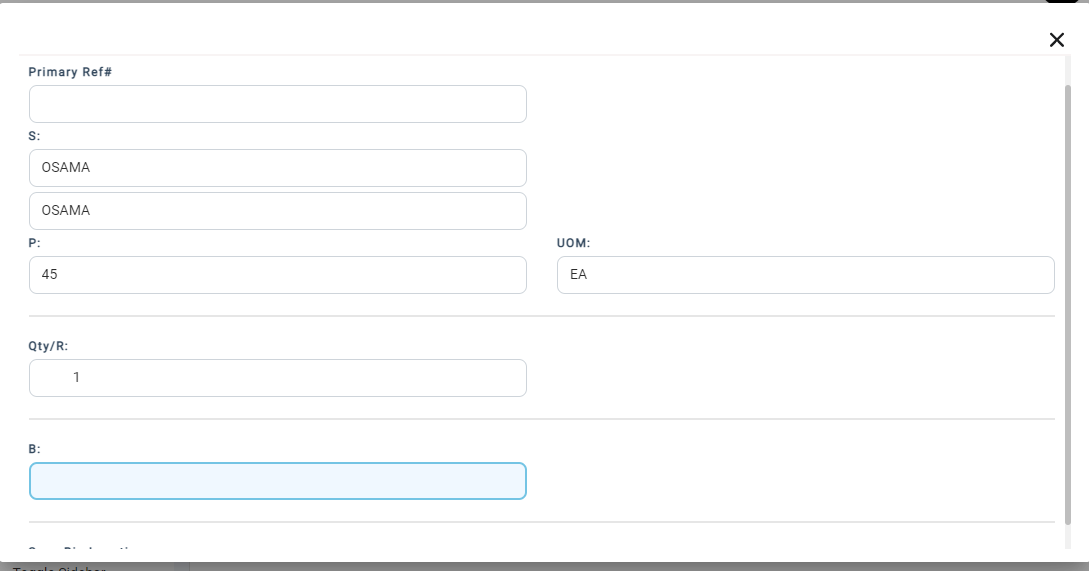
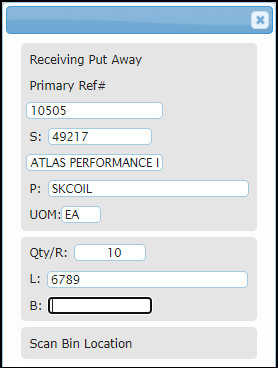
13. Assign a Bin Location.
Then it will go into a loop.
14. Repeat steps 9 through 13 for all the items on the receipt.
15. Once you have received all the items, press Esc on your keyboard.
The Receiving Put Away page will display.
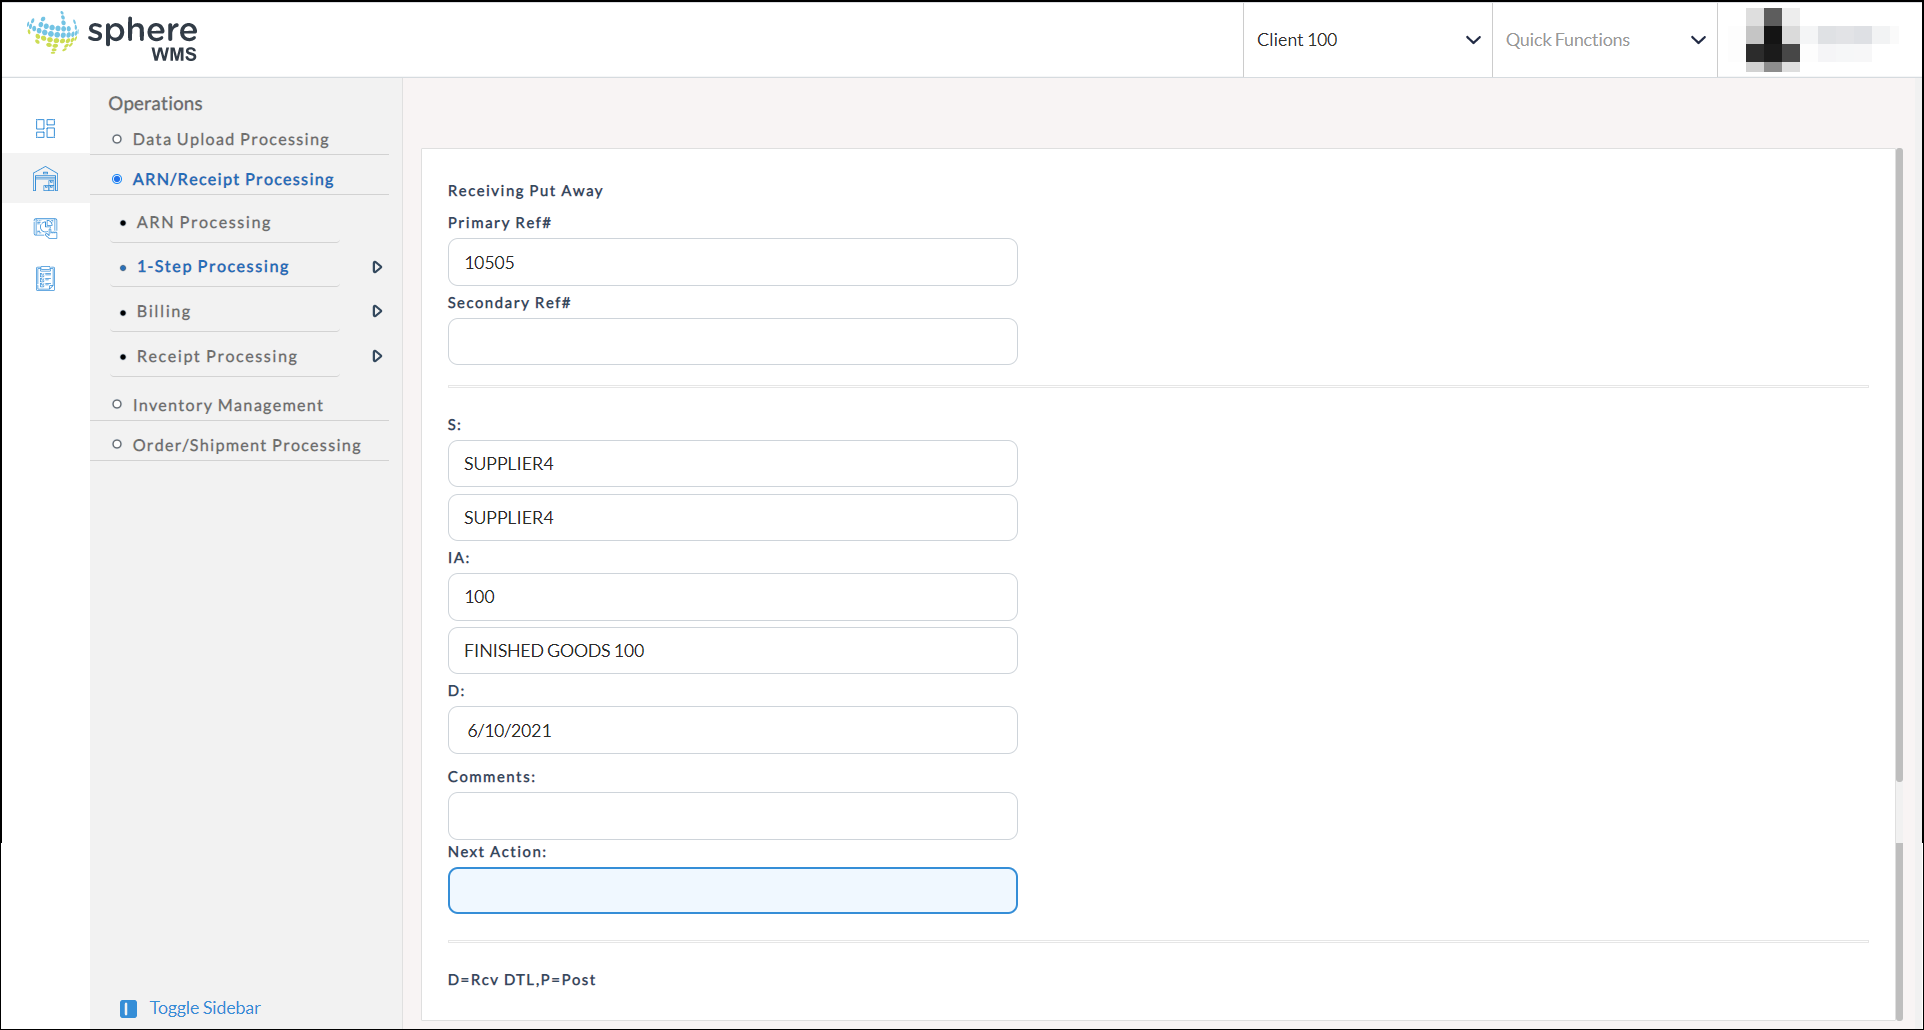
16. The final step is to post the receipt. Enter P in the Next Action field and press Enter.
The receipt will be posted and the product(s) will be added to on-hand inventory.