Packaging Assignment
Packaging Assignment is the process of assigning products to boxes which will help in identifying the product and the quantity of the product in a box. For example, there are 3 numbers for product A and 1 number for product B. You can package these products by assigning 1 number of product A to Box 1 and 2 numbers of product A and 1 number of product B to Box 2.
The Package Assignment option allows you to assign products to boxes, view details of each package, delete packages, and reassign packages.
Note: The Package Assignment is not a default option in SphereWMS. It will be provided only if you have requested it.
Assigning Packages to Products
To assign packages to products:
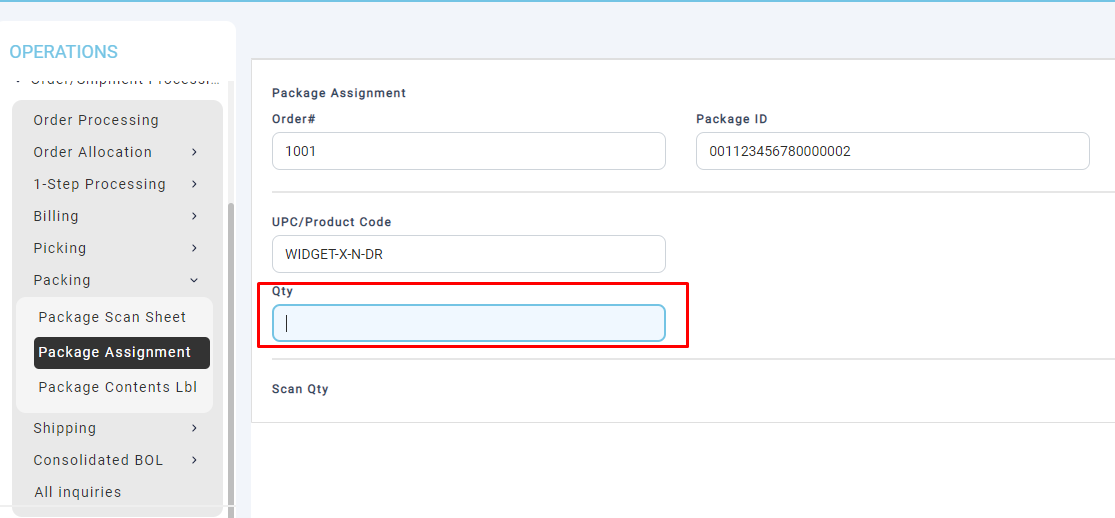
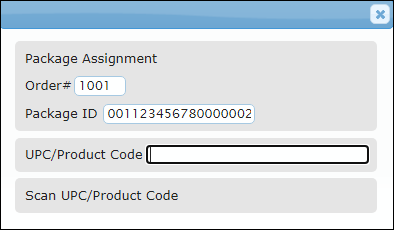
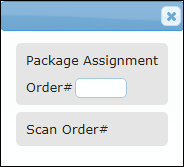
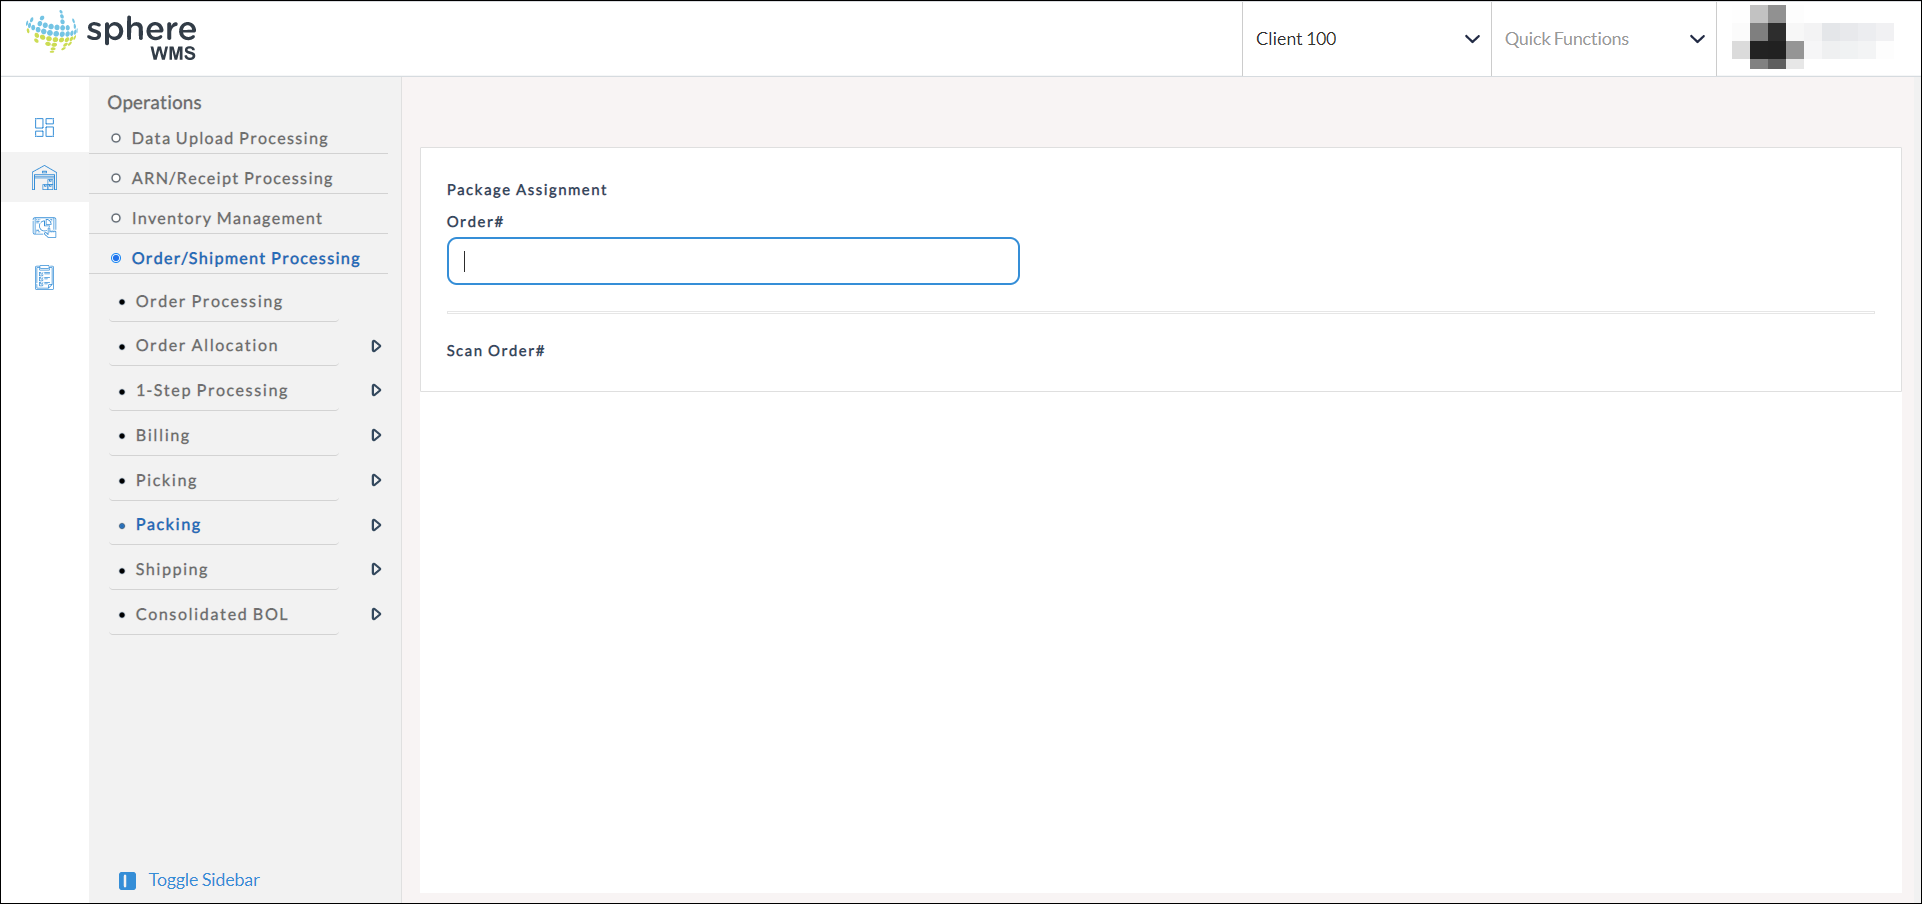
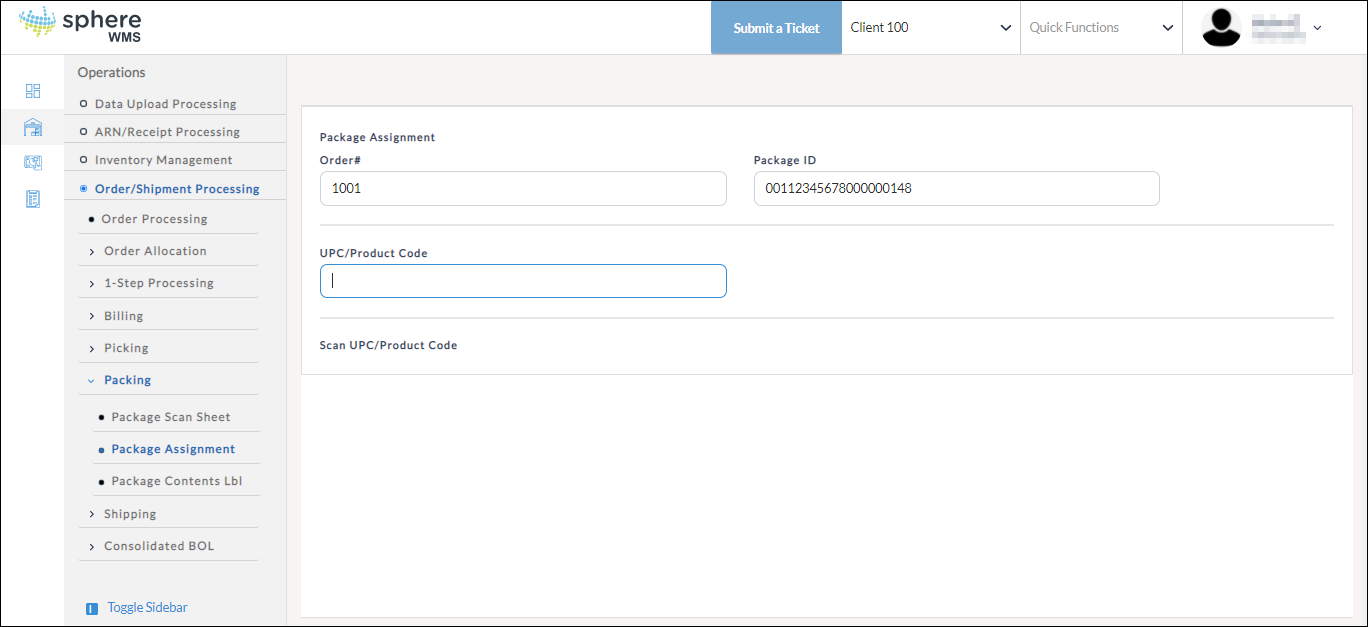
1. Navigate to Operations > Order/Shipment Processing > Packing > Package Assignment. The Package Assignment dialog will display.

The Package Assignment dialog will display.
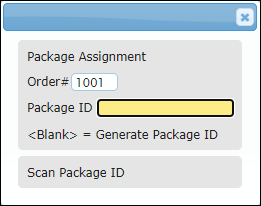
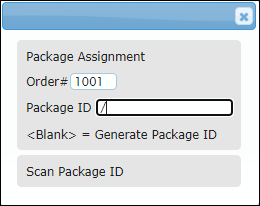
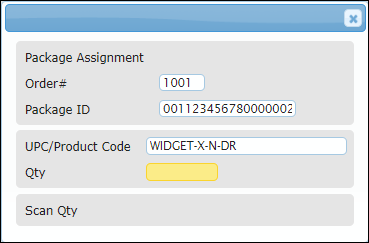
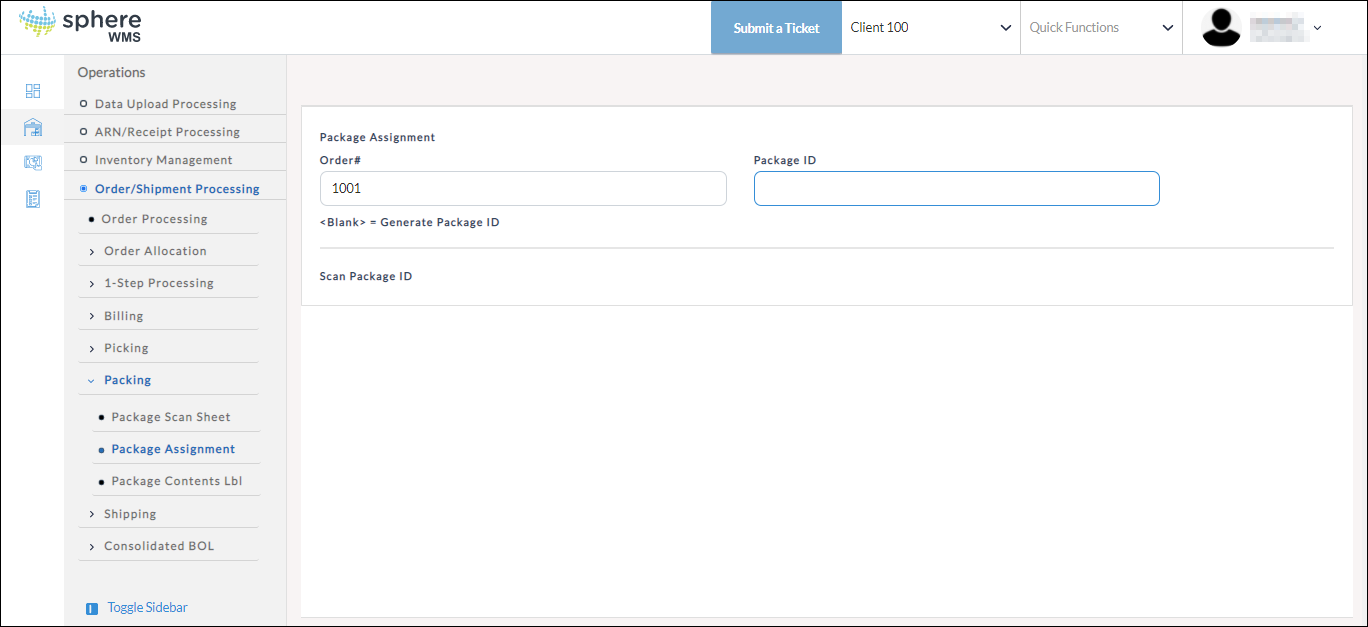
2. Enter Order # for which you want to create a packaging assignment.
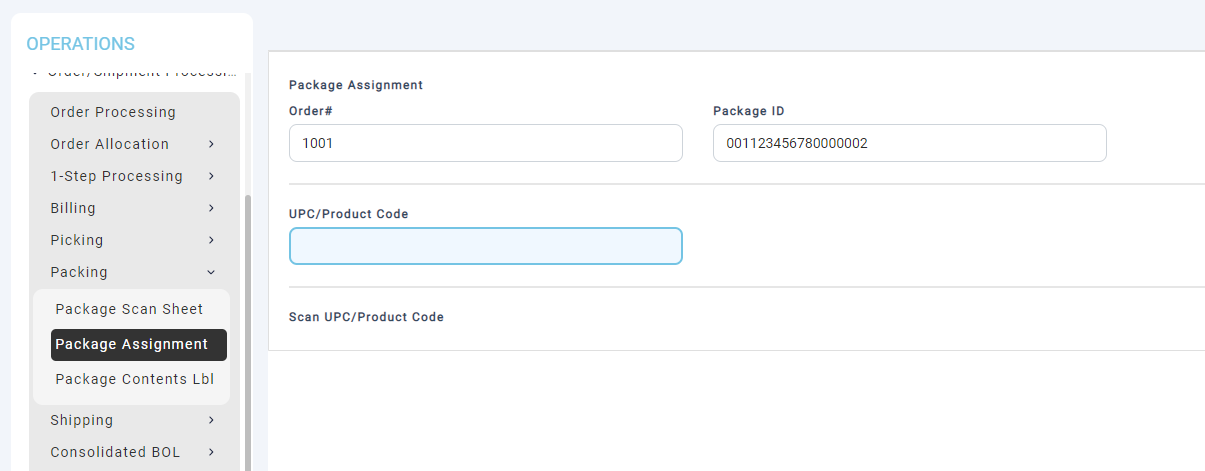
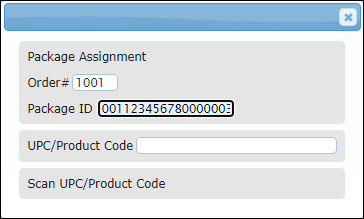
3. Enter the Package ID. To auto-generate the package ID, leave the field blank and press Enter.
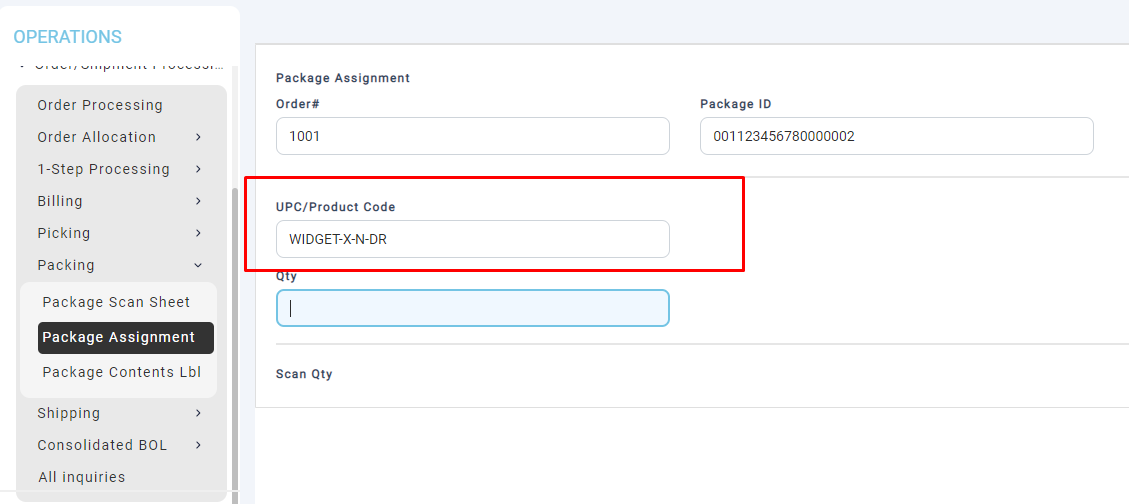
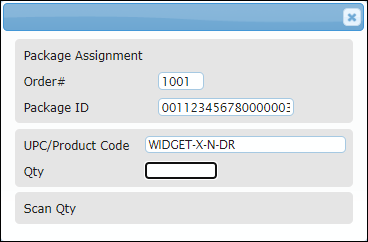
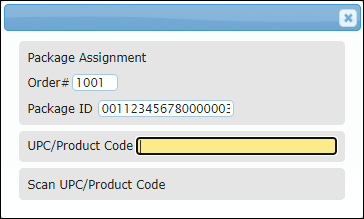
4. Enter the UPC/Product Code.

5. Enter the quantity of the product you want to put in the package in the Qty field.
If you want to put another product in the same package, repeat steps 4 and 5, else skip to step 6.
6. To generate a new package ID, clear the Package ID field and press Enter.
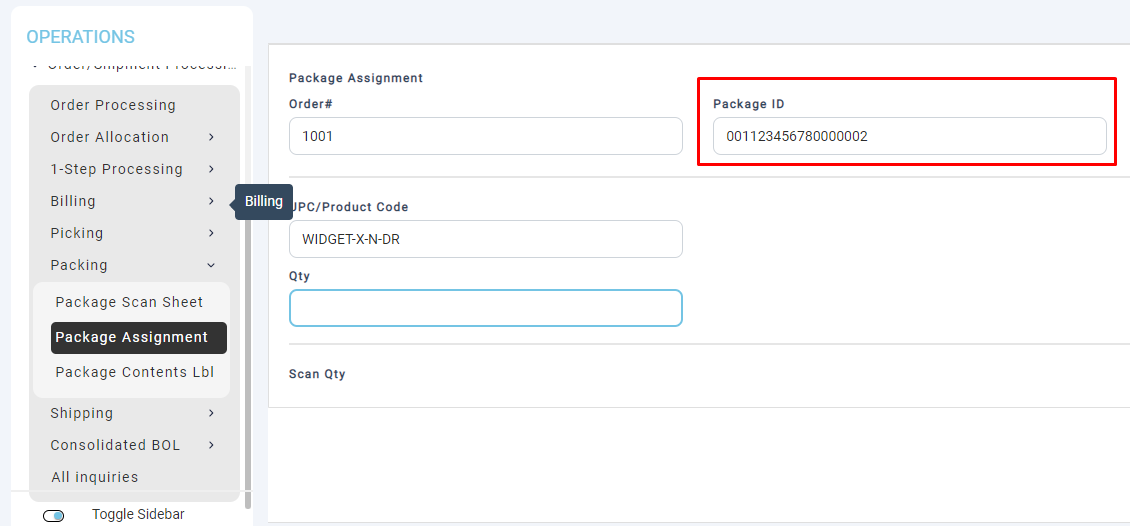
A new package ID will be generated.
7. To put the product(s) into the package, repeat steps 4 and 5.
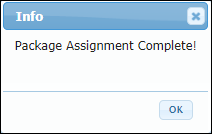
Once you have completed adding all the products to the packages, a confirmation dialog will display.
Reassigning Packages
To assign packages to products:
1. Navigate to Operations > Order/Shipment Processing > Packing > Package Assignment.
The Package Assignment dialog will display.
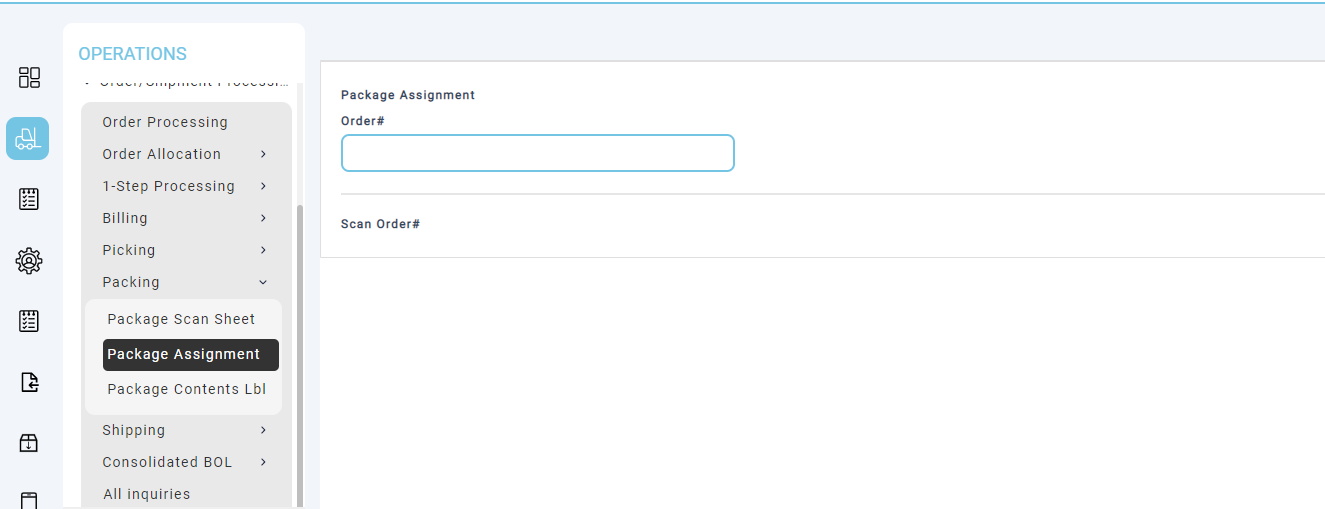
2. Enter Order # for which you want to view the package assignment details.
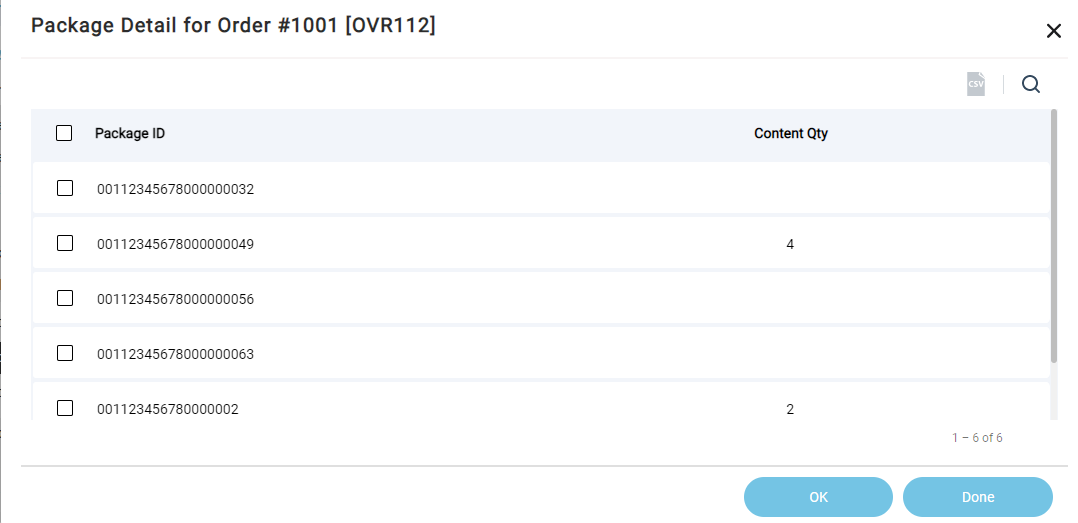
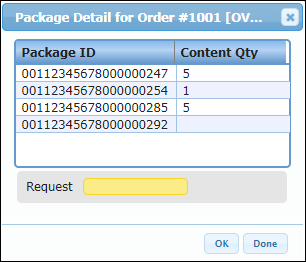
3. Hover over the Quick Function menu on the top right corner and click the QF4 Scan Inqy option or Press F4 on your keyboard.
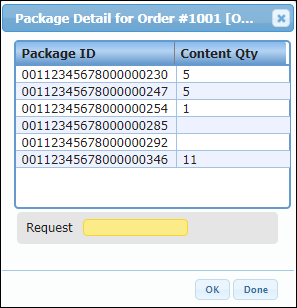
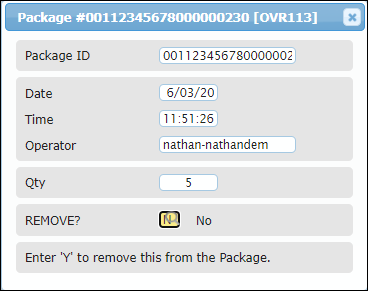
The Package Detail for Order # dialog will display. This dialog shows the quantity in each package.
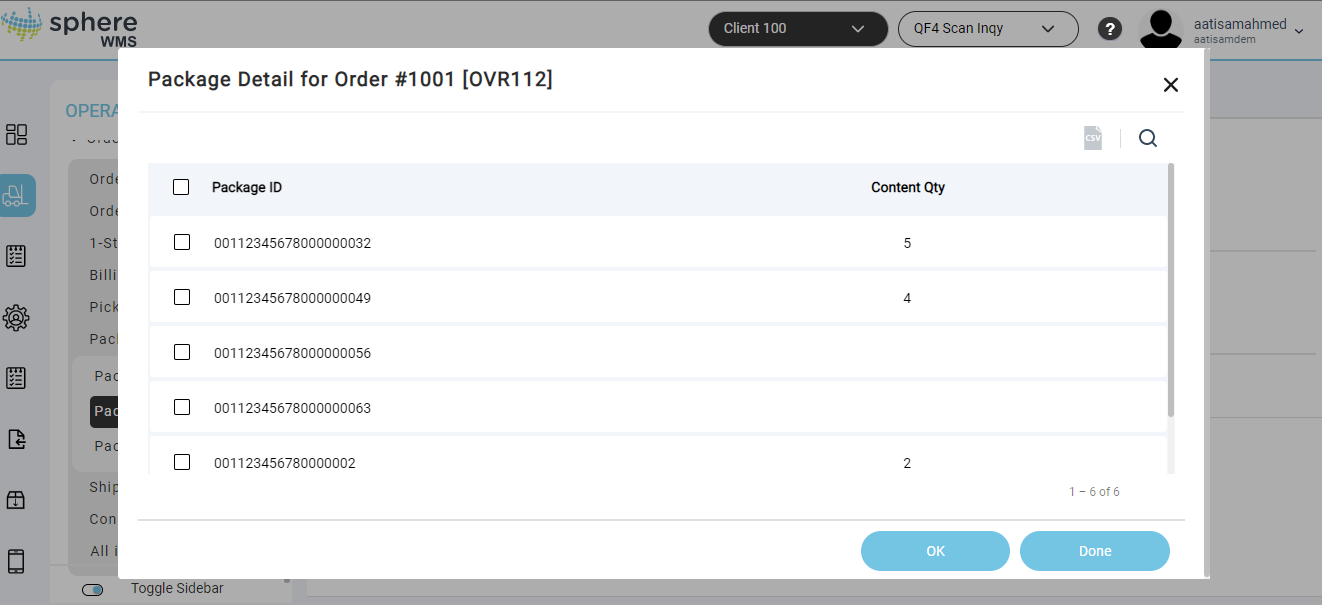
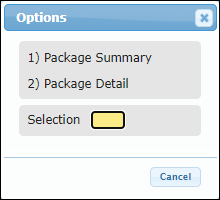
4. To view the summary and details of a package, click the Package ID and click OK.
The Options dialog will display.
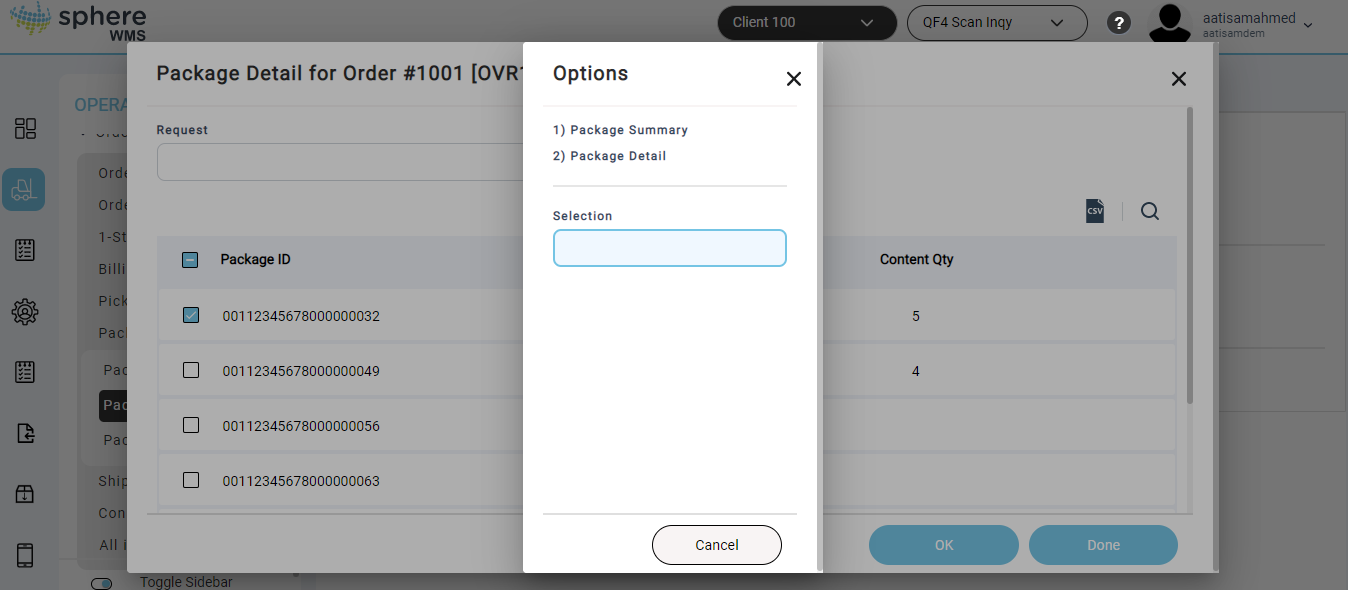
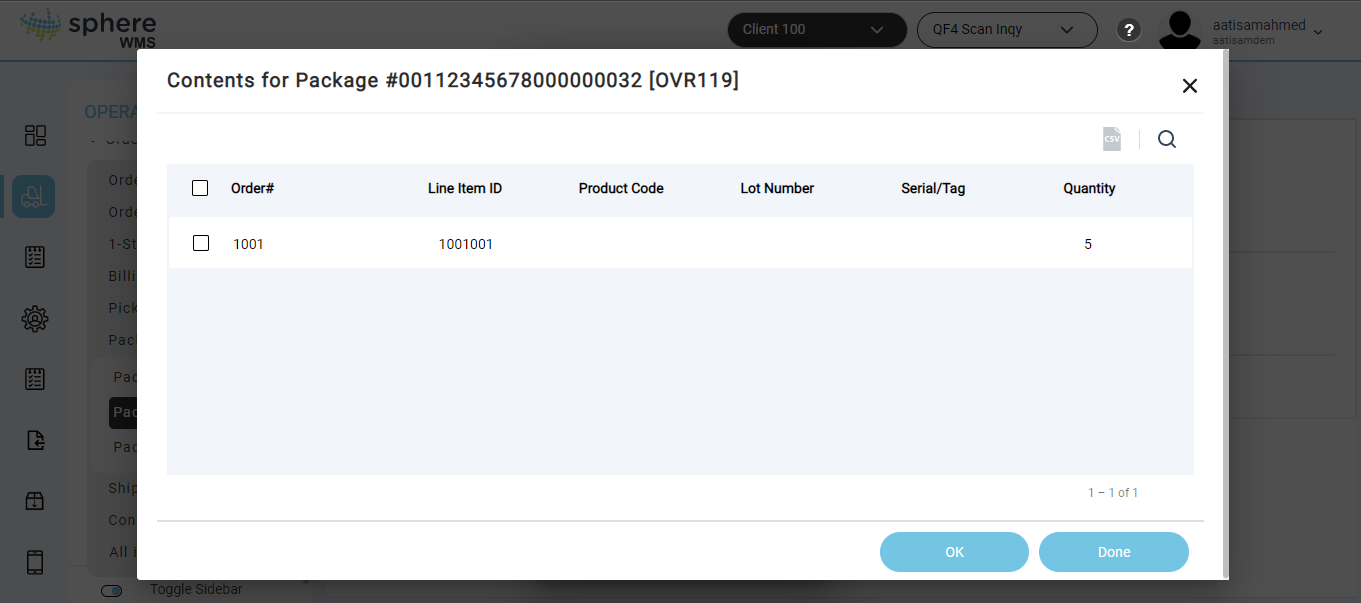
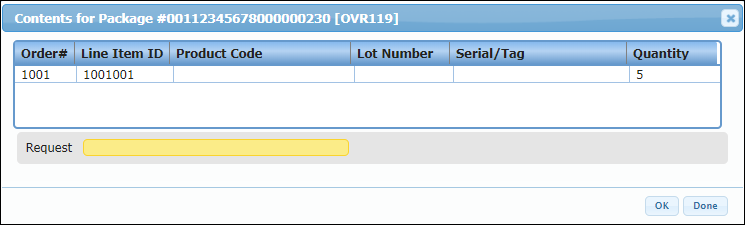
5. To view the products in the package and their details, click Package Detail.
6. To view the summary, click Package Summary.
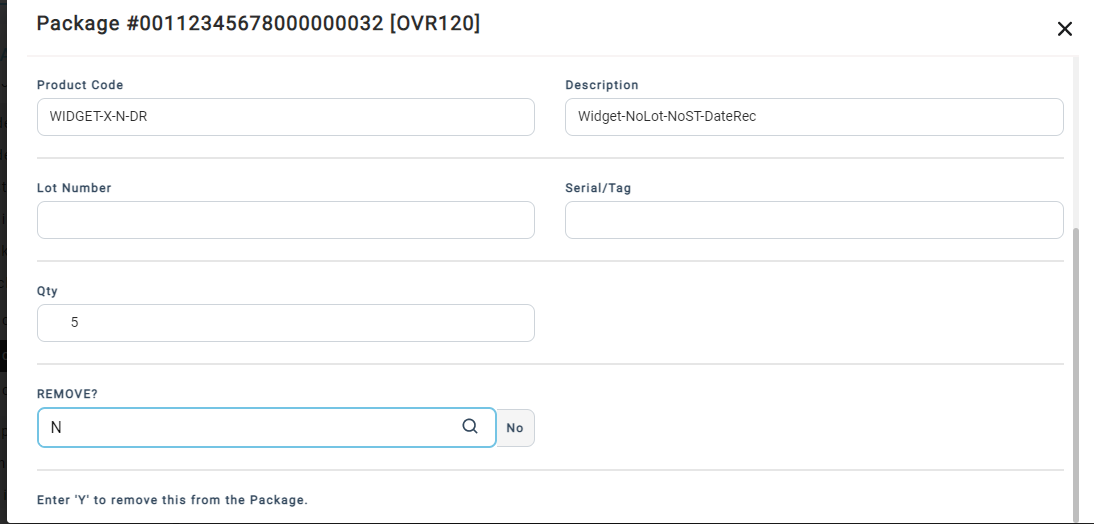
7. To delete the package, enter Y in the REMOVE? field and press Enter. And then confirm your action.
The package will be deleted. The next step is to reassign the 5 products that were in the deleted package to other packages(s). You can reassign all the products to one package or different packages.
8. In the Package Assignment dialog, enter the Order# and enter / in the Package ID field, and press Enter.

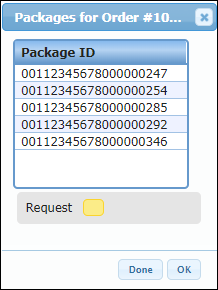
9. Click the package to which you want to assign the products from the deleted package and click OK.
10. Enter the UPC/Product Code and the Qty of the product that was in the deleted package in the respective fields.
The specified number of products will be reassigned to the selected package.
11. To view the reassignment, navigate to the Package Assignment dialog, enter the Order#, and click the QF4 Scan Inqy option under the Quick Functions menu.
The Package Detail dialog showing the reassignment will display.