A Bill of Lading (BOL) is a document that details items in a shipment that is a receipt given by the carrier of the shipment to the recipient of the shipment.
The BOL Processing option allows you to create, edit, and void BOL. It also allows you to link orders to BOL, view linked orders, and unlink orders from BOL.
Creating New BOL
To create a new BOL:
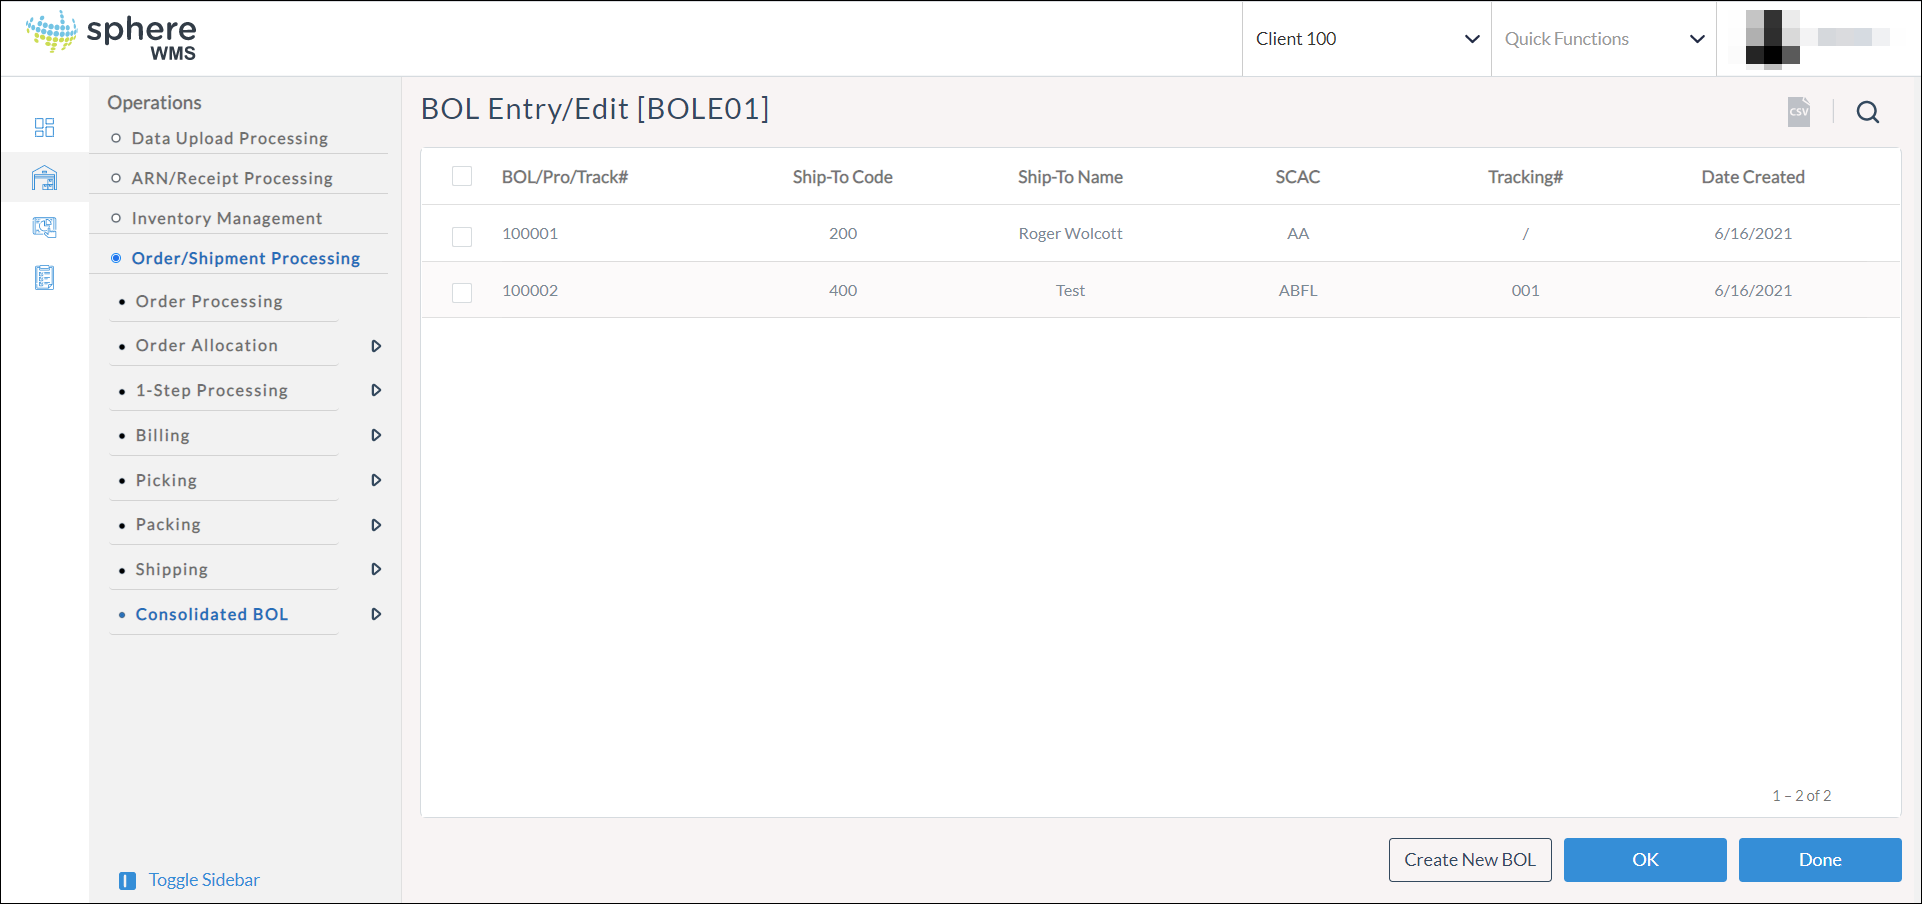
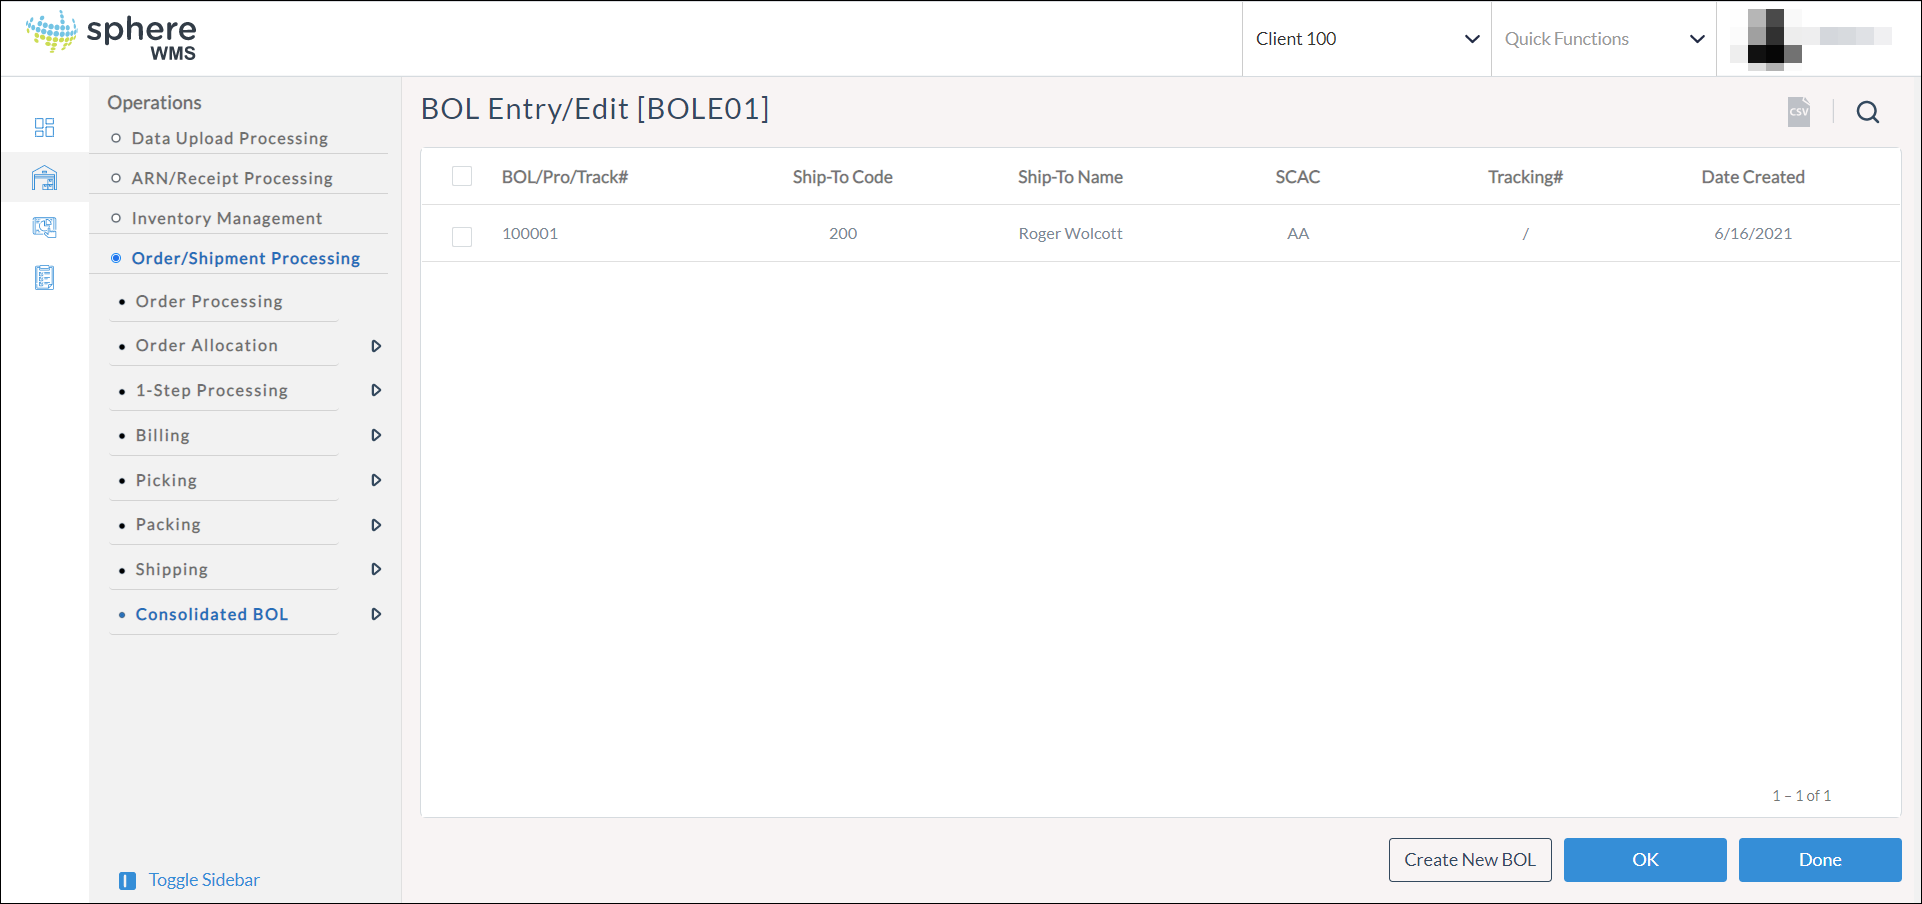
1. Navigate to Operations > Order/Shipment Processing > Consolidated BOL > BOL Processing.
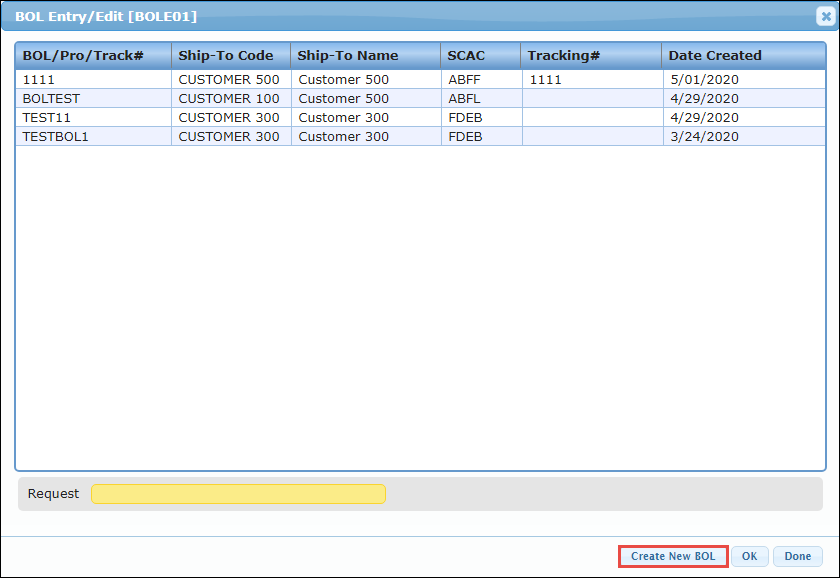
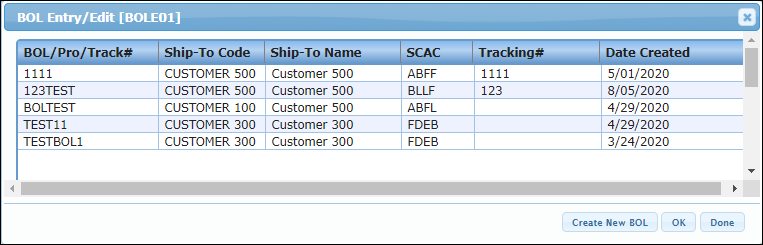
The BOL Entry/Edit page will display.
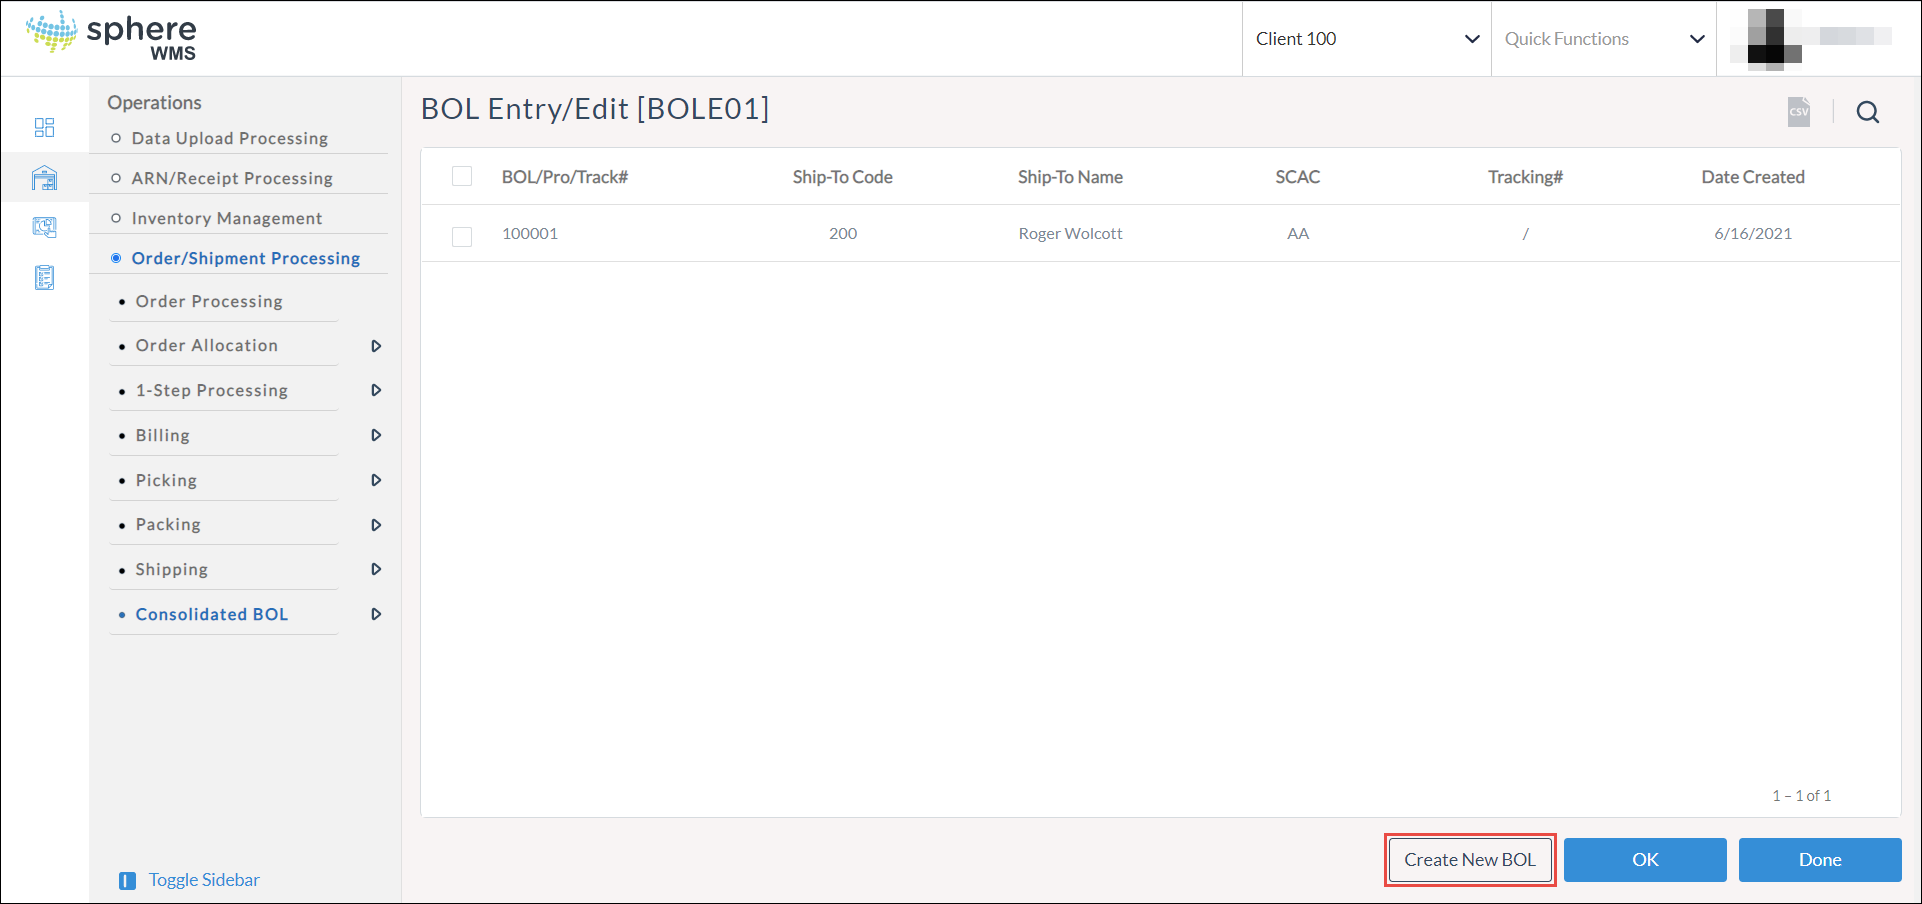
2. Click the Create New BOL button.
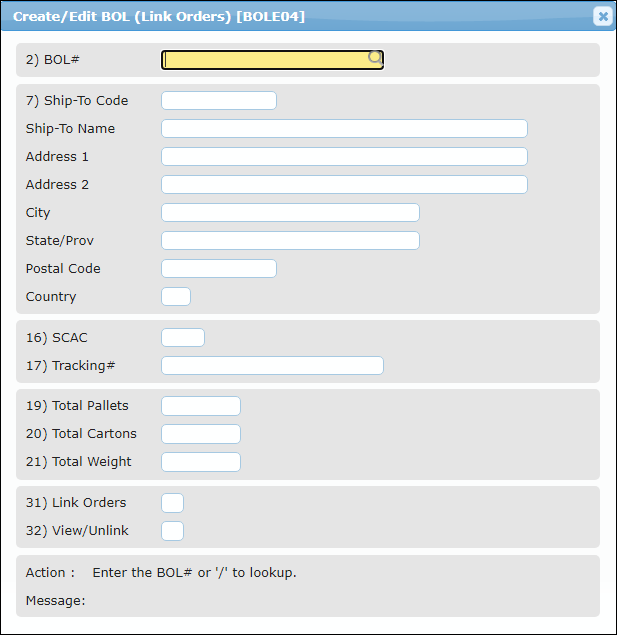
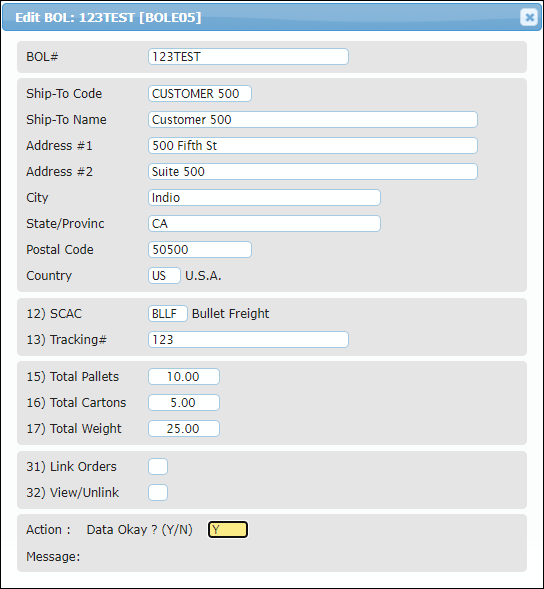
The Create/Edit BOL dialog will display.
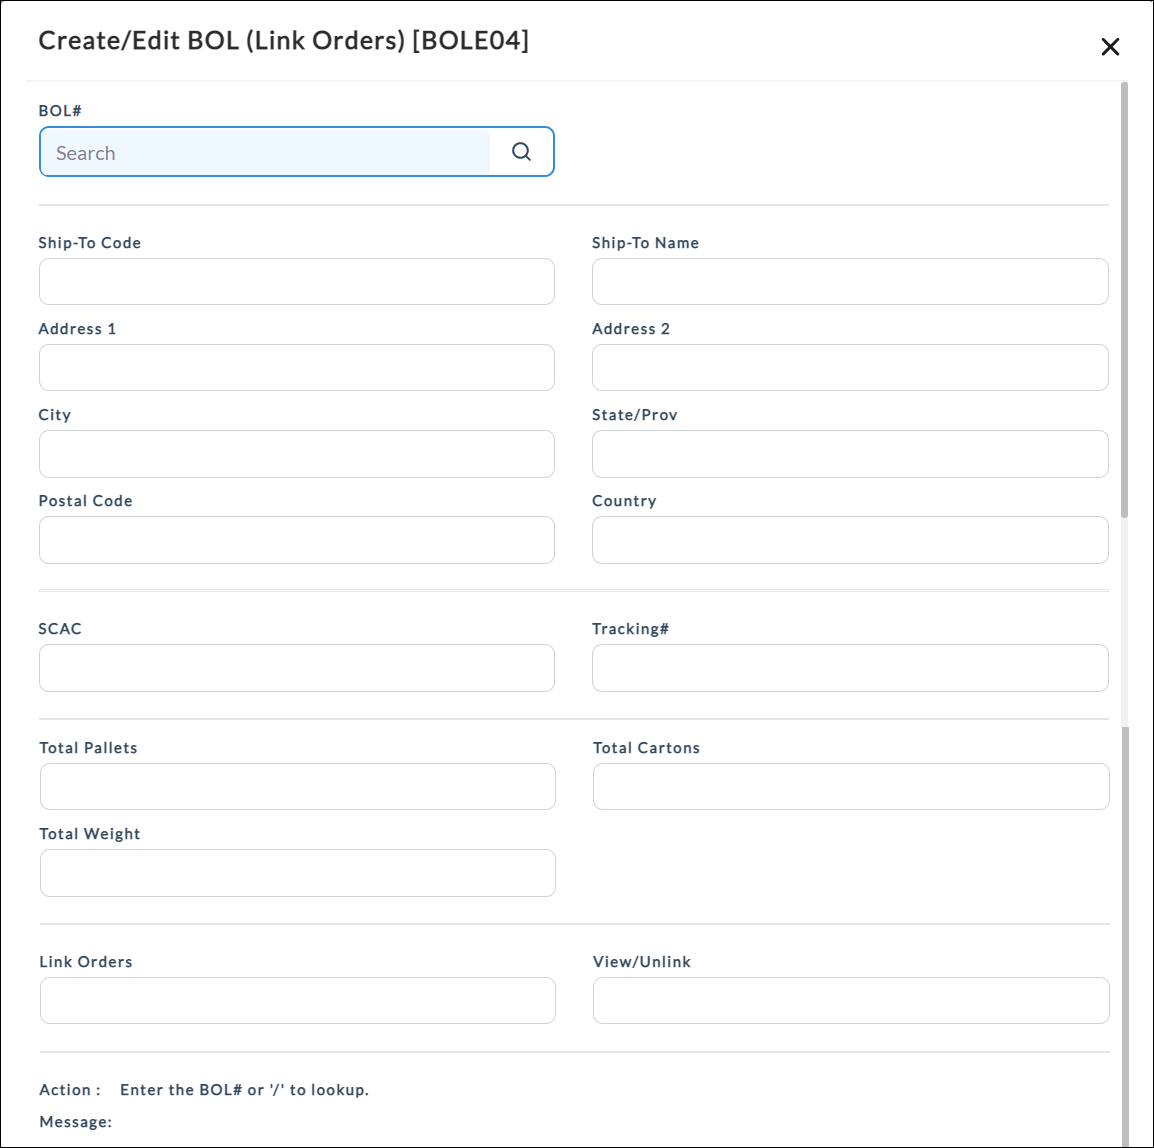
3. Enter a new BOL number in the BOL# field.
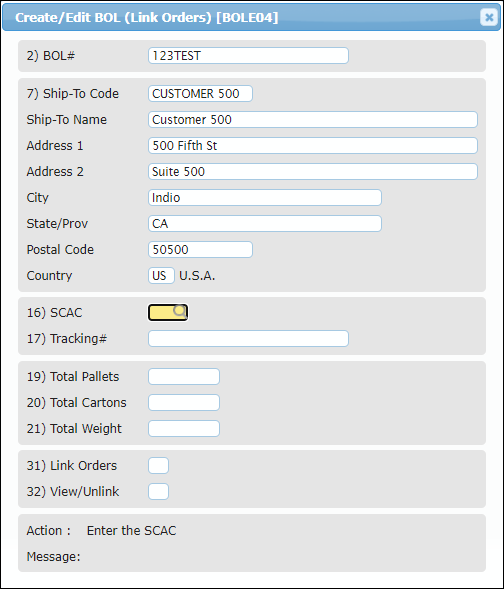
4. Enter the Ship-To Code or select one from the look-up table.
The Ship-To Name and address fields will be auto-populated.
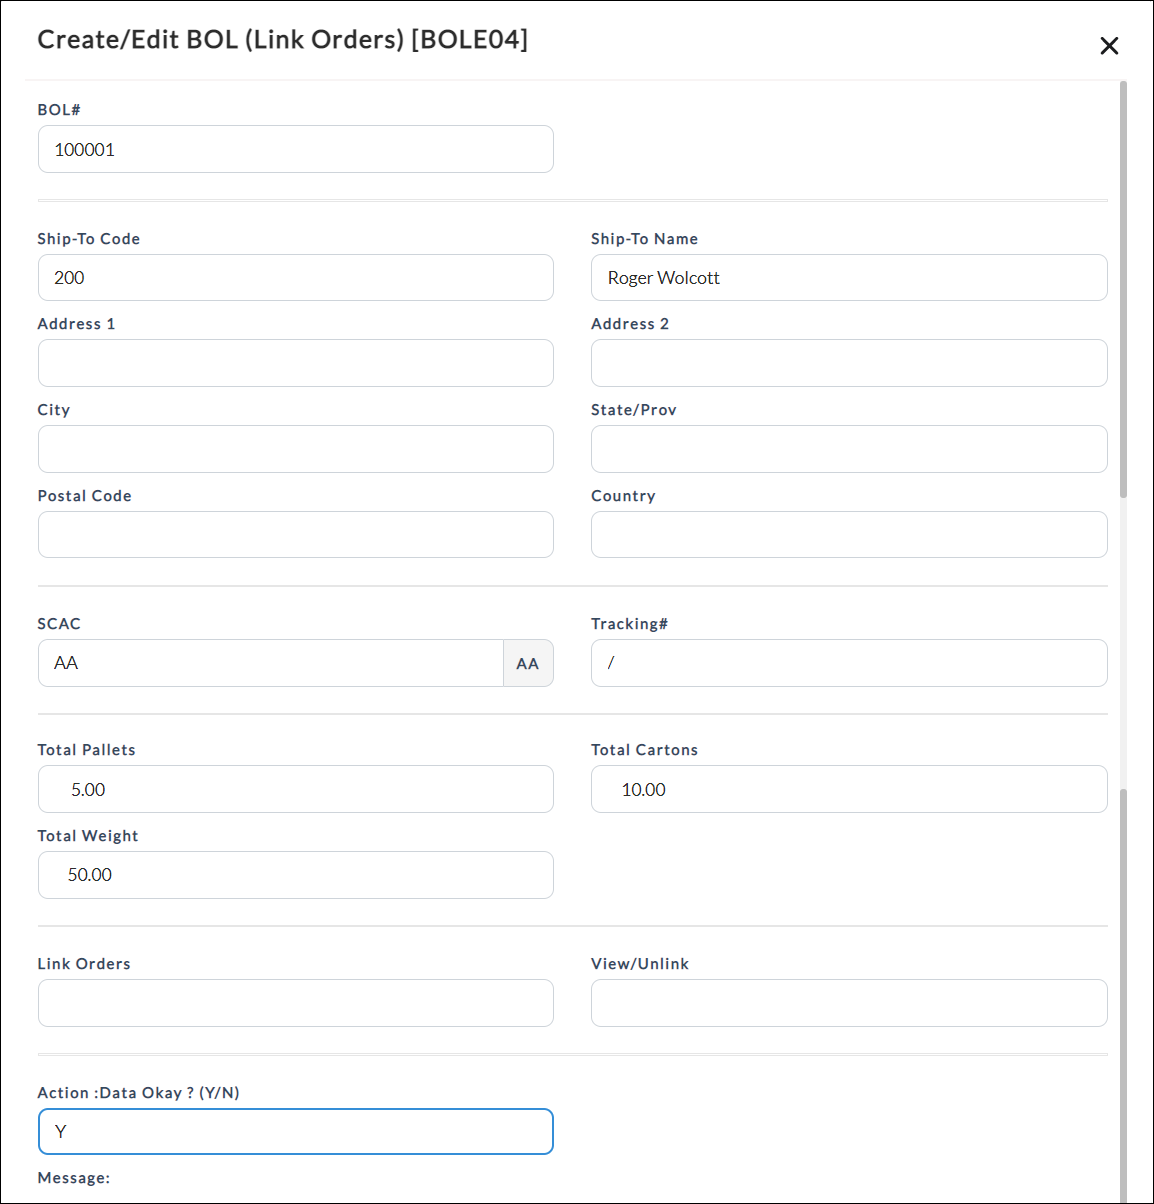
5. Enter the SCAC, Tracking#, Total Pallets, Total Cartons, and Total Weight.
6. To link orders to the BOL, click the checkbox of the Link Orders field.
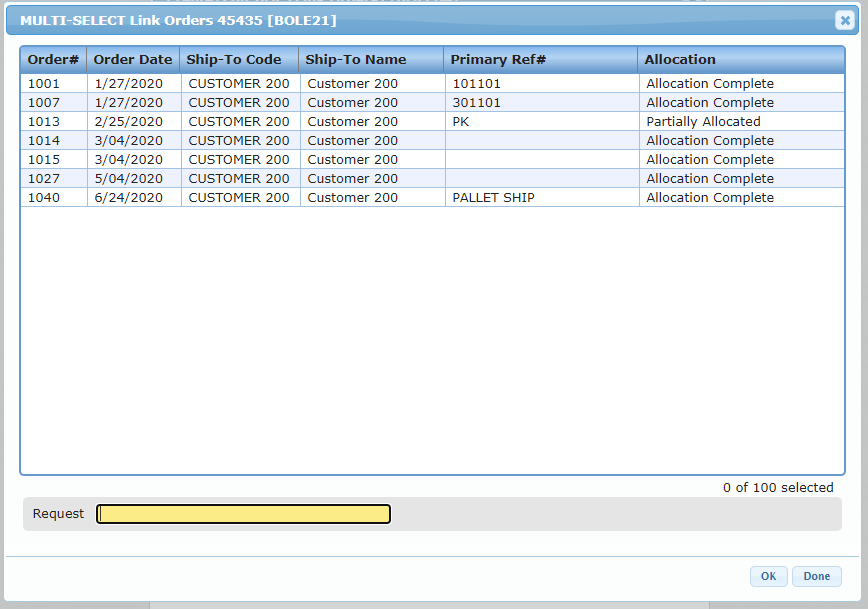
The MULTI SELECT Link Orders dialog will display.
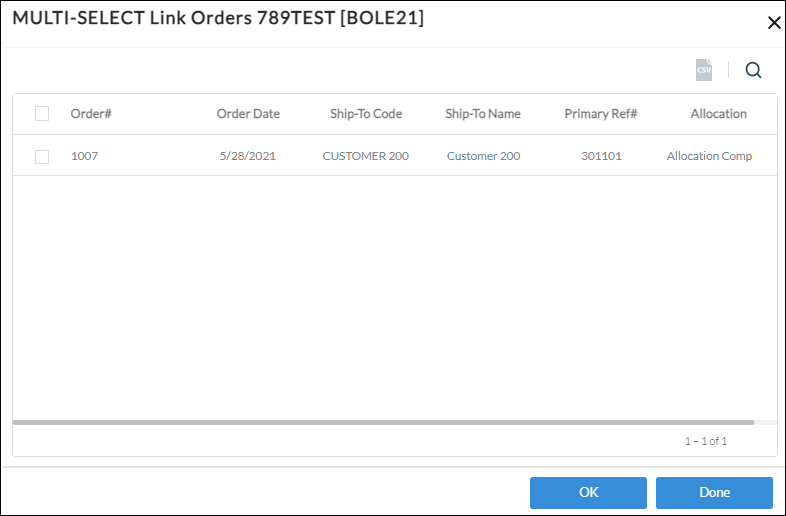
7. Click the order which you want to link to the BOL and click OK. To select multiple orders, press down the Ctrl key and click the orders.
The selected order(s) will be linked to the BOL.
8. To unlink orders from the BOL, click the checkbox of the View/Unlink Orders field.
The MULTI SELECT Unlink Orders dialog will display.
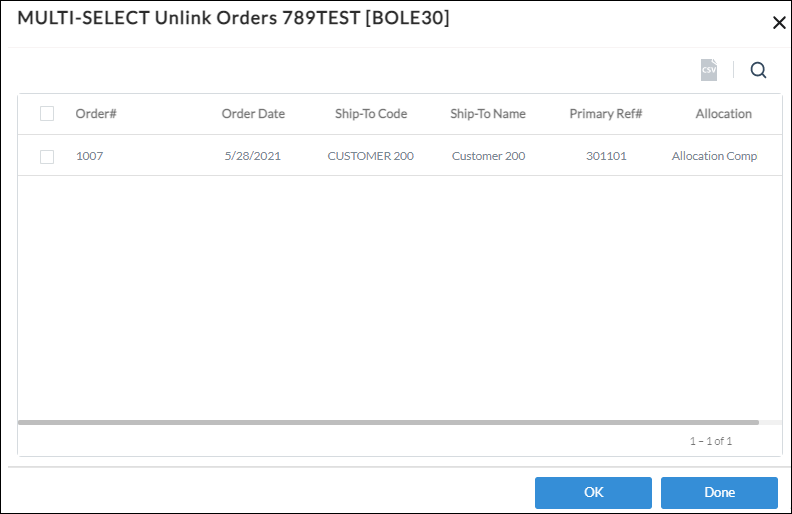
9. Click the order which you want to link to the BOL and click OK. To select multiple orders, press down the Ctrl key and click the orders.
The selected order(s) will be unlinked from the BOL.
10. Enter Y in the Action field and press Enter.
The BOL will be created.
Editing BOL
1. Navigate to Operations > Order/Shipment Processing > Consolidated BOL > BOL Processing.
The BOL Entry/Edit page will display.
2. Click the BOL which you want to edit and click OK.
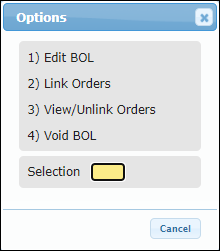
The Options dialog will display.
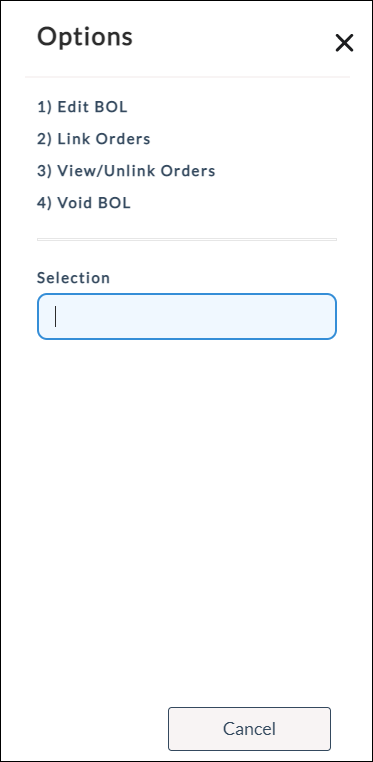
3. Click the Edit BOL option.
The Edit BOL dialog will display.
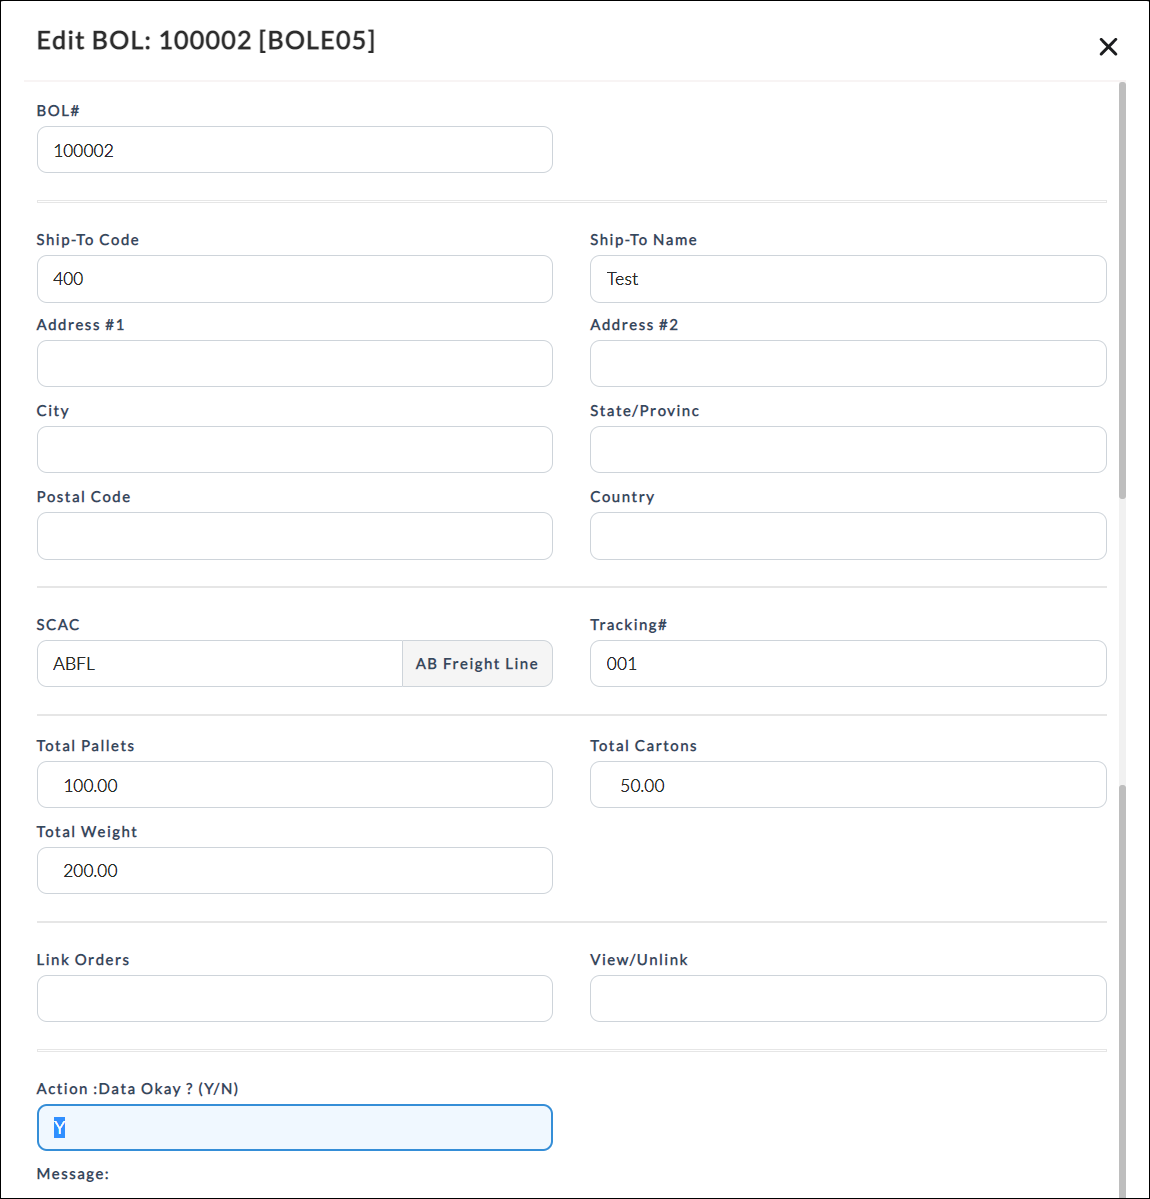
4. Edit the values of the required fields, enter Y in the Action field, and press Enter.
The BOL details will be updated.
Linking Orders to BOL
1. Click the Link Orders option.
The MULTI SELECT Link Orders dialog will display.
2. Click the order which you want to link to the BOL and click OK. To select multiple orders, press down the Ctrl key and click the orders.
The selected order(s) will be linked to the BOL.
Unlinking Orders from BOL
1. Click the View/Unlink Orders option.
The MULTI SELECT Unlink Orders dialog will display.
2. Click the order which you want to link to the BOL and click OK. To select multiple orders, press down the Ctrl key and click the orders.
The selected order(s) will be unlinked from the BOL.
Voiding BOL
1. Click the Void BOL option.
The Confirm Void of BOL dialog will display.
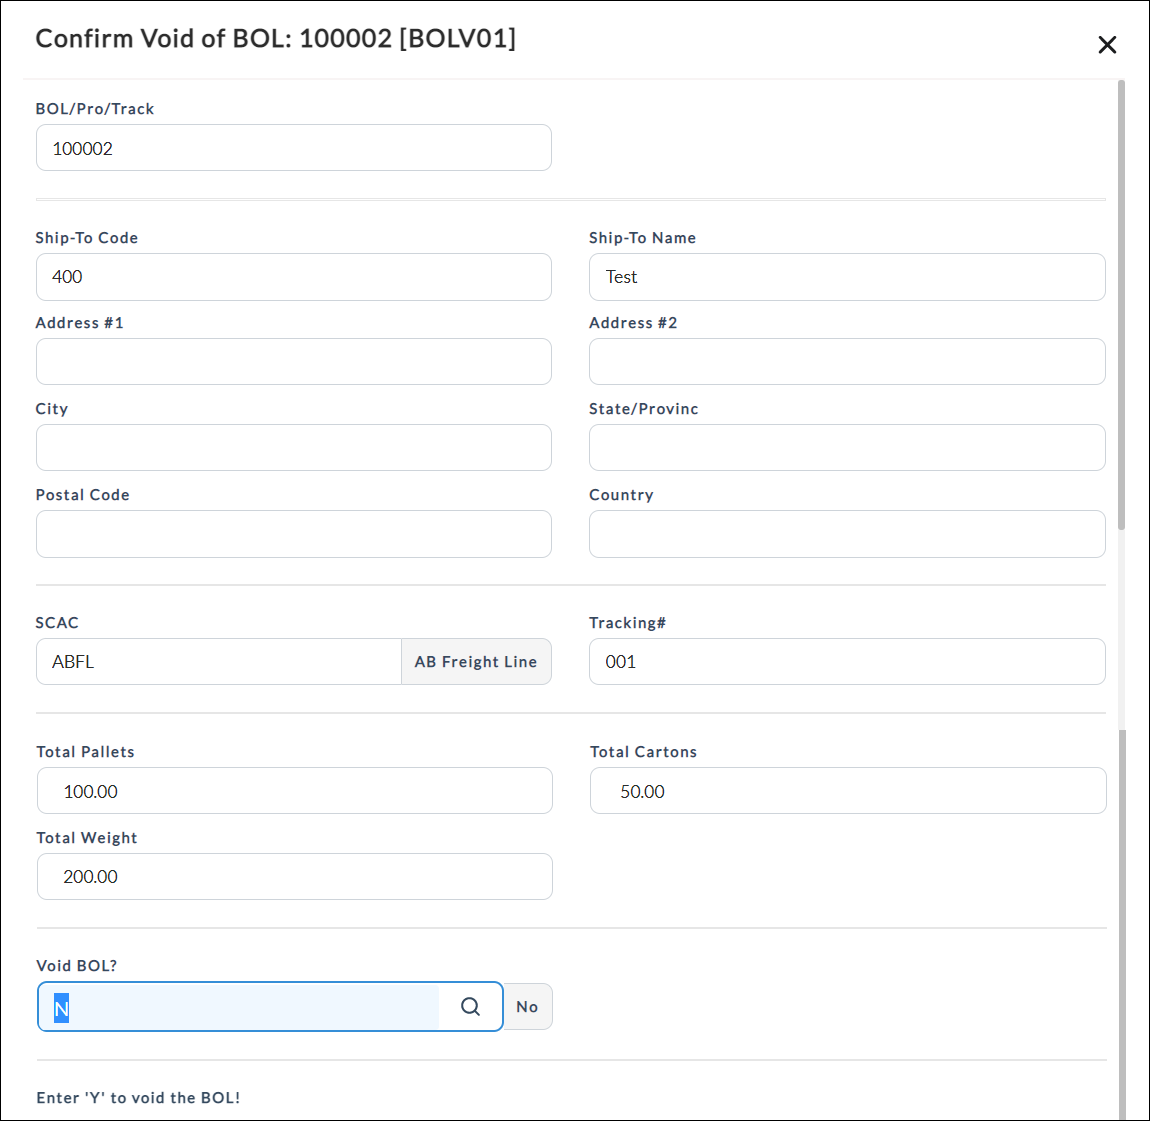
2. Enter Y in the Void BOL? field and press Enter.
The BOL will be voided.