Adding Bill of Material Entry
To add a bill of material entry:
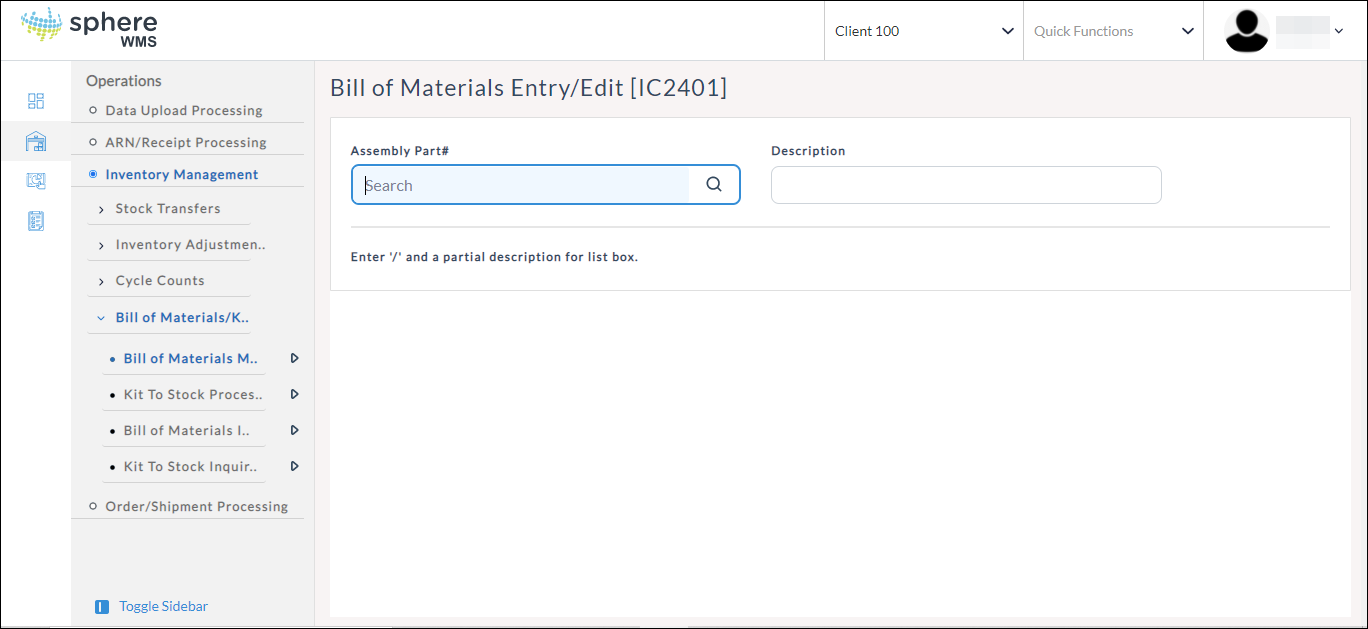
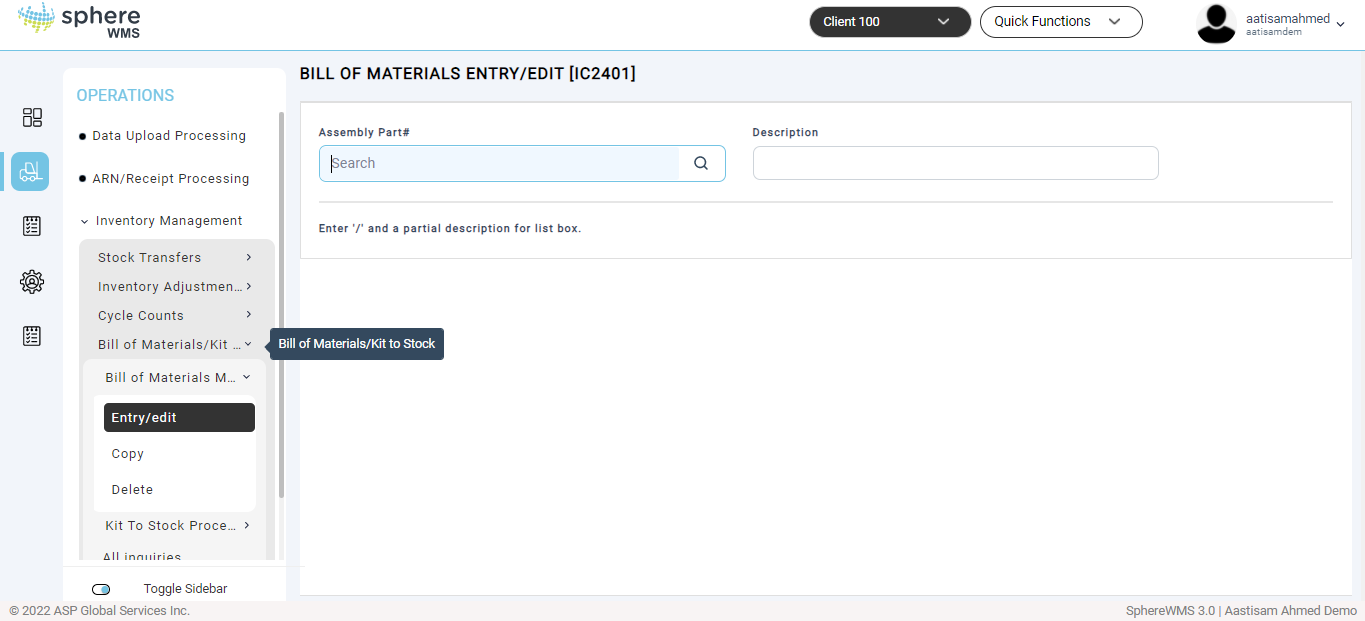
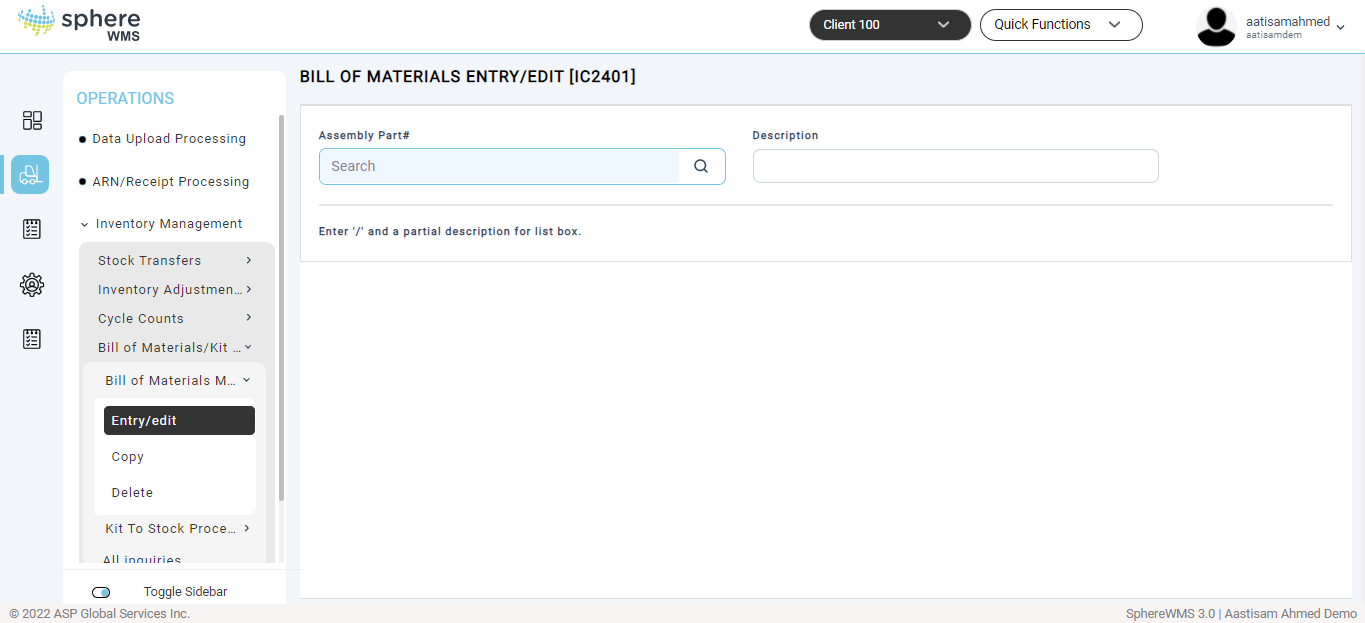
1. Navigate to Operations > Inventory Management > Bill of Materials/ Kit to Stock > Bill of Materials Maintenance > Entry/Edit.
The Bill of Materials Entry/Edit page will display.
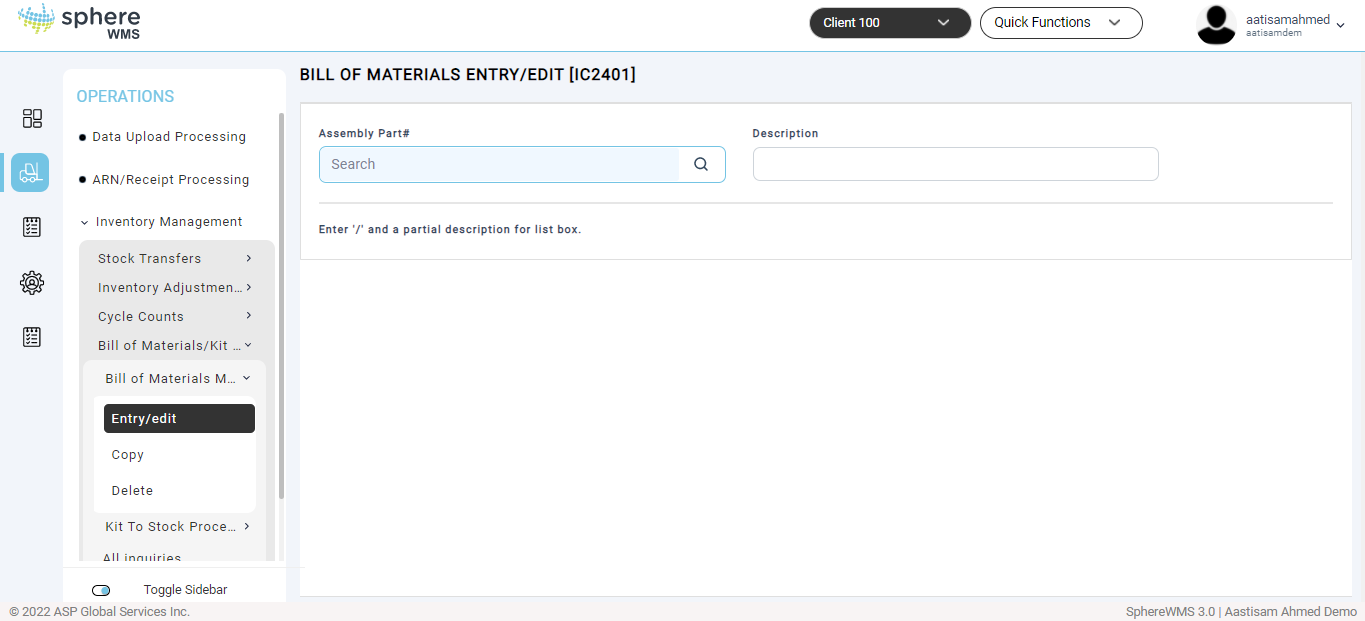
2. Enter the Assembly Part# or select the assembly number from the lookup table.
To identify a part# as an assembly to show up on the drop-down, Account Management > File Maintenance > Products entry Edit > Enter Part# > Stocking Menu >Field# 16-BOM Flag. Set to #1 for an Assembly.
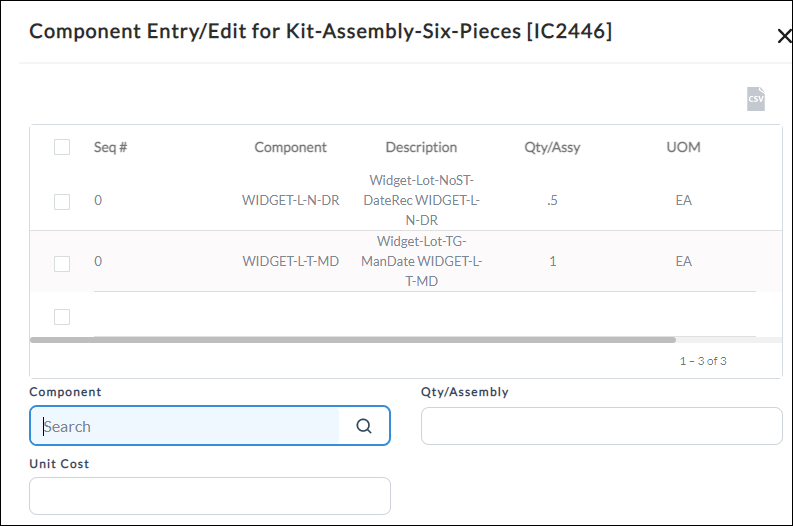
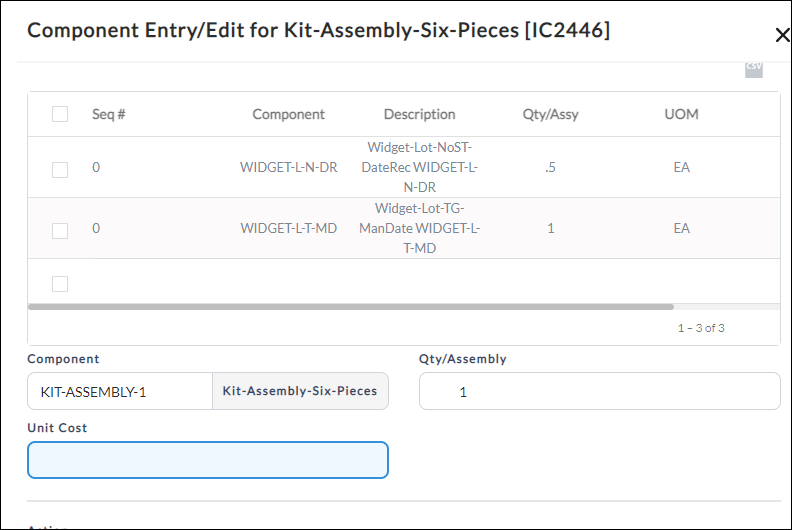
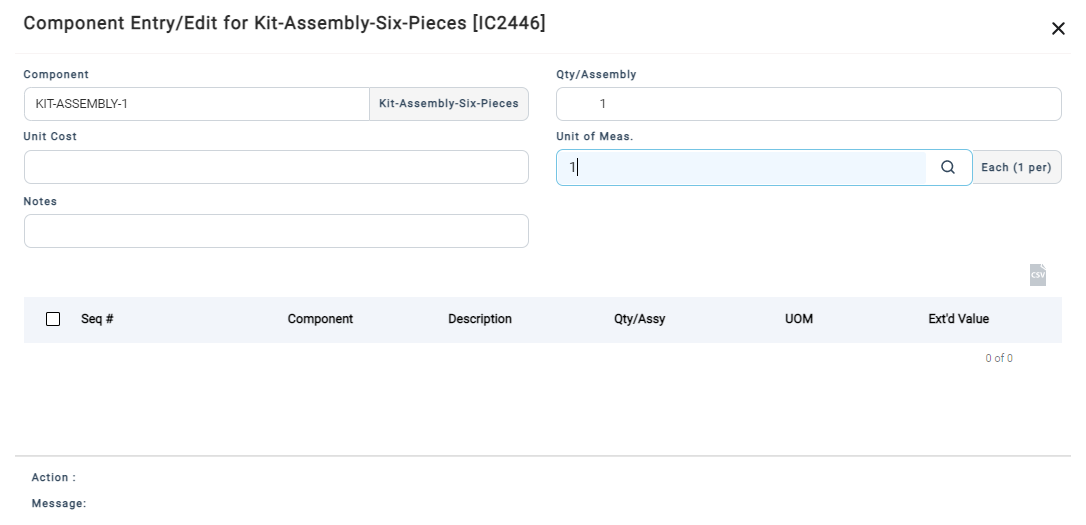
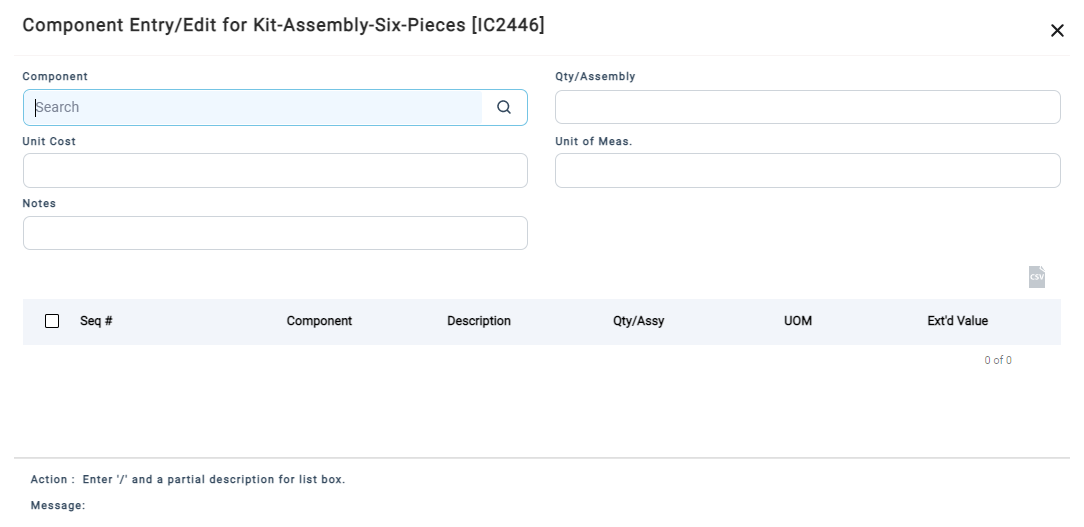
The Component Entry/Edit dialog for the selected product will display.
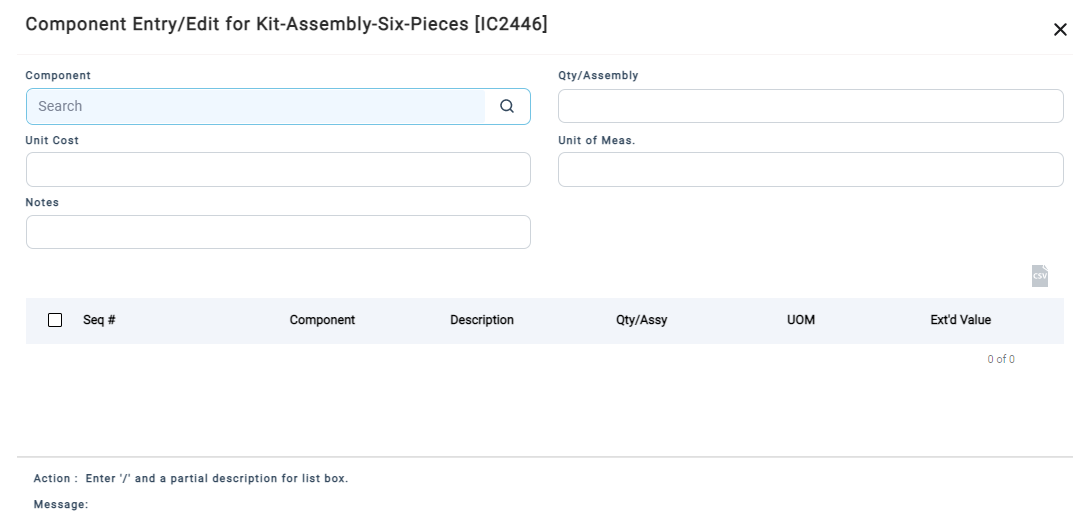
3. Enter the component or select one from the lookup table.
To identify a part# as an assembly to show up on the drop-down, Account Management > File Maintenance > Products entry Edit > Enter Part# > Stocking Menu >Field# 16-BOM Flag. Set to #2 for a Component.
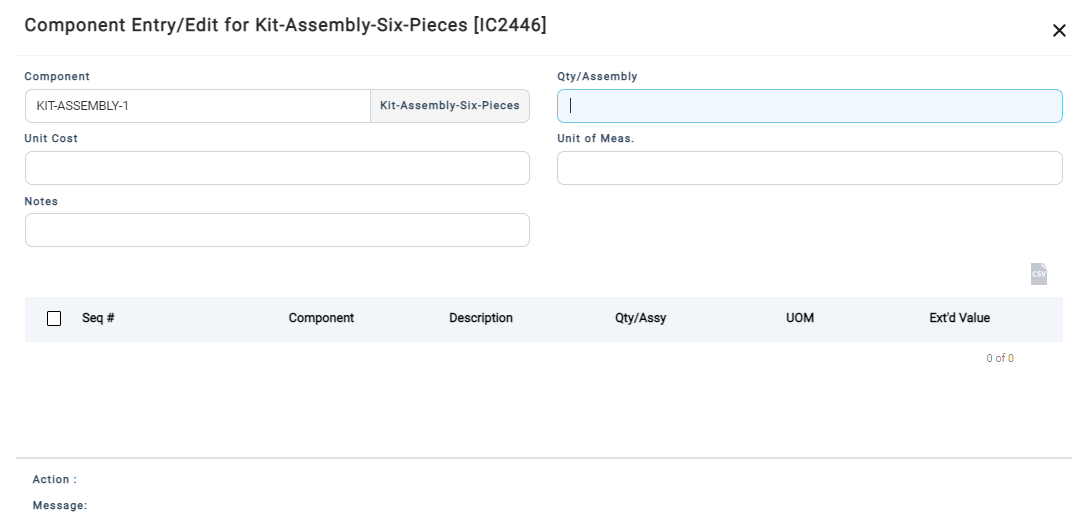
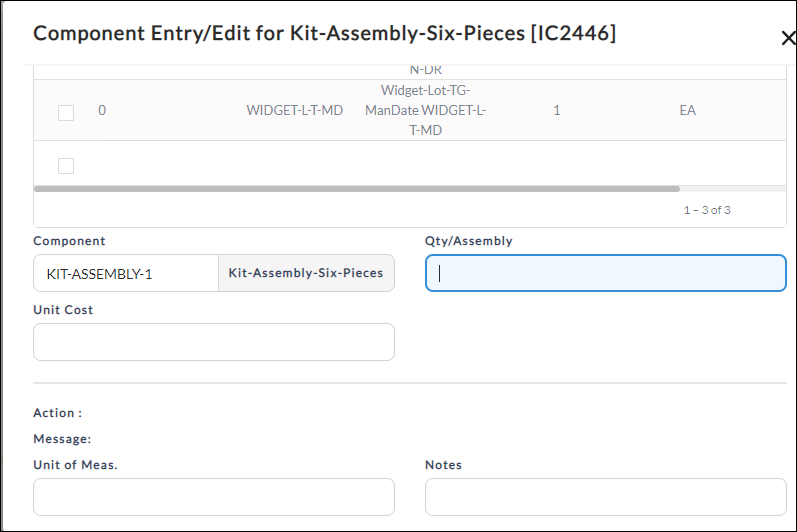
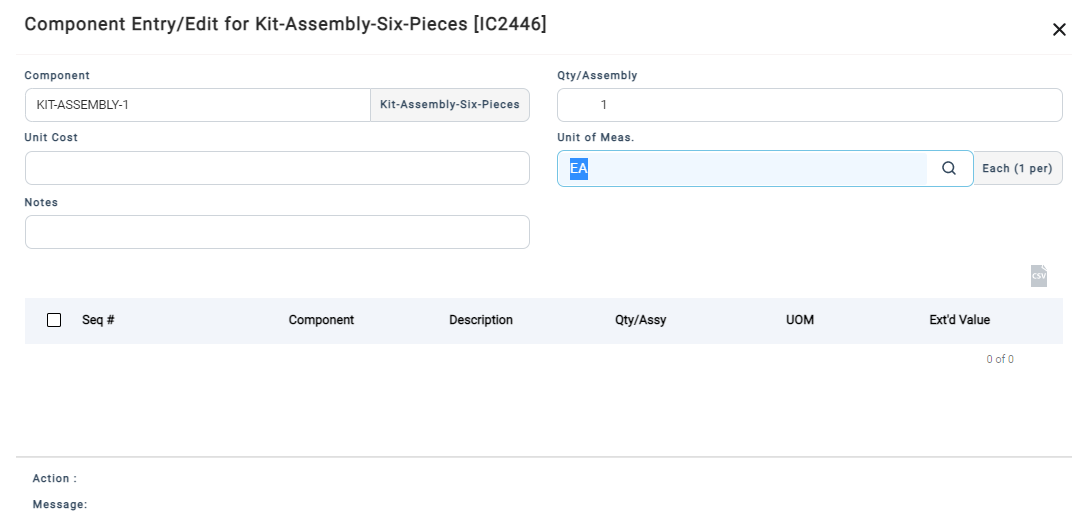
4. Enter the Qty/Assembly.

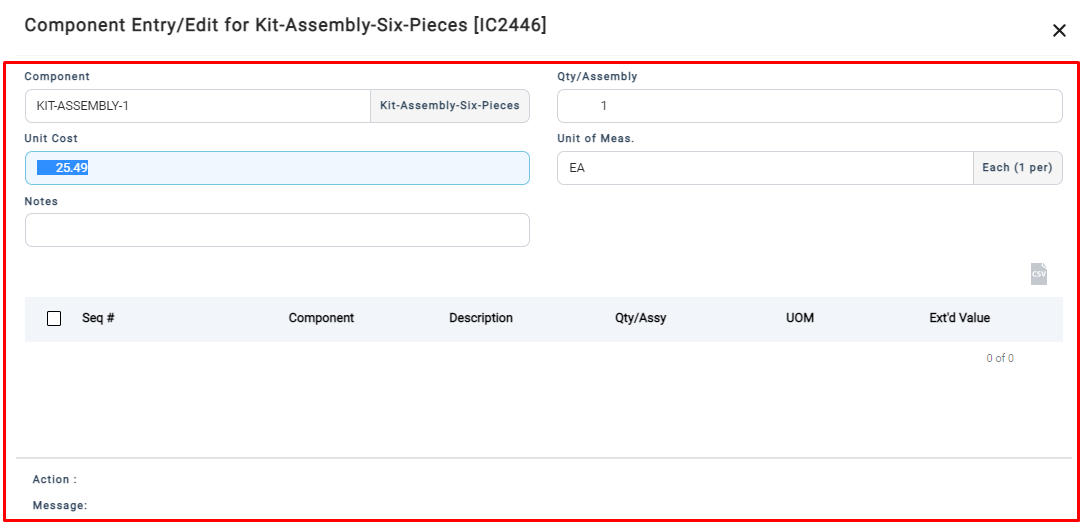
The value for Unit Cost will be populated automatically.
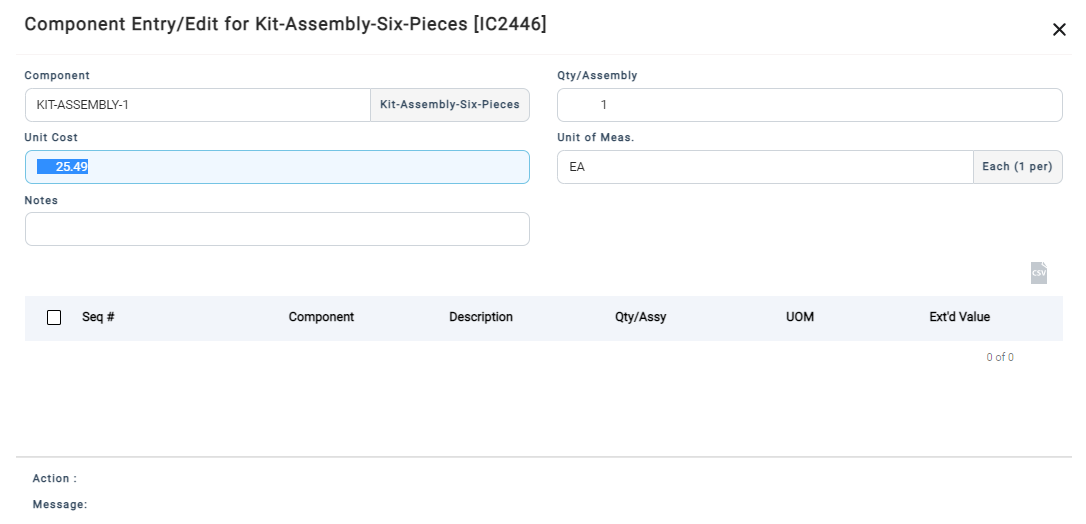
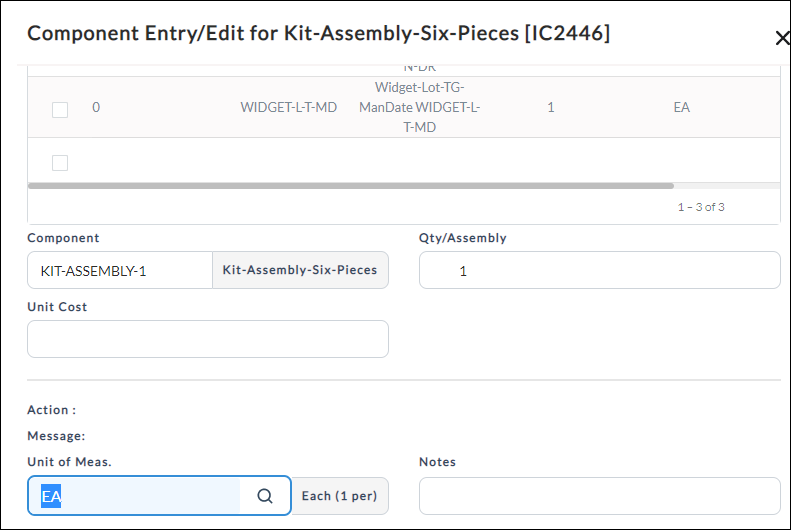
6. To save the entry, type Y in the Action field and press Enter.
The new entry created successfully.
Editing Bill of Material Entry
To edit an existing bill of material:
1. Navigate to Operations > Inventory Management > Bill of Materials/ Kit to Stock > Bill of Materials Maintenance > Entry/Edit.
The Bill of Materials Entry/Edit page will display.

2. Enter the Assembly Part# or select the assembly number from the lookup table.
The Component Entry/Edit dialog for the selected product will display.

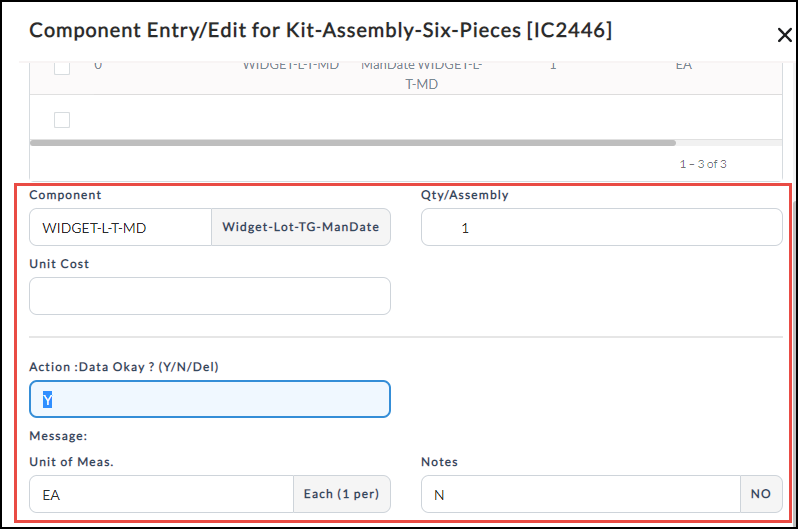
3. Double-click the component which you want to edit the details.
The component details will display.

4. Edit the values of required fields, enter Y in the Action field, and press Enter.
The component details will be updated.